How To Rebuild Your Alternator - 4-Wheel & Off-Road Magazine

Before you scream "Danger, danger, Will Robinson!" you should know this is one of the simplest repairs you can do. It's important to have a strong alternator that functions properly, especially for low-speed 'wheeling. It's also important if your battery is weak or if you've added extra lights or other electrical accessories.

131 9803 Rebuild Your Alternator spinning Alternator Photo 31168588

The favorite alternator of many enthusiasts is either the inexpensive GM Delco 10si or the 12si with a built-in regulator, introduced in the early '70s. (The "si" means systems integrated.) It's popular because it's user-friendly, a universal fit, readily available, and a bolt-in deal.

You can swap the GM alternator into an early GM 4x4 or an early non-GM 4x4. Yep, it works great in a non-GM truck. And it doesn't matter if you currently run an externally regulated alternator-the 10si and the 12si bolt right onto the bracketry in early GM 4x4s and can be mounted onto most non-GM 4x4s. Unfortunately, owners of late-model 4x4s really can't do this conversion. One of the biggest fans of this conversion is Mark Hamilton, president of M.A.D. Enterprises. He has a GM alternator in his Ford and swears by its reliability.

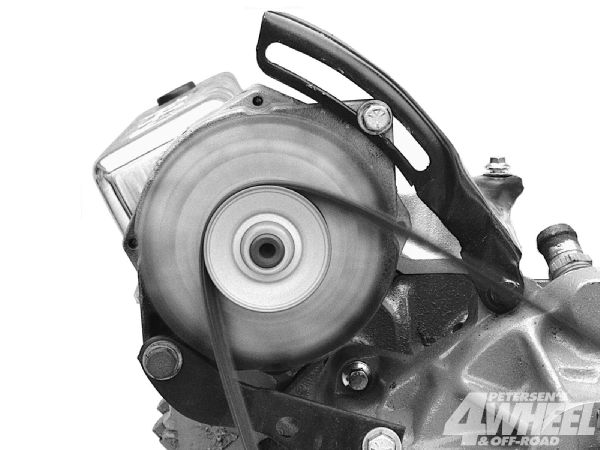
We got our hands on a 10si model and turned to Hamilton to show us just how simple the rebuild is.

This Is a Test
How can you tell if your alternator is working properly? Get an accurate DC voltmeter with a range from 0 to 18 or 0 to 20 volts. Hook the voltmeter across the battery and let the engine run at highway-cruise rpm, about 2,500 rpm. If the voltmeter reads between 14.0 and 14.5, it's normal; 12.5 is a no-charge condition, while above 15 indicates an overcharge caused by a bad regulator.

Part by Number
The part numbers for the AC Delco parts are different depending on whether you purchase them at an auto parts store or an authorized GM or AC Delco dealer. Here are the numbers for both.

Part AC Delco PN GM/AC Delco Long PN. Brushes with brush holder D766 1984462 Diode D3923 1985348 Front bearing 7503-1 12339293 Rear bearing MNJ711 9441879 Rectifier D3915 1984638 Voltage regulator D680 1116423

Easy Conversion News
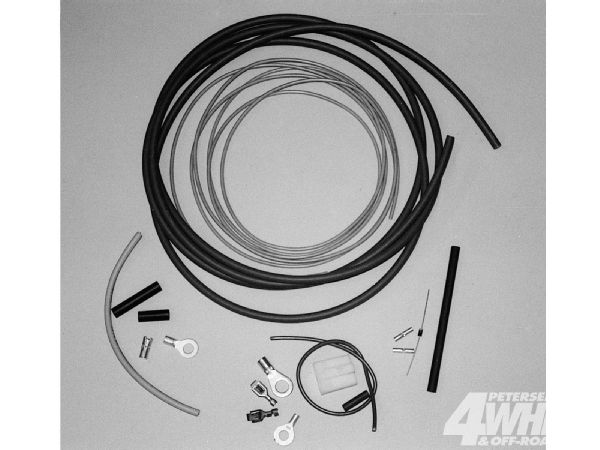
M.A.D. Enterprises makes it easy to convert from a generator system or external voltage regulator system to a 10si or 12si with its High Output alternator wiring kit for the GM Delco alternator with a built-in voltage regulator. Parts and wiring diagrams are included in the well-detailed instructions for both warning-light and meter-at-the-dash systems.

131 9803 Rebuild Your Alternator conversion Parts Photo 31168621

Converting to a GM alternator (sometimes called a Delcotron si) with a built-in regulator is easy and inexpensive. First on your shopping list should be the alternator-a 63-amp model should have enough output if your truck is stock; more than 63 is better if you have an electric radiator fan in your air-conditioned truck and spend time idling in traffic, have dual batteries, or have powerful off-road driving lights. You may be able to find the unit used.

PhotosView Slideshow Here are the internals: voltage regulator, brushes with brush holder, diode, rectifier, and front and rear bearings. The case can be marked at 3, 6, 9, or 12 o'clock. It's important to mark both halves of the case with a punch mark, nail polish, or something else so you can put it back in the right direction when you finish the job. Note how this alternator is being held in place by a vise. This works well as long as you gently clamp the pulley. Remove the four screws that hold together the two halves of the alternator. The electrical connections are at the rear of the alternator case, and the mounting tabs are at the front. The spacer-like part is the stator frame (A). Make sure you remove it with the rear half of the case or you could bend the stator's wiring connections (B). Also, check that the stator winding isn't burned or smells burned. It should have a natural copper color. If it's burned, the alternator isn't worth rebuilding. If everything is OK, unscrew the three nuts that attach the stator wire to the rectifier using an 11/32-inch wrench. Three screws hold the voltage regulator in the alternator case. Two of them have nylon insulator washers, while the third is a grounding screw without insulation (arrow). It's a really good idea to mark the location of the grounding screw before you remove it, because if you put it back into the wrong place the alternator won't work.
<strong>Tech Tip!</strong><br />
We put all-new pieces into our 10si, but you may need to replace only the voltage regulator or a noisy bearing in your unit. If so, you'll need to spring-load the existing brush holder. Put a piece of mechanic's wire through the brush holder and let it stick out during reassembly, then slowly remove it. Unbolt the rectifier and the stud at the back of the alternator. Make sure you don't damage or lose the insulator.
Unscrew the nut that retains the pulley. If it's too tight to wrench off with handtools, take the alternator to a tire shop and have them use an impact wrench. After you've removed the pulley, take off the fan and the spacer. The rotor should slide right off. If it's rusted on tight, hold the alternator and give the shaft a few taps with a hammer. Also, before you reinstall the shaft, apply a thin layer of all-purpose oil (such as 3-In-One) to the threads and only to the part where the front bearing goes through. The rear of the shaft can be wiped down with a rag or electrical contact cleaner.
To get the front bearing out, take off the bearing retainer. You should be able to knock out the rear bearing easily. Now you can start reassembly. Install the new rear bearing, making sure you drive it in until it's almost flush. If the bearing is flush, the shell will rub the end of the rotor shaft and dilute the grease, and the bearing will fail. The new front bearing is a drop-in replacement, although it may require a little tapping. Finally, screw the retainer back on. Use a wrench to install the new rectifier, tightening it as much as possible without breaking the insulator, and add the new voltage regulator and brush holder. Next, screw in the diode, ensuring you match up the insulator with your mark. Then reinstall the stator ring. (If the stator is new, you may need to bend the terminals a bit to fit.) Finally, find the clock positions and bolt the front and rear halves of the case back together.