 Christian Hazel
Brand Manager, Four Wheeler
Photographers:
Alan Huber
Christian Hazel
Brand Manager, Four Wheeler
Photographers:
Alan Huber
Once you own an odd-ball, building a CJ or a Wrangler seems like cheating. Everybody in the world makes everything in the world for them. Just pick your modification, order it up, and bolt it on when the delivery guy drops it off. But what if nobody makes what you want? Or, what if you're the type who insists on building everything yourself, even if there's a bolt-on alternative.
Technically we fall into both categories, but in this particular case, there was no viable way to easily get what we were after with our '73 Commando project. With a busted-up front suspension, we took stock of what we had on hand to make it mobile. Luckily for us, what we had on hand was a bunch of really nice slightly-used Rancho suspension parts and some modified M.O.R.E. spring hangers from our '48 Willys pickup project. But we could've made junkyard stuff work in a pinch for even less money.
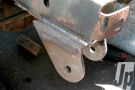
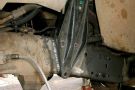
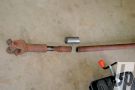
We knew we wanted to swap the shackle location to the rear for a smoother ride and more predictable handling. We could have made our own spring hangers out of 3/16- or 1/4-inch steel (and that's very nearly what we did do), but the Mountain Off Road Enterprises (M.O.R.E.) YJ shackle reversal spring hanger brackets we severely modified for use on our Willys pickup were just sitting there calling to us. The cut hangers lower our ride height and move the hangers up and away from trail obstacles, but the company offers its spring hangers in a "Stubby" version that are 1 3/4-inch shorter than its standard spring hangers. Had they been available back when we ordered the ones we modified, the Stubbies are the ones we would have gone with.
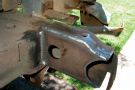
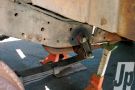
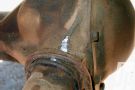
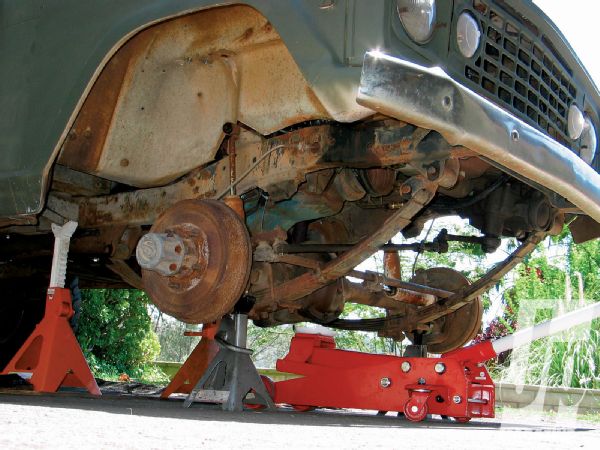 Here's our starting point. The deeply offset stock Commando spring packs aren't close to any other Jeep spring in measurement. Ours had been given a monkey-cluster lift by tossing an incredibly thick add-a-leaf into the mix. Inverted shackles had severely bent the main springs, rendering them useless. The only saving grace to this disaster is the stainless extended brake lines had already been installed for us. Otherwise, we cut everything of the old suspension off and started with bare framerails.
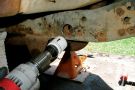
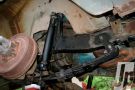
Our springs are a pair of Rancho RS44044 Wagoneer 2 1/2-inch-lift packs, which are popular with the Jeep crowd for several reasons. They have a relatively short free-arch so they can be used as a spring-over without being goofy-tall, or spring-under application. Their 300-in/lb spring rate is a good match for a moderately-heavy Jeep running a V-8 and a winch, providing a smooth ride with good weight holding capacity. They have a 47-inch flat spring length with an offset centerpin location (22 1/2-inch and 24 1/2-inch) so they can be used to eke an extra bit of wheelbase. Finally, they're 2 1/2 inches wide with big 1 1/2-inch eyelets front and rear and they're tough as nails. We went spring-under because we prize a low center of gravity and we hate dealing with axle wrap. Plus, the spring-under works with our current steering linkages for a dirt-simple suspension upgrade.
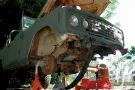
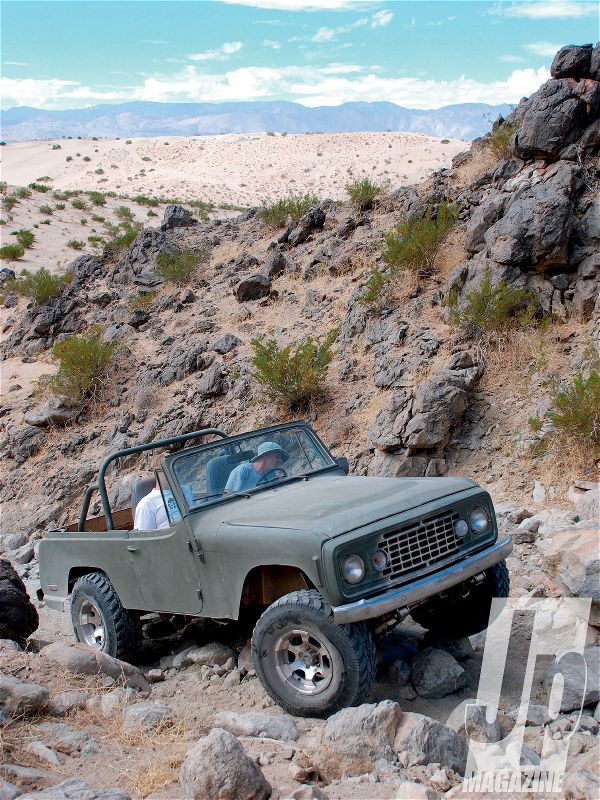
We built our front suspension in a couple of afternoons, with most of the time spent cutting off the stock spring brackets. The first day we demoed the stock stuff and hung the new Rancho suspension, while the second day entailed welding on the shock mounts, modifying our driveshaft, and installing the bumpstops and shocks. In all, we're stoked with our custom suspension. It floats super smooth on the bumps at high speed, delivers plenty of droop and uptravel in the rocks, and is sure-footed and predictable on the street. For now we're running 33-inch tires, but we plan on installing some 38s on this rig in the not-too-distant future without changing the ride height.
PhotosView Slideshow