 Pete Trasborg
Brand Manager, Jp
Pete Trasborg
Brand Manager, Jp
When Trasborg inherited Jp magazine’s JK, the keys were handed to him by former- Editor Hazel. He hadn’t driven it in so long before that day that he had forgotten when he’d last driven it. So, it fell to Simons to tell Trasborg what was wrong with the Jeep. Among other items noted was this gem, “Oh, by the way, I think the rear axle is bent, something is wrong with the locker, and it seems to wear tires funny back there.”
If that wasn’t good enough news, the first test drive revealed a near death-wobble level of steering wheel shake and shimmy from about 45 to about 55 mph that didn’t seem to respond to the “accelerate and drive through it” fix. When Hazel and Simons were asked about that, their response was “oh, that’s normal”.
The Jeep showed up wearing new shoes, but within a few weeks of replacing the transmission and driving it every day, both front and rear tires were wearing weird. In a low-buck attempt to fix the shimmy and the weird wear up front, Trasborg had the tires balanced. Yes, he had 37-inch-tall mud tires on beadlocks balanced. Guess what? It didn’t fix the problem. If that wasn’t enough, the toe-in looked way off to the naked eye. The first time Trasborg took it wheeling, it started kicking orange Christmas tree lights all over the dash and the steering wheel appeared to not be centered.
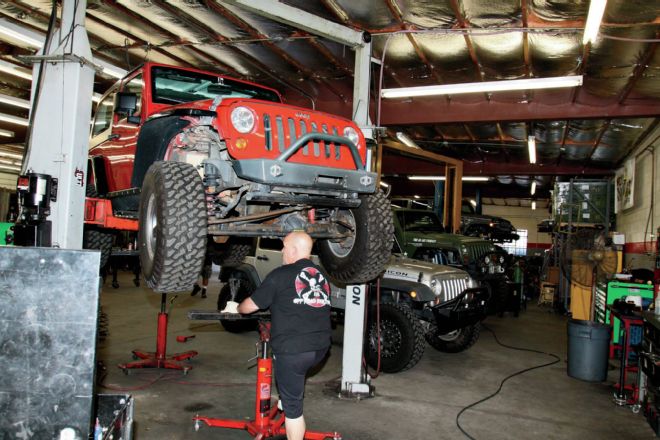
After doing the normal checks of ball joints, tie-rod ends, and unitbearings up front, and measuring to the ground to check axle straightness out back, we found nothing wrong. But, the tires were still wearing poorly, the lights in the dash were on, and the steering wheel would still randomly decide which position it wanted to be in to make the Jeep go straight. We researched the problem on our own a bit more, hoping to find someone else with the same blend of issues we had. That was a dead end. So, we turned to the JK experts at Off Road Evolution.
We started it off with a phone call, and we ran through what we’ve done and what the problems couldn’t be (such as bent or worn control arms or trackbars, loose lug nuts, and so on). After about 20 minutes on the phone, it was decided that we’d need to take the Jeep in so the company could look at it. Our goal was to pinpoint why the rear locker wouldn’t engage (or disengage), why the tires were wearing oddly, the source of the shaking, and why the steering wheel randomly turned itself at different rotations relative to center.
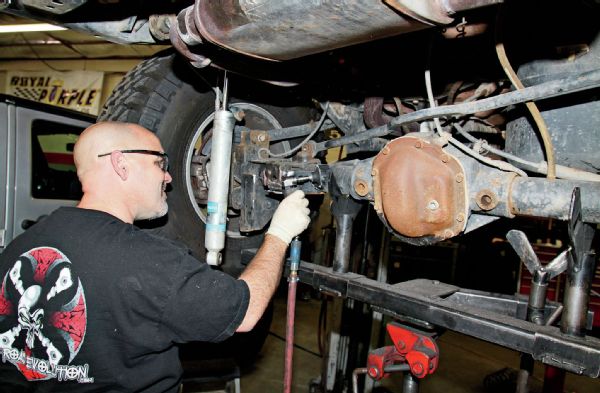
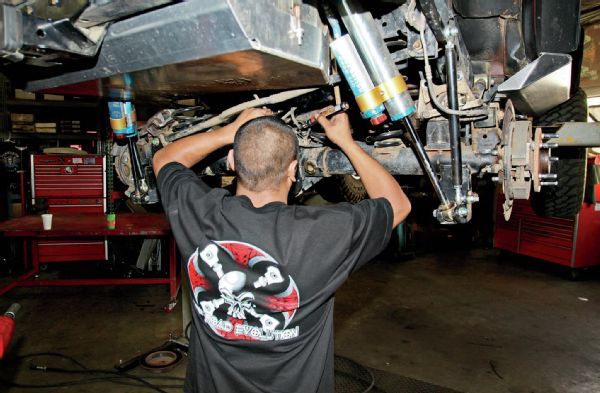
After we’d figured out the axle wasn’t bent, but before we’d figured out the real reason for the locker not working, we got to fixing some other issues (see “Junkyard JK” for where we found some of them). But before we opened the axle up for the locker issue, we needed to prep for another fix. Our lower shock mounts were trashed as was our trackbar mount. The new parts required welding, so here the axle is being prepped. Before we cracked the cover off, we cleaned the housing in prep for welding. That kept all the debris out of the pumpkin.
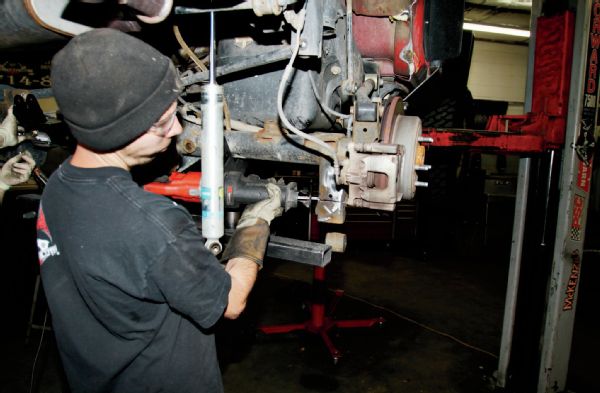
This shows the more than 2 inches that get cut off to use the new EVO Manufacturing lower shock mounts. They move the mounting location further from both the ground and the tires, which solved two issues we were having. They also solved the issue that our factory mounts were beaten, ground, and bent by numerous collisions with rocks over the years. The new 3⁄16-inch-thick parts should take whatever beating we give them like champs.
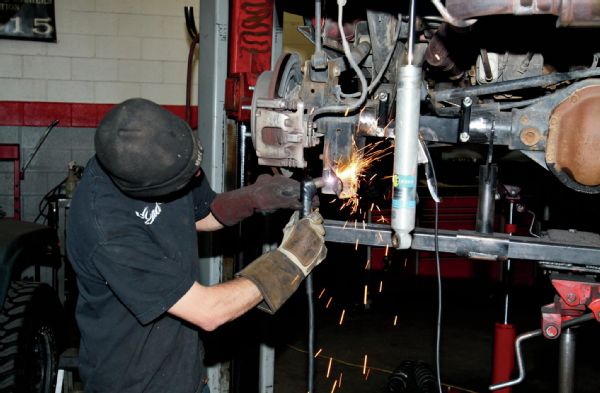
A quicker way to cut the old brackets off is with a plasma cutter, but then you’ve got to grind it clean later. While we weren’t waving a green flag and holding a stopwatch, we aren’t sure that the overall time between a reciprocating saw and a plasma cutter is faster in this instance. The reciprocating saw ended up with a cut that was practically weld-ready. With the plasma, a bit less so. We won’t argue the plasma is easier to use, but time-wise? Yeah, we might argue that one in this instance.
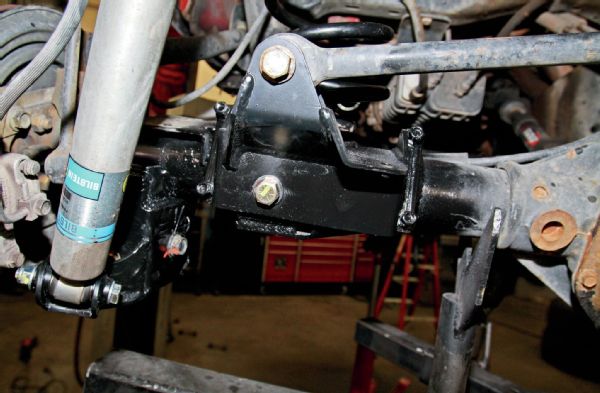
Here’s the finished product of the drivers side lower shock mount and trackbar mount. You can see how the shock body is rotated, raised, and further inboard than stock. Also note the lower bolt on the trackbar mount is the factory bolt location. The trackbar mount is designed to be bolted-on by the end user. If Off Road Evolution installs it in the company’s shop, they will both bolt and weld on the bracket.
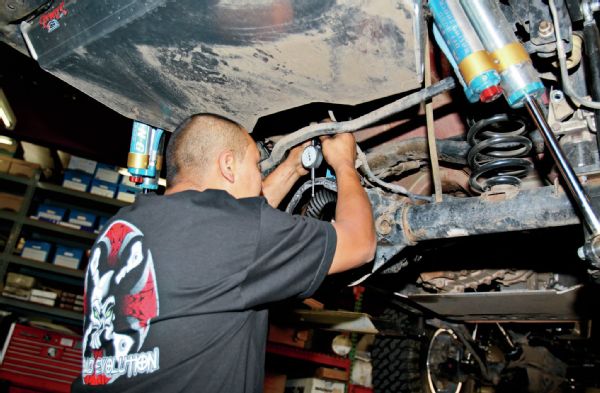
Once that was sorted, we moved on to the rear locker issue. The first thought was that the pinion had a ton of backlash and it was thought that perhaps we had a bearing going bad in the pumpkin. So the company popped the cover and stuck a dial indicator on the ring gear. We were at 0.012 inches of backlash, which is the outer edge of the acceptable range. However, we want to change gear ratios, and it is unlikely that those backlash numbers were causing the locker issues. The bearings all looked good, so we moved along.
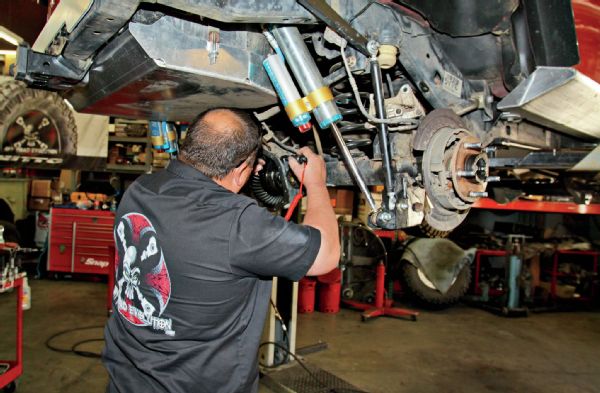
We should have seen it but didn’t. The lights on the dash were indicating that the front locker was engaging and disengaging while the light for the rear locker just blinked. In normal usage, the front locker shouldn’t engage until the rear locker was fully locked. So shop owner Mel Wade had someone lock and unlock the rear locker, while he observed the operation out back. He figured the problem to be electrical, so out came the test light.
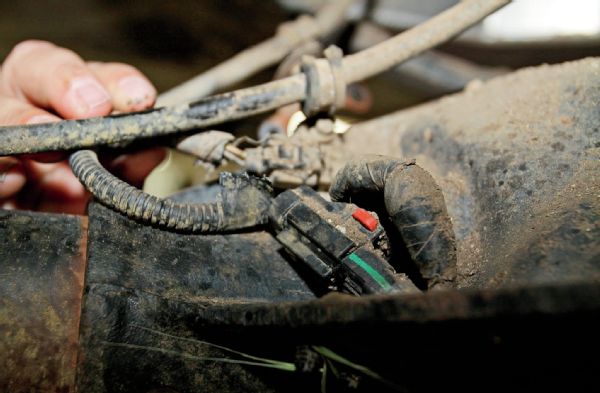
Mel found only intermittent voltage inside the pumpkin and played with plugs and wires until uncovering this. The plug was connected to each of the two wires by only one or two strands of copper. It had been like this for a long time. We could tell because most of the other copper strands in the wire were very green (think Statue of Liberty green).
We went back to the junkyard to pull a plug and wire off of a hammered axle that was sitting out back. Rather than re-pin the connector and deal with possibly damaging it, another connector was soldered into the factory wiring harness. The wire broke due to flex and vibration between the axle and the crossmember, so more wire was added to allow more movement. After that, it was buttoned-up and filled with some Royal Purple 75W-90 in hopes of getting tens of thousands of more miles out of the axle. Finally, the locker worked just like when it came off the factory floor.
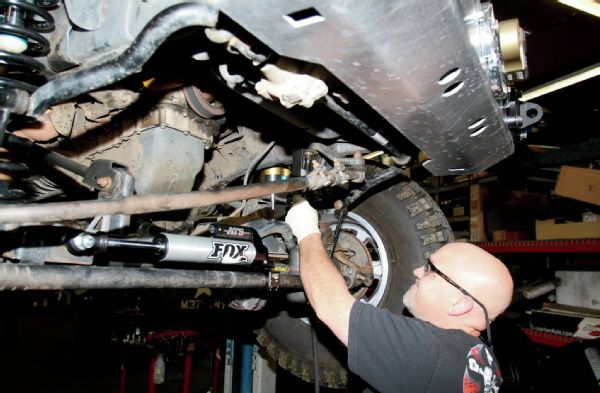
After we got the rear axle sorted out, we moved up front. Off Road Evolution confirmed the ball joints, tie rods, and unitbearings were in okay shape, and after laughing at Trasborg a little bit for balancing 37-inch-tall tires, the company conceded there was little else left to look at. So, we pulled the steering stabilizer that the Jeep showed up with. The stabilizer was shot. We put a good used one on out of the Off Road Evolution’s junkyard. While it helped with the problem, it didn’t fix it. Then, we heard of this Fox 2.0 Performance Series Stabilizer ATS.
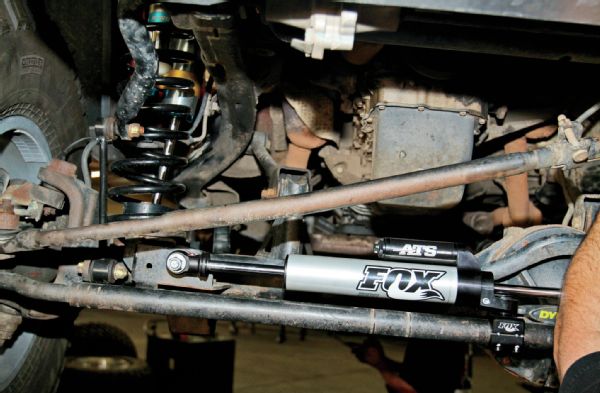
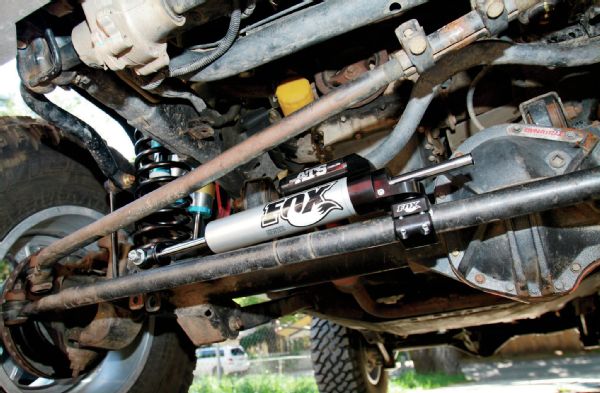
Designed to bolt directly to the factory steering linkage, this through-style stabilizer opposes forces in both directions, kind of like the dual-stabilizer setups from the 1970s. However, it is way more than that. It has an external reservoir for extra fluid capacity and to help cooling in extreme usage. It’s adjustable too, with 24 detents to tune the dampening level to your desired level. In addition, the included hardware moves the stabilizer up and out of harm’s way. It is the only gas-charged stabilizer that doesn’t push the steering to one side or the other. There is even an optional clamp for larger 15⁄8-inch-diameter aftermarket tie rods. At $395.99, it isn’t the cheapest one on the market, but it took care of all of our front-end shimmy-and-shake issues.
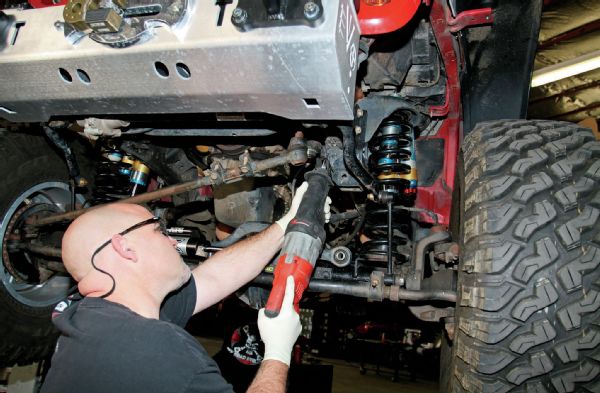
After that, we still had a clunk at some point in our steering travel, which we’d previously attributed to the blown-up old stabilizer. The actual culprit was found in the form of this aftermarket steering-box stabilizer bracket. We were hoping to reuse the bracket later, but with the interference with the pitman arm, we had no choice but to cut the offending part of the bracket off so that we once again had full steering travel.
Two days later, after some other spirited off-road driving, the wheel was off just enough to throw codes again. We’d checked the linkage, the steering column, and the deag-link adapter, and the only thing left was to look at the sector shaft. Maybe it was twisting when we beat it up off-road. It’s a common problem with the JK, and the splines twist off with hard use just between the steering box and the pitman arm. The only way to check if yours is starting to twist is to pull the pitman arm off and site down the splines of the sector shaft. We had some twist in ours, but we were nowhere near critical yet. After we put it all back together and tightened everything up, we didn’t see the problem again.
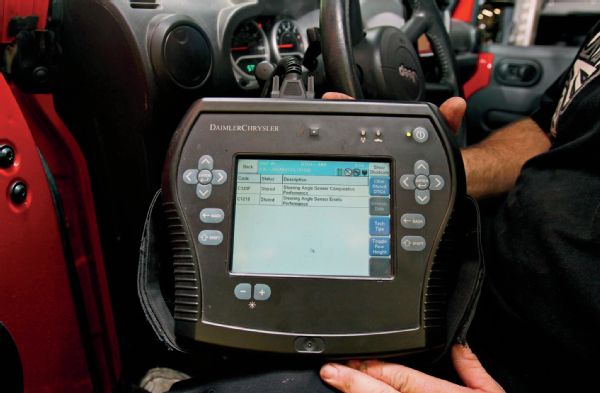
That was the last thing we could see that was physically wrong with the steering. Off Road Evolution plugged in its Chrysler-sourced Starscan DRB-III scan tool to figure out what was up with the steering sensors and why we had to keep re-adjusting the wheel. The sensors tested out a little off but otherwise OK. The numbers responded on the tool to steering input as they should, so we adjusted the wheel with the drag link adjuster and ran it.