
 John Cappa
Former Editor, Four Wheeler
John Cappa
Former Editor, Four Wheeler
No matter what 4x4 you have, how new it is, or what axles are in it, you’ll eventually end up with a leaky pinion seal. And rightly so, these seals are in the most abused locations on your 4x4. They are often battered by trail debris, constantly covered in dust, frequently submerged in mud and water, and they receive absolutely zero maintenance. It’s a wonder they even survive as long as they do.
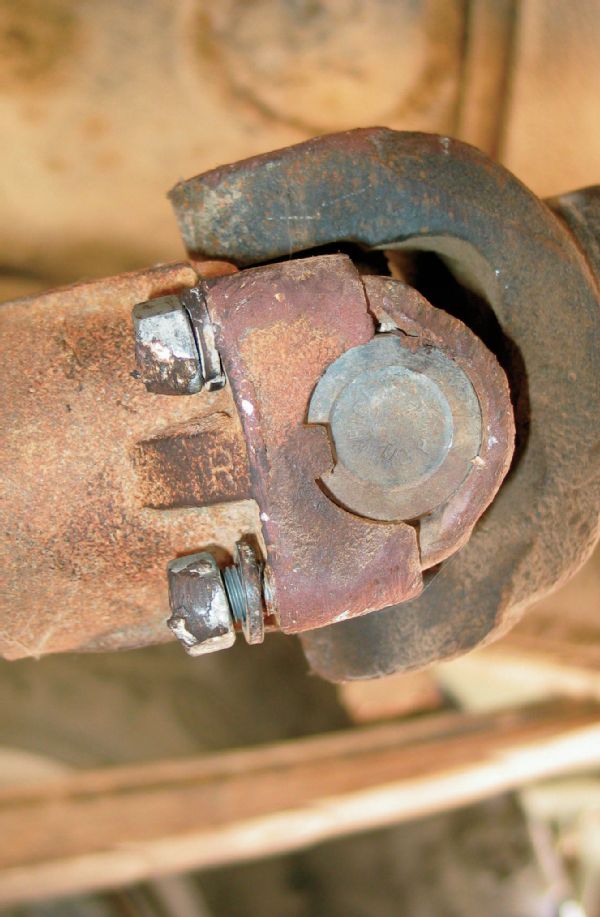
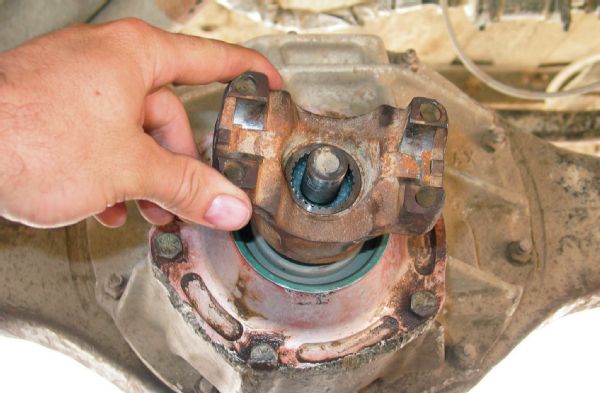
Inspect the components carefully when removing the yoke as a few different things can cause the leak. Try to figure out exactly where the leak is coming from. The leak could be coming from the seal press-in surface, the yoke splines, or the lip seal surface itself. Be sure that the pinion bearings are not worn. This can cause a leak at the seal surface. There should be no endplay or slop in the pinion. If the pinion yoke feels loose or sloppy, you may have bigger issues inside the differential. Our leak was obviously caused by rock damage. An aftermarket bolt-on pinion guard like those from Ruff Stuff Specialties could have kept this from happening to our Ford 9-inch.
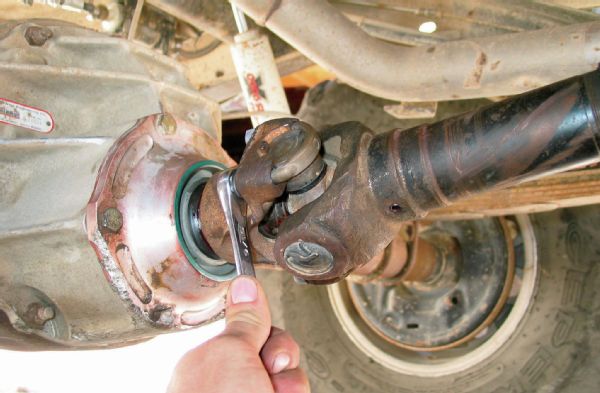
Unbolt the axle end of the driveshaft to access the large pinion nut hidden inside the yoke. Our U-joint U-bolts had seen better days. They were due for replacement anyway; another reason to add a pinion guard if you frequent the rock garden.
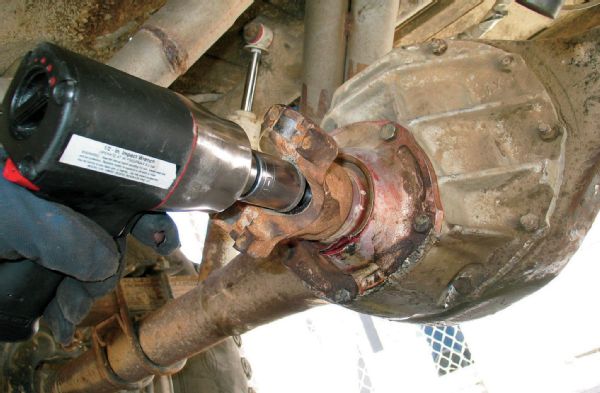
You’ll need an impact gun or large breaker bar to remove the pinion nut. Many tools have been broken trying to loosen pinion nuts so plan accordingly, and watch your knuckles. A puller may be needed to help slide the yoke off of the pinion splines. A few taps with a brass or deadblow hammer is sometimes enough to loosen the yoke up.
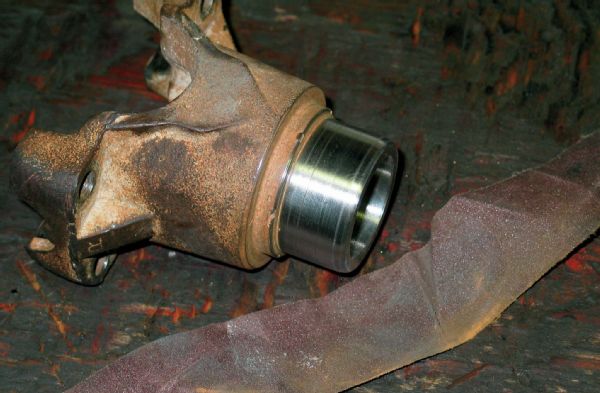
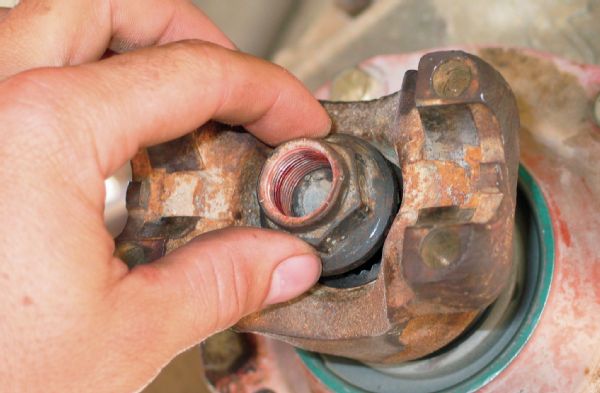
Inspect the sealing surface of the yoke. Grooves are inadvertently machined in when dirt and grime collect around the seal surface of the spinning yoke. Small grooves usually aren’t a problem. A little emery paper can be used to clean the surface. Deeper grooves will likely cause a leak, even with a new seal installed. Damaged seal surfaces can be repaired using a seal sleeve to save a few bucks, or you can simply replace the yoke.

Removing the old seal is simplified with a seal puller. If you have an obscure axle, you should make note of the seal number before tearing into it. Nearly every seal has a stamped-in number that can be cross-referenced.
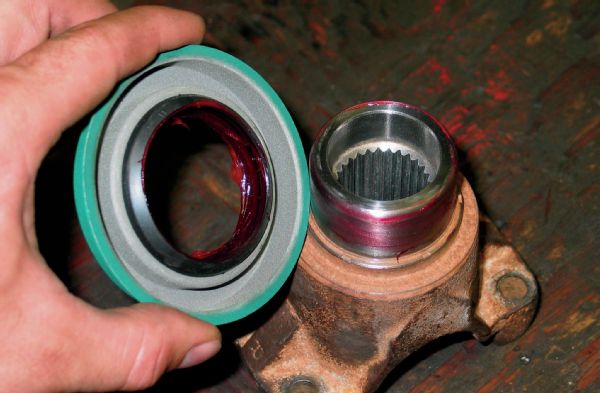
Smear grease on the sealing surfaces of the new seal and the yoke. This helps prevent damage during installation.
We like to smear just a bit of silicone around the outside of the seal on the press-in surface. This helps prevent leaks in that area. Lightly tap the seal in place with a hammer. Avoid hitting the rubber part of the seal. Tap around the outer perimeter. A short piece of heavy-wall tubing can simplify this task.
Clean the splined surfaces of the pinion and yoke. Prior to slipping the yoke into place, smear some silicon on the splines of the yoke to help prevent leaks.
You can reuse the pinion nut, but dab a liberal amount of thread locking compound on the threads. For more modern axles with crush collars, you will want to tighten the pinion nut with a ½-inch ratchet. You don’t want to over-torque the nut and alter the pinion bearing preload. For axles with spacers, you can gun the pinion nut down with an impact gun and torque it to the proper spec.
We finished up our seal install with some new U-joint U-bolts. A short box-end wrench is all you need to snug the U-bolts down. Over-tightening them can damage the U-joint cap and rollers.