 Pete Trasborg
Brand Manager, Jp
Pete Trasborg
Brand Manager, Jp
There is nothing worse than being all flexed-out and not being able to go any further because both front and rear differentials are open and the tires are just spinning. Such was the case with our Jeepster at the TDS Desert Safari in Ocotillo Wells, California, and we decided to do something about it.
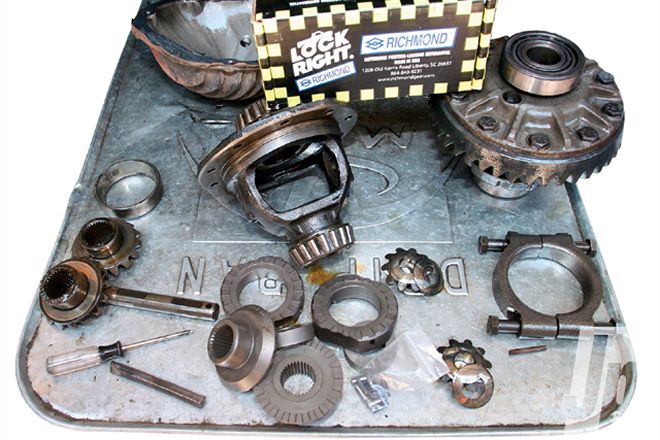
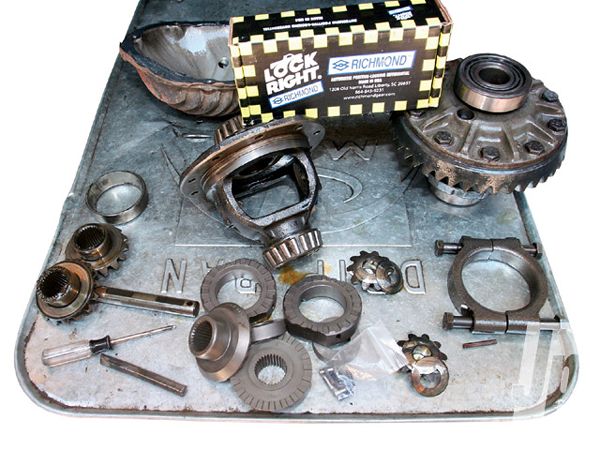
The Jeepster sports a 30-spline Dana 44, and we just wanted an easy way to lock the rear for that little extra punch when we were off-road. Since we aren't planning huge tires or huge power out of the V-6 engine, and there is nothing easier than installing a lunch- box style locker in an existing carrier, we contacted Randy's Ring and Pinion for a Richmond Gear Lock-Right Locker. With good prices, and lighting-fast shipping, Randy's is our go-to for many of our differential-related parts, not just gears. The company stocks bearings, seals, lockers,carriers, and most parts associated with differentials, at competitive prices.
Like most of our projects, we ran into some glitches with this install, and instead of taking the hour or so it should have, it ended up taking four hours. Here are some pointers on putting the easiest-to-install locker in the most common Jeep rear axle out there, along with some of the snags we hit in the process.
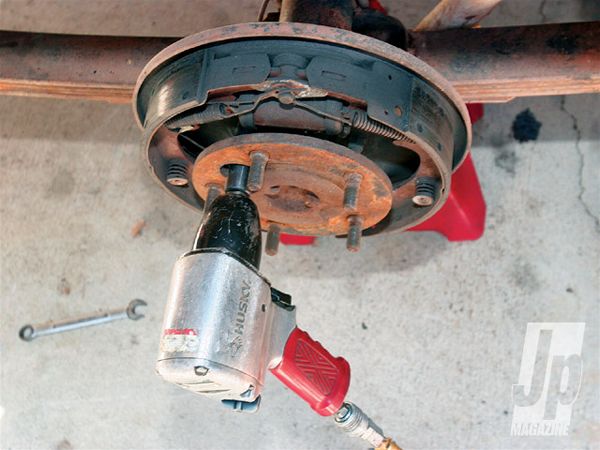
The first step is to take the differential cover off, the second step is to pull the axleshafts out enough to remove the cross pin and spider gears. In the Dana 44, that means unbolting the retaining flanges. If you have a C-clip axle such as a '90-and-up Dana 35 or a Chrysler corporate 8.25, you only have to remove the c-clips to slide the axle shafts out.
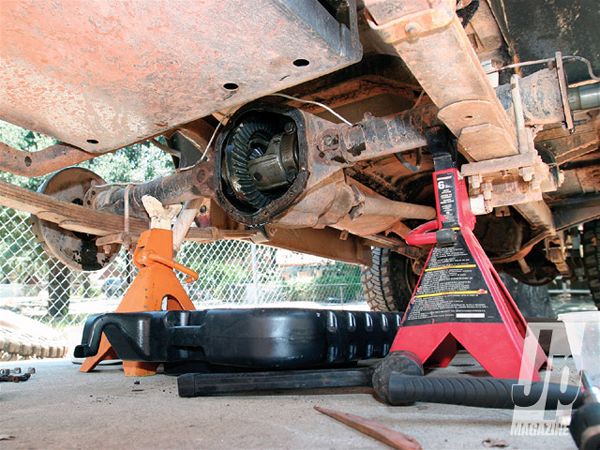
Half an hour into the install, we should have been ready to begin taking out the spider gears and putting in the new parts. However, our 3.73 ring gear was too thick to allow the gears out of the carrier through the "window." If that wasn't enough, it turned out this was a limited-slip carrier and the Lock-Right will only install in an open carrier. Fortunately, Cappa had an open carrier laying around his dirt ranch that we were able to snag for nothing. Even if it feels like you have an open differential, look for clutch packs behind the side gears before ordering parts.
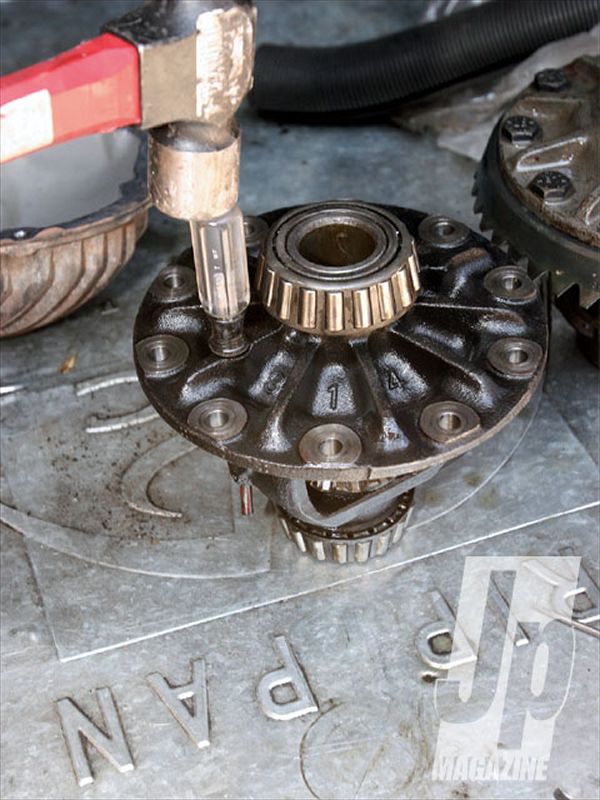
If you have a thinner ring gear, or the correct parts, you won't even have to remove the carrier. But having the carrier on the ground resulted in a great photo op. In order to get the gears out of the carrier, you need to remove the cross pin. The cross pin is held in place either by a roll pin or a small bolt. In our case, a T-20 Torx driver was the perfect size to drive out the roll pin.
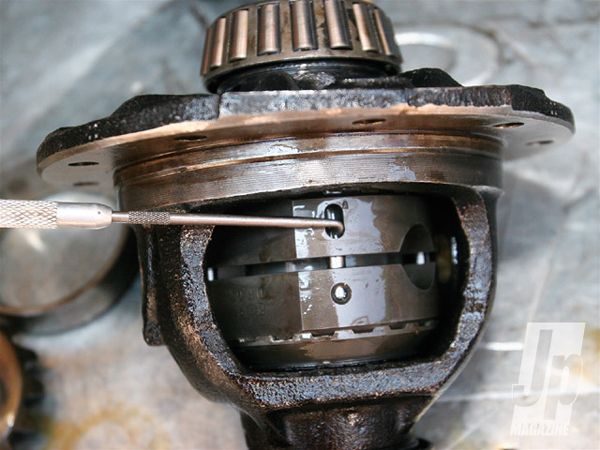
One of the tools we didn't expect to need going into this was a right-angle pick. Without it, we wouldn't have been able to push the shear pin across the gap and into the hole it needs to reside in. Then a straight pick came in real handy to put the spring assemblies in the holes behind them. This pick is either from Ho Chi Minh Freight or a dentist. Either way, it's nothing special, but it is just the right tool for this job.
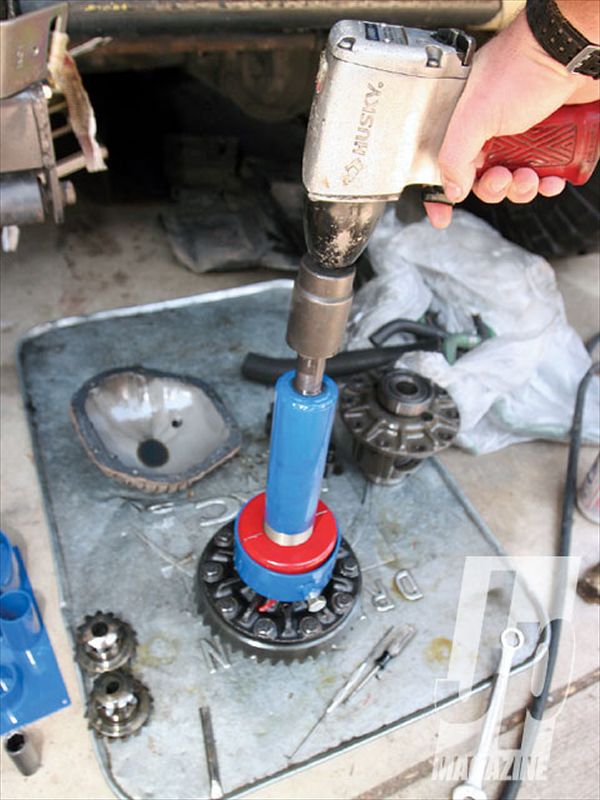
We had to remove the good bearings from the carrier that was in the Jeep and swapped both bearings and shims over to the open carrier. However, the same shims that worked on the limited slip carrier didn't work on the open carrier. It took a few tries to get the pattern correct again. If you take your differential cover off and see you don't have an open carrier, you might not want to get involved if you aren't comfortable with reading a gear pattern or pulling bearings.
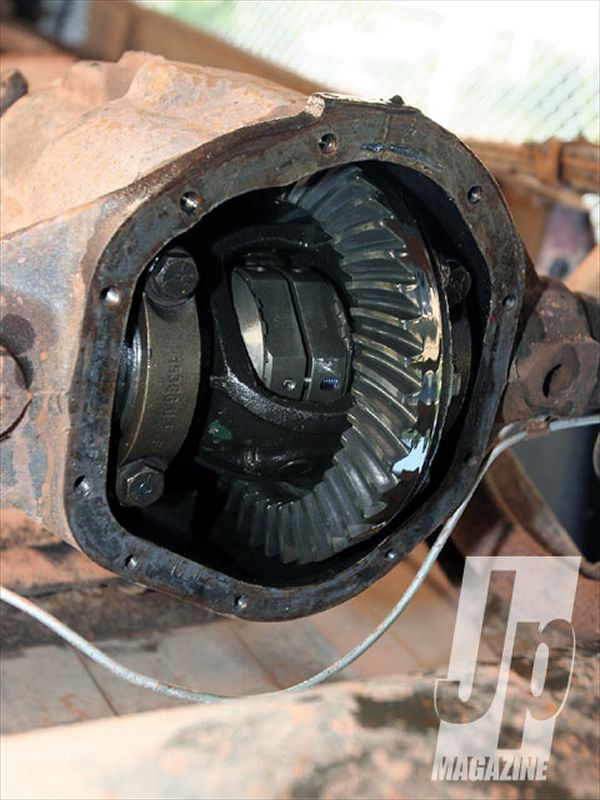
Here is what it should look like installed. All the parts are made to go together easily, so if you find yourself using a hammer for anything aside from the roll pin, you probably have something installed incorrectly. The gears might take a beating, but they are precision machined parts and whaling on them with a hammer can damage them. Check to make sure it works correctly per the instructions, fill it up with the recommended gear oil (no friction modifiers here), and that's it.