 Harry Wagner
Contributor
Harry Wagner
Contributor
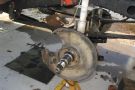
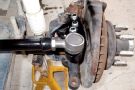
 The old steering setup provided a vague feel and was prone to failure off-road, due to the bent drag link necessary to clear the passenger-side leaf spring. A change was clearly necessary.
Steering is one of the most important systems on any vehicle. Unfortunately, steering is often neglected for modifications that yield more visual impact, such as suspension lifts and larger tires. These are the exact modifications, however, that make attention to steering so important. Suspension lifts can alter steering geometry, while big, heavy tires may cause increased wear to steering components, particularly if the tires are out of balance.
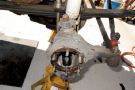
After a spring-over axle conversion was performed on the Dana 44 front axle in our '67 Toyota Land Cruiser, the new spring location interfered with the steering geometry. The drag link was then bent as a temporary fix, but this sacrificed strength and resulted in poor steering angles. The proper fix involved mounting both the tie rod and drag link atop the steering knuckles. The result is a decreased drag-link angle with the added bonus of putting all of the steering components above the springs and out of harm's way. Although this particular conversion was performed on a Land Cruiser, the information is applicable to any vehicle with the popular Dana 44 front axle using Chevy or Jeep Wagoneer knuckles. That could mean anything from lifted Chevys that want to get rid of the vague feel of the stock push-pull steering to rockcrawling Jeeps in search of greater strength and protection.
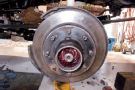
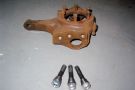
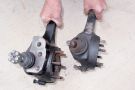
The cornerstone of the "high steer" crossover steering setup is the flat-top passenger-side knuckle. These are easy to find, as they are used with the stock J-arm steering on Chevrolet push-pull steering configurations. The flat-top passenger-side knuckles, however, are fairly rare. They can only be found on '73-'77 1/2-ton Chevys and '74-'77 fullsize Jeeps. Once you locate one of these knuckles, don't start celebrating yet. The top of the knuckle must be milled flat and then drilled and tapped to mirror the driver-side knuckle. Due to the recent popularity of high steer, milled and drilled knuckles can now be purchased outright or on exchange from a variety of aftermarket vendors.
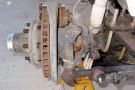
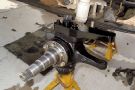
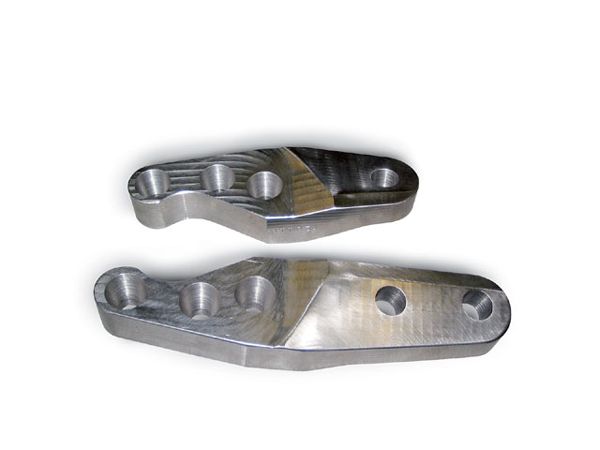 The OTT Industries steering arms are machined out of a solid piece of billet steel and are tapered for factory cone washers and Chevy 1-ton tie-rod ends. Different tapers are available on request for different tie-rod ends and spherical rod ends.
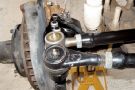
With the knuckles attended to, it was time to mount up some steering arms. Over The Top (OTT) Industries flat steering arms were ordered from Inchworm Gear for this purpose. OTT Industries is run by a pair of brothers who are machinists by trade, and happen to enjoy four wheeling as a hobby. The brothers' pedigree is obvious once you see the attention to detail of the OTT steering arms. The arms are milled out of billet steel and angled where the tie rod and drag link attach to compensate for the angle of the knuckle and allow the steering links to operate on a parallel plane to the ground. The OTT arms were chosen for their beefy construction and use of two tapered holes on the passenger side, allowing both the tie rod and the drag link to be mounted directly to the steering arm. We feel that this setup is preferable to an inverted "T" setup where the drag link connects directly to the tie-rod. Connecting the drag link to the passenger-side knuckle allows the use of a longer drag link and thus lessens the angle of the drag link. We have also found that when the inverted "T" setup is used in conjunction with higher lifts, the tie rod can rotate down under steering input and result in vague steering.
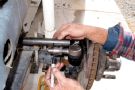
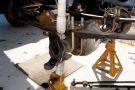
Once the steering arms were fastened to the knuckles using stock Chevy cone washers, all that were missing were the tie rod and drag link. We like to build our own parts, but 7/8-18 left-hand taps are expensive and hard to find. A call was made to Poison Spyder Customs for some of its left- and right-hand threaded inserts to save us time and money. The threaded tube adapters were welded into a piece of 1.25x0.120-wall DOM tubing and then loaded with new Moog tie-rod ends (PN ES2234R and ES2010L) purchased from Summit Racing. The drag link was similarly made, but is capped with Moog drag-link ends (PN ES2026R and ES2027L), which offer a wider range of motion than tie-rod ends. All of the ends are from a 1-ton Chevrolet application, but they did not all come with jam nuts. The 7/8-18 nuts (Chevy PN 14024805 and 14024806) are difficult to find locally, so we purchased ours directly from Poison Spyder Customs at the same time as the tube adapters.
Once the new steering was completed, we doubled-checked all of the nuts and had the vehicle professionally aligned. The new steering setup is stronger than the previous iteration, and with the tie rod and drag link safely tucked up above the leaf springs, we hope to never test the limits of that added strength. Additionally, the bumpsteer that we were previously experiencing on the road is long gone, and the drag link no longer hits the spring off-road during extension of the suspension. If you are tired of bent tie rods or your rig has become a handful to control since being lifted, consider high steer as a solution to your problems.
PhotosView Slideshow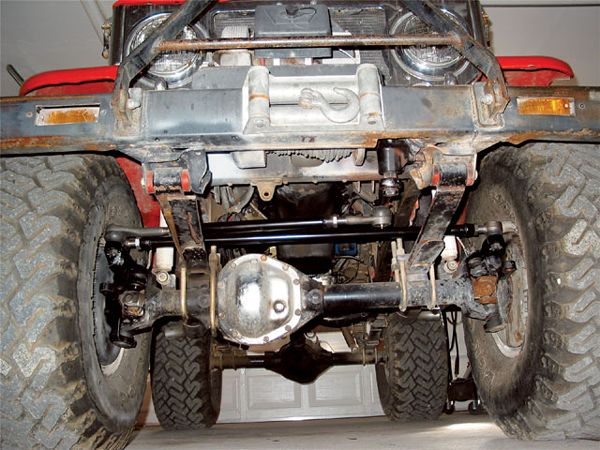
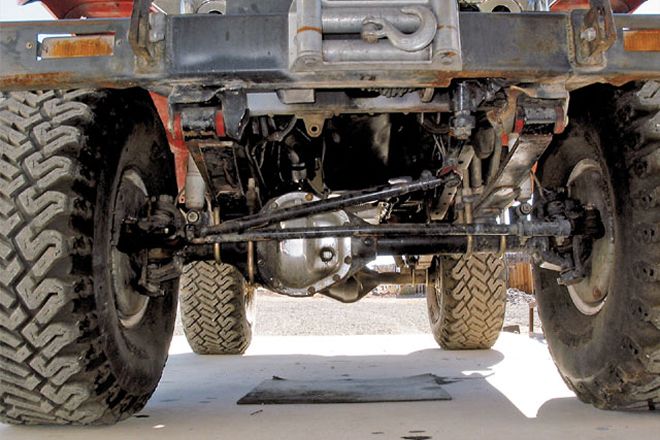
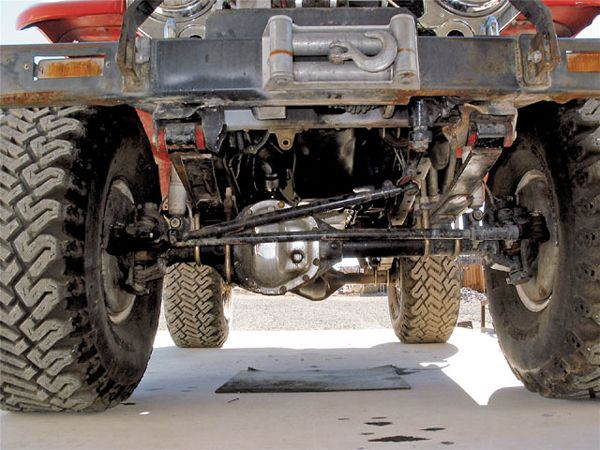
The new steering geometry provides a drag link that is nearly flat, quite a contrast to the previous setup. This setup provides virtually no bumpsteer. The finished product is tucked up out of harm's way and is stronger than the previous setup.


 PhotosView Slideshow