EZ Axle Upgrades - Disc Brake Kit - 4Wheel & Off-Road Magazine

EZ Axle Upgrades - Disc Brake Kit axle Upgrades Disc Brakes kit Photo 9315489

Disc brakes are a welcome upgrade to any drum-equipped 4x4, especially when you are running larger-than-stock tires. The stopping power of discs is great, and the resistance to brake fade and the fact that they still work after being wet or muddy is phenomenal. Most new 4x4s come with rear disc brakes already, but if you need an EZ upgrade to your own rig, we found the Teraflex kit one of the easiest to install. In addition, the Tera kit features an internal drum emergency brake, which is far superior in holding power than conventional disc brake grabbers. Applications are for most any '84-and-newer Jeep, and many Ford axles too, and around $550-$600 is all it takes to increase the safety of your off-road rig.

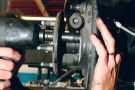
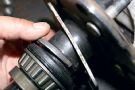
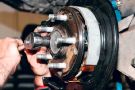
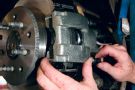
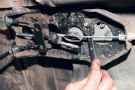
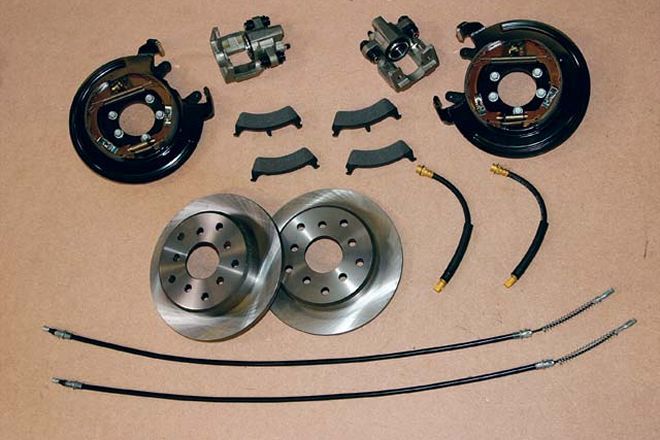
The Tera kit for our Dana 44-axled Jeep TJ came complete with new calipers, brackets, rotors, pads, and hardware, and some kits include hoses and emergency brake cables as well. The hardest part of the install is welding a tab onto the axlehousing for the flexible brake line, and some axles need to have the axle bearings replaced, but for the most part this is an EZ bolt-on brake kit well worth the investment.

PhotosView Slideshow After safely securing the rig, the tires and brake drums come off. The axle and backing plate come off by removing the bolts on the axlehousing. Make sure to disconnect the emergency brake cable and the brake line first, and also cap the brake line to prevent massive fluid loss. A flanged Dana 44 axle like ours has the axle bearing preload set by the thickness of the backing plate and seal. The new caliper bracket is thicker than the backing plate so a spacer must be installed behind the axle bearing and seal. This is a good time to replace the bearing and seal since they get ruined when removed, but we just cut the spacer to fit over the axle (arrow). The bracket for the flexible brake hose from the caliper should be welded onto the axletube after axle removal. The new caliper bracket/splash shield/emergency brake assembly then fits over the new supplied T-bolts on the axlehousing flange, and then the axle is slid into the housing. The bolts get tightened up to spec and the rotor slides over the axle studs. The calipers slide onto the bracket and are retained with new bolts. The flexible brake line is attached to the caliper and the bracket welded on the housing, and then the original hard line is attached. You can cut and properly flare the old hard line for nice fitment, or buy a new one that's shorter, or just bend the old one to fit. Make sure you bleed the brakes for proper operation, and hook up the new emergency brake cables and install the tires. The new emergency brake cables are much easier to use than the stock ones, as the ends are different. You can have a cable company install the proper ends on the old cables, but in the long run it's just better to get new ones.