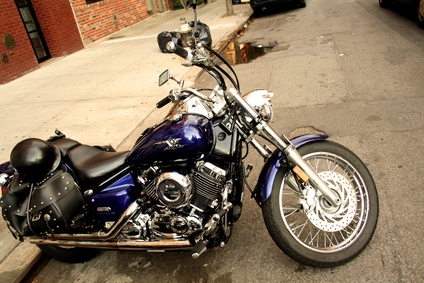
With each mile traveled on a Harley-Davidson, dirt and grime enter the engine and could eventually cause motor problems. This is why you should change your fuel filter regularly. It is recommended to change a Harley's Electronic Fuel Injected (EFI) fuel filters after 25,000 miles. Follow a few steps but when in doubt, always refer to your bike's user's manual.
Find out where the fuel filter is located after letting the engine cool for at least 30 minutes following a ride. You can determine this in the user's manual. Carefully relieve fuel pressure
Remove the console from the fuel tank by gently pulling and twisting it. Disconnect the vent tube from the tank.
Unscrew the 10 T20 screws and dispose of them. They cannot be reused.
Gently raise the canopy. There should be a spring attached to it.
Unscrew each hose clamp bolt to loosen them. Then release the clamp.
Remove the old filter and replace with a new filter. Put the clamp back and tighten it.
Turn on the engine and check for leaks.