There are a variety of methods to build a substantial workbench, but one of the easiest is with the use of Eastwood’s shop table kit, PN 20195. Made from 3/16-inch-thick structural steel, Eastwood’s kit includes eight brackets that are designed to use 4x4-inch lumber or 2-1/2-inch-diameter pipe as legs, and 2x4-inch lumber or 2-inch angle iron as supports for the top and a lower shelf.
Thanks to the laser cut and CNC bent brackets the legs and supports are easy to keep square and aligned during assembly and the finished bench is sturdy and strong. When wood is used for construction the brackets are attached with stovebolts (not supplied) or they can be welded in place if steel is used. The dimensions of the finished table’s top and shelf, as well as its height, can be adjusted to suit your particular needs and the materials available.
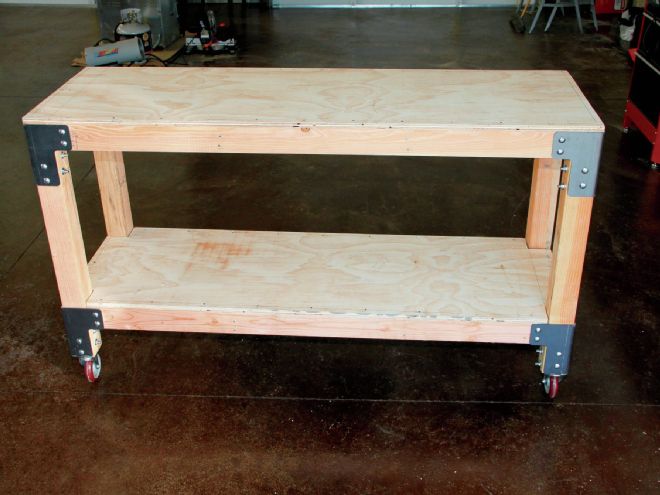
We built our bench with lumber for the framework and plywood for the top and shelf. We needed a workbench that could be moved around the shop, so we opted to install 5-inch, heavy-duty casters. The style we chose lock to keep the wheels from rolling and at the same time prevents them from swiveling.
The framework for our bench was assembled upside down on a pair of sawhorses. Once that was done it was flipped right side up and the top and shelf were attached. Assembly time for the bench stretched over a few days of spare time, a couple of hours here and there and that included time out for lunch with our buddy, Paul Willis, who was talked into helping (some people will do anything for a free lunch). The end result was a stout workbench, and we probably would have had to pay for lunch anyway.
Eastwood Tech Tip:
Spent drill bits make the most accurate panel gap gauges you can use. Pick the bit diameter that you want the gap to be and place one wrap of electrical tape around the shank to keep from marring paint/primer.
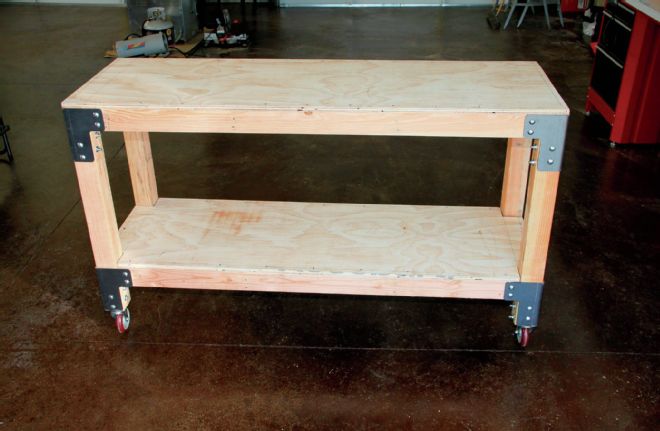
1. Our finished bench looks great and is extremely strong. It has plenty of storage space on the lower shelf, and thanks to the casters it is easy to move around the shop.
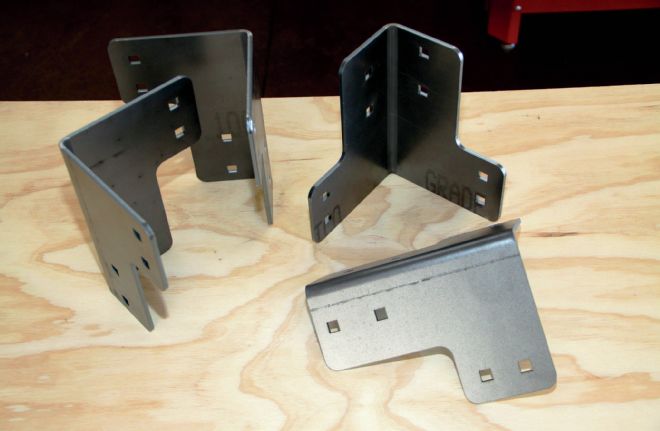
2. The Eastwood brackets are pre-punched with square holes to accommodate the heads of stovebolts.
3. We used 4x4-inch lumber for the legs. The top and shelf were made of 1/2-inch plywood.
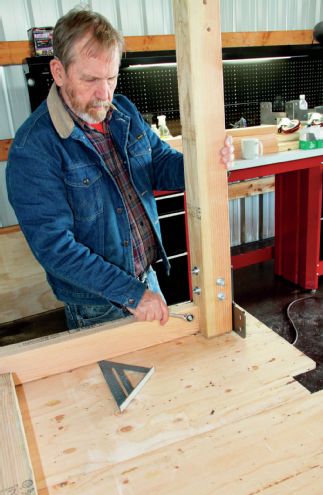
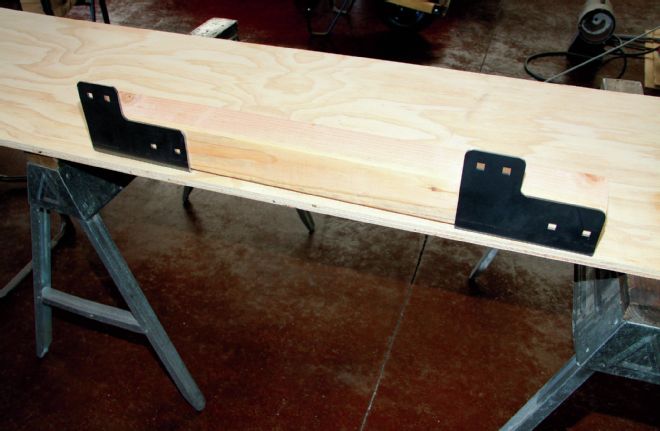
4. Paul Willis made the mistake of stopping by our shop so we put him to work. Here a leg has been bolted to the bracket and one of the 2x4-inch top supports is being attached.
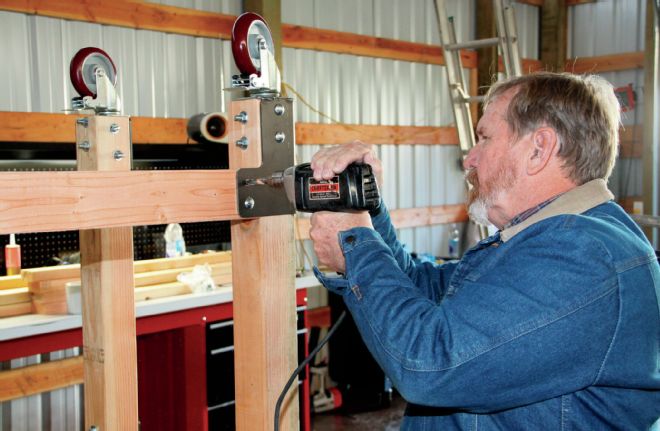
5. We decided to make our bench moveable so we welded casters to the lower brackets. We attached all the components to the brackets with one bolt, checked that all was square, and then drilled the second hole.
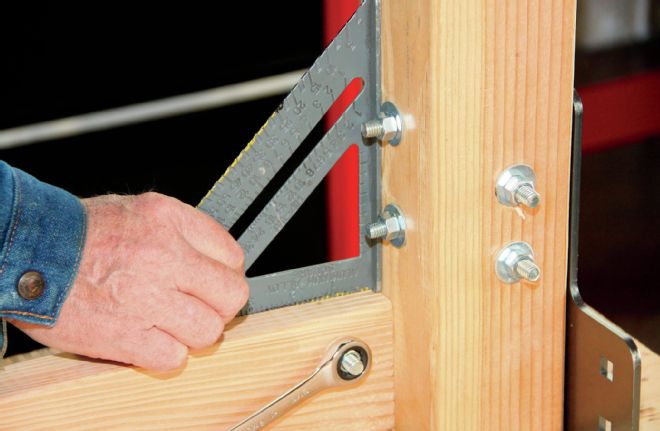
6. As all the components were being permanently bolted to the brackets they were checked once again for being square.
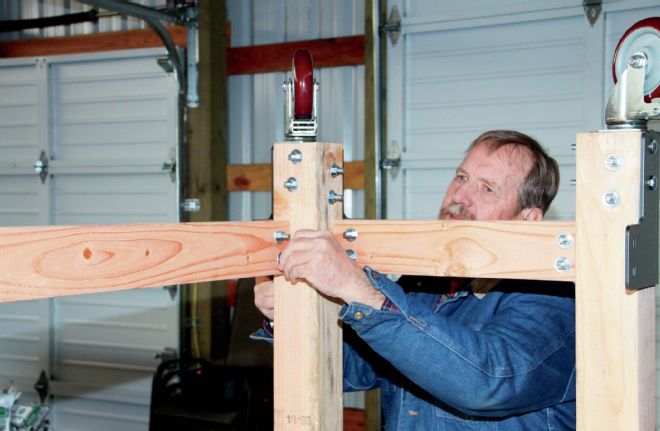
7. With the final supports for the bottom shelf secured it was time to flip the framework right side up and attach the plywood top and shelf. Our bench measures 2x6 feet—we used one sheet of plywood ripped down the center (we shortened it from 8 feet due to space concerns).