
MIG Welding is the most basic type of sheetmetal/steel welding that is widely used today. Over the years, it has become even more simplified thanks to product development, something the folks at Miller Electric Mfg. Co. have managed to remain at the forefront of with their line of Auto-Set MIG welders.
The Millermatic 180 and 211 Auto-Set MIG welders take all the guesswork out of MIG welding by allowing the user to simply choose material thickness and let the machine do the rest. It’s really that easy. The 211 Auto-Set also has Miller’s proprietary multi-voltage plug (MVP) option.
But the Auto-Set MIGs are not limited to their automatic settings—you can fine-tune within the Auto-Set function (change settings) or manually override completely and control the settings just as you would with any other MIG welder. But more often than not, the Auto-Set gets you right where you need to be voltage- and heat-wise, granted all other parameters, such as material and equipment (nozzle/tip) cleanliness, are met.
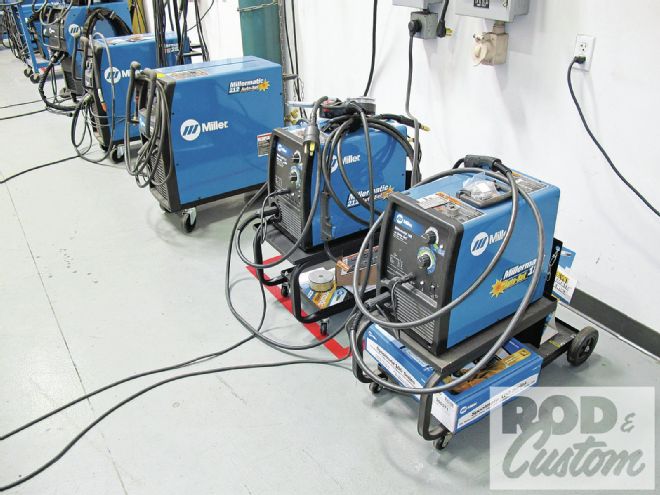 Miller’s line of MIG welders is pretty impressive. And while that line extends well into the commercial industry size-wise, for hobbyist purposes, our focus will remain on their lower end, primarily the Millermatic 211 Auto-Set with MVP (second in line next to the 180 Auto-Set).
As stated in last month’s class, the Millermatic 211 has a power output rating of 90 amps (20 percent duty cycle) using 120 V—but at 230 V, it has the highest output of its class at 150 amps (30 percent duty cycle), with the ability to weld 24-gauge to 3/8-inch mild steel. Basically, the 211’s about as good an all-around MIG as you’re ever gonna find—period. From stitching thin sheetmetal to throwing nice, fat dime-roll beads on chassis crossmembers, the 211 can do it, and do it well.
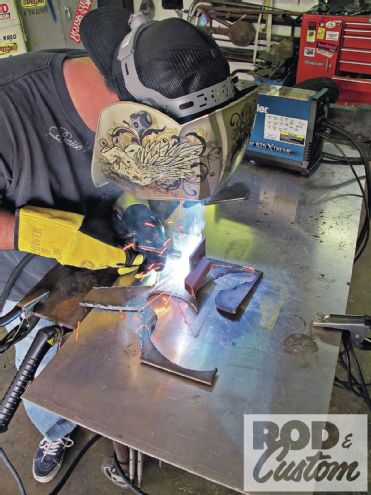
MIG welding is not best illustrated by photos—it’s something you need to experience firsthand to really learn. But we’ll do our best to feed you as much basic information as possible. For steel, while there are times when you might want to consider different mixtures, ultimately the usual 75/25 of Argon and C02 is what you’ll want your bottle filled with. Next, choose your wire size and type accordingly—again, the “usual” being 0.030 (8 mm) ER70S-6 solid (non-flux core). For starters, we’ll use the Millermatic 211’s Auto-Set features for wire feed speed and amperage settings. Once you’ve got the basics handled, you’re pretty much ready to weld—or are you?!
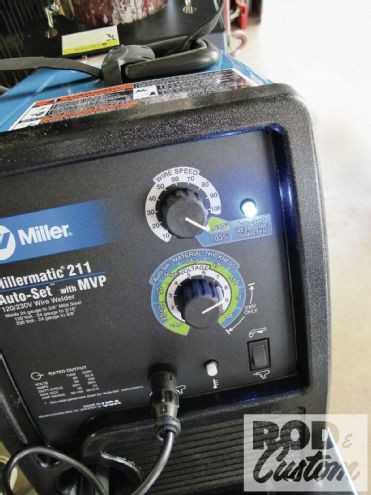 As mentioned, the Auto-Set feature (blue light indicates it’s activated) does all the math for you; but you’re not limited to the automatic settings, as all Auto-Set machines can be used manually as well.
There are various processes and techniques for which to carry out for various weld joint applications. Short arc and spray transfer are two common processes; stitch and continuous beads are two techniques. Stitch is for thin material and continuous is for thicker material.
The Short arc, aka short circuit, is done at lower amperages when welding thinner material (sheetmetal). Beyond that you’ll either weld forehand (pushing, with palm leading) or backhand (dragging, with knuckles leading)—but the angle of the torch should always remain roughly the same (around 10-20 degrees—the more angle, the less penetration) for both methods. Compared to holding the torch perpendicular, drag will give you the best penetrating weld bead; push typically gets about half of that. When performing a fillet weld, as opposed to a butt weld, your torch angle will increase to around 45 degrees based off the vertical material piece. (Miller recommends the forehand/push method—their machines are actually designed for that purpose. For tack welding they recommend a perpendicular torch angle for maximum penetration.)
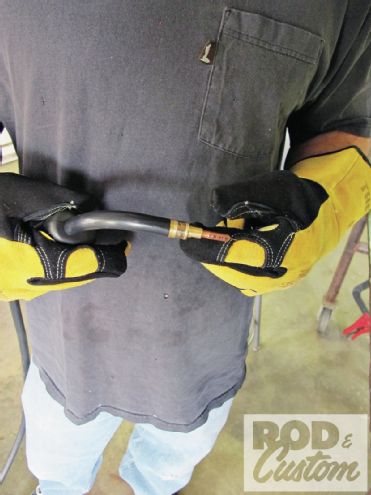 Choose your wire diameter according to your material thickness—and make sure your contact tip matches. The only time you’d ever consider using a tip larger (by one size) than the wire would be for using aluminum wire where you wanted to leave a little extra room at the tip for wire expansion. Otherwise, keep everything matched.
Again, these are just the basics—each person develops their own particular style and technique for MIG welding, and those are only perfected with continual practice. Fortunately, with a Miller Auto-Set MIG, you’ll be doing half the practice as you would’ve 10 years ago!