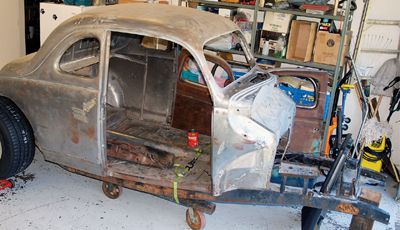
 This is my starting point-a new-to-me '40 Ford coupe. Obviously, you need to take these dimensions before you begin to slice and dice sheetmetal. It's a good idea to have the car on a stock chassis (as shown here) in order to come up with points of reference.
Aside from gassers, low is pretty much right when it comes to hot rods and customs. That's no surprise. But how many times have you looked at a car that, well, looked completely out of kilter? You know-the car that just doesn't sit right. What's even worse is the independent suspension that has been lowered so severely the camber is dangerously skewed (and those guys wonder why their tires have goofy tread wear). Inevitably, out-of-whack cars like this don't work that well either, and that's even more critical than "the look" for a car that sees regular use.
So what's the point? Simple, it's easy to build a car by slicing coils off springs and throwing suspension bits at it, but that's not the best way to do it-even if your car is going to be a pretty standard piece. The right way to do things is to begin with a basic plan coupled with some very basic dimensions; the first thing you need to do is establish the ride height of your ride.
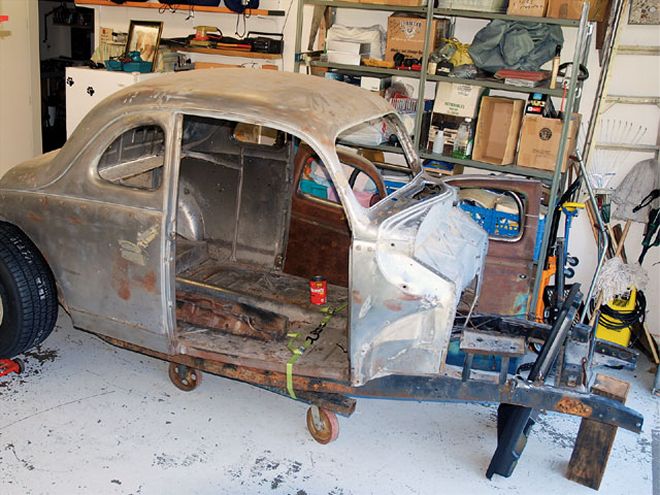
 The first thing I had to do was level the car front to back (most built-in-Detroit cars are more or less level along the rocker panel when they leave the factory). As you can see, a simple carpenter's level placed on the rocker panel does the trick.
By establishing the ride height, you can then build the car to suit the components instead of the other way around. You can establish some "knowns" (how high or how low you want it to sit, tire dimensions, rocker panel or running board height, etc.) and then fill in the variables (suspension hardware such as springs, shocks, suspension links, and so on). This way, a car like the '40 Ford in the photos, which will eventually be fitted with 29 1/2-inch and 25-inch-tall rolling stock, will still look right and work right, even after it's lowered as far as mechanically possible.
To get there, I first figured out the rearend width (see the February '08 R&C for more info). Then I determined how high the back tire could go before I ran into body interference, and took the measurements. Pal George Cathey of Pro Designs used my dimensions and laid out a rough draft of the chassis perimeter in Auto CAD. The drawing shown on page 48 isn't complete or finalized, but it is a work in progress as we deal with dimensions. Of course, there are limits to this juggling: Pinion angle, tire clearance, and other factors enter into the equation, but it's still nice to have a real point of reference before you or your chassis builder fires up the plasma cutter.
As you'll soon see, there are no tricks to this scheme. Instead, there are just a few common sense ideas that work. Check out the following photos and copy the concept and you'll have the basics to build a car that not only looks right, but also works properly, too.