 Short on time to get to the track, we find out just how easy it is to install anchors for a HANS Device ourselves.
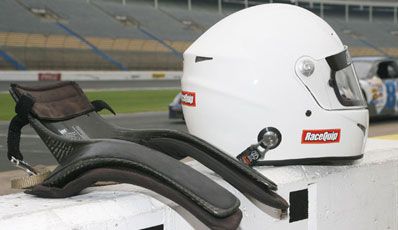
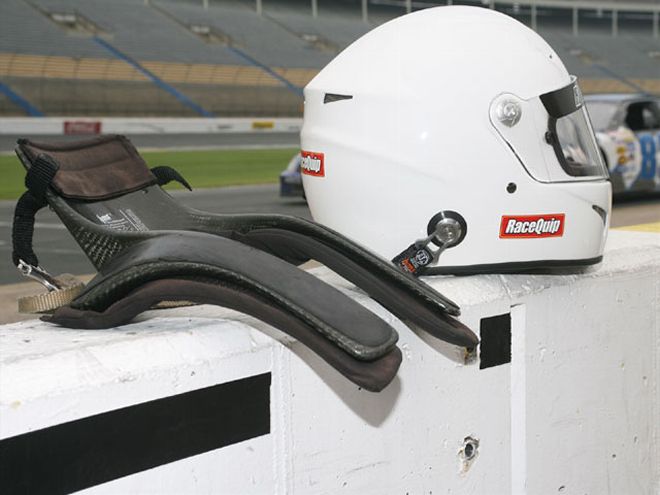
Racers, by nature, tend to be do-it-yourself types of guys and gals. So when my buddy Andy Hillenburg offered up the chance to play around in one of his ARCA cars at Lowe's Motor Speedway, I knew he was going to make me wear a HANS Device. Not that I would get in a race car without some type of head-and-neck restraint, mind you, but Andy's fav is HANS. After all, it is his race car.
I had just gotten my new non-HANS-compatible helmet from RaceQuip and didn't have enough time to send it off to Georgia for a retrofit, so I figured it would be a perfect guinea pig for HANS' do-it-yourself conversion kit.
The kit comes complete with almost everything you need to perform the conversion-a set of anchors, thread lock sealant, an anchor installation tool, a quick-start guide, and an owner's manual CD. You will also need masking or blue painter's tape, a drill, a 11/44-inch drill bit, and an additional open-end wrench.
Measure twice, cut once! Bob Vila said it, and we here at Circle Track try to live by it. The second hardest but most critical step is the first thing you do, and that is finding the centerline of the helmet. We'll tell you what the hardest thing is a little later.
First things first, though. Unless you want to mark up your brand-new brain bucket, cover the helmet along the back and sides with the tape.
Basically, you want the anchors to end up 6 inches from the rear centerline of the helmet (on either side) and 1.5 inches above the rubber lip that surrounds the bottom of the helmet. The instructions tell you to use the same point on either side of the helmet for painfully obvious reasons. We opted to use the pivot as the starting point, measured from either side, and found the centerline of the helmet.
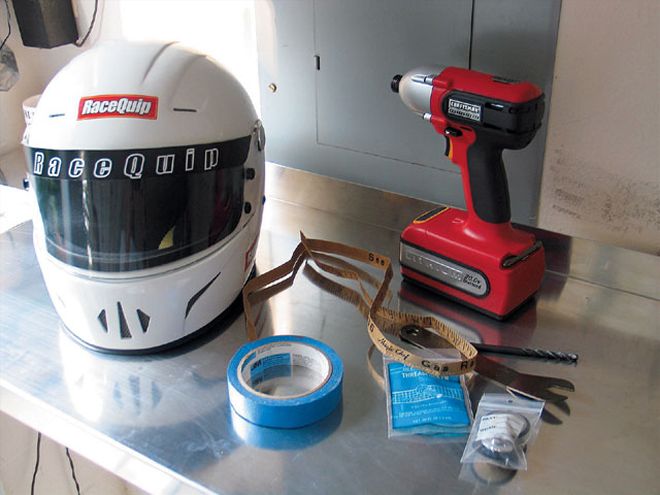 The victim: a brand-new SA2005-rated RaceQuip Ridgeline full-face helmet, along with the tools to get the job done.
Once you find the centerline, the instructions tell you to make three horizontal lines 1.5 inches from the rubber lip that goes around the bottom of the helmet. Make sure these lines are relatively long, as you'll use them in the next step. Now that you have your horizontal lines, measure 6 inches from your centerline mark to the horizontal line and draw a vertical line through it. Doing this is a lot easier if you have two people-one to hold the measuring tape securely, the other to make the hash mark. The cross that is made is your target for the fun part, which is drilling holes in your brand-new helmet.
Drill slowly and carefully; you don't want to ram through the outer shell and tear up the padding inside your helmet. Once you've drilled the holes, clean them out thoroughly. Most helmet shells are made of fiberglass. If you've ever drilled fiberglass, then you know you don't get a clean hole. If that hole isn't nice and clean, you'll have a bear of a time getting the anchor screw to thread into the nut. Any leftover fibers will get in the way of the screw seating properly.
Once the hole is drilled and cleaned, you're ready to install the anchors. If your helmet doesn't have removable inner padding, you'll have to pry back the padding and then slide the nut into place. Apply some of the provided thread lock sealant to the nut and tighten down the whole thing, making sure that the pointy end of the anchor screw faces the back of the helmet.
A word of warning: When you're holding the anchor nut in place, don't use the closed end of the HANS-provided wrench. Once the whole thing is tightened down, the hardest step in the process (told you we'd tell you) is removing the closed-end wrench from between the padding and the nut.
The whole project took a little over half an hour, including clean up. It was easy and quick, and we didn't have to be without our helmet for a week while we waited for the UPS guy. If you choose to install your own HANS anchors, follow the instructions exactly and contact the manufacturer if you have questions. The anchors have to be properly installed if the device is going to do its job in the event of an accident. Also, don't forget to order the tethers, which were not included in our kit. Now, folks, it's off to the track.