The S197 Mustang chassis is an excellent foundation for building a fun street car that can hang with Porsches, or a full-on track car ready for Time Attack runs, since it takes little more than just the right bolt-ons. There are some fantastic suspension packages out there that are already sorted to get you to those levels. Lowering springs or coilovers are always going to be part of the equation since stock ride height is better suited to grocery getters than corner carvers and lowering a Mustang brings a host of handling benefits, but to do it properly you can’t just stop at the lowering springs.
That’s because anytime you alter ride height, you also alter suspension geometry. When the drop is modest, like 1/2 or 3/4 inch, geometry isn’t something to worry about. However, when you get in the 1- to 2-inch range, the geometry changes could be large enough to compromise the suspension system.
What’s happening can be traced back to one primitive and often overlooked element of the suspension: the ball joint. The front roll center on an S197 (and an SN95) is fairly low already, so when the suspension is lowered dramatically the front roll center drops to well below ground level. The excessively low roll center actually causes the body to roll more easily, working against the performance suspension. Countering this tendency usually requires a significant increase in front spring rates to simply control the added roll due to the lowered roll center, making the ride rougher. So you end up with a rough-riding car that doesn’t handle as well as it could.
The solution is actually quite simple: a taller ball joint. By using a taller ball joint and raising the spindle relative to the ball joint pivot point, the roll center is raised back into the correct range for optimum handling, resulting in reduced body roll, quicker steering response, and improved front tire grip. That’s straight from the one company that has had the foresight to have specific custom ball joints made to fix this issue with Mustangs: Steeda.
The great news is the ball joints are cheap, the swap is easy, and it helps every suspension system work better, not just Steeds’a own extremely good packages. So no matter what you have under your Mustang, this simple part from Steeda can make it work better.
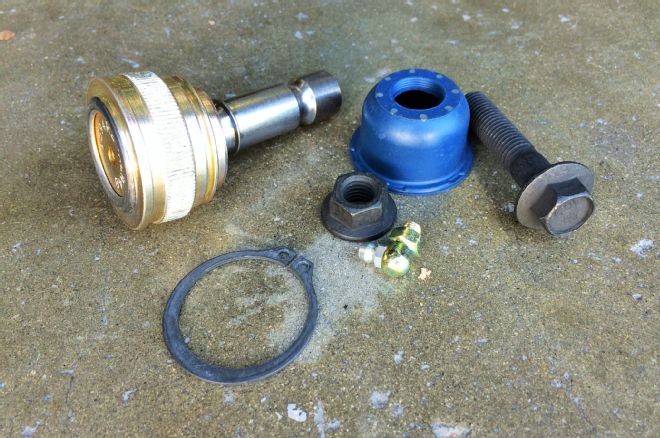
01. This is the Steeda X5 Balljoint Kit. Along with the ball joint, Steeda includes new hardware, a snap ring, grease fitting, and a polyurethane boot. Steeda is very serious about quality and safety because it knows its customers race on these parts. According to Steeda, the ball joints are made with the same materials and design that have been extensively tested in various severe-duty applications (e.g., police vehicles) and have demonstrated durability exceeding current production ball joints. In addition, they meet or exceed Ford Motor Company’s standards for friction, wear, and durability.
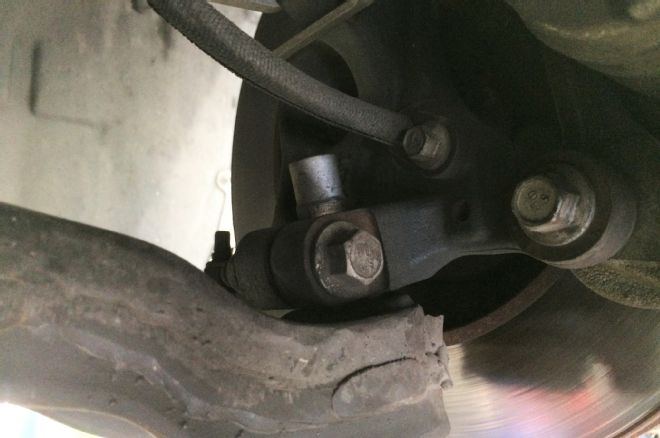
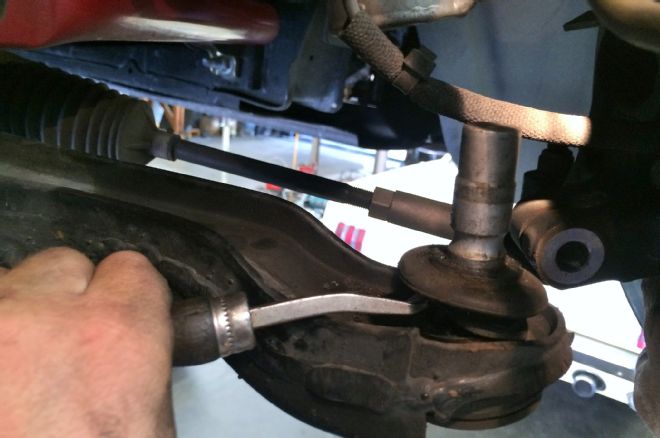
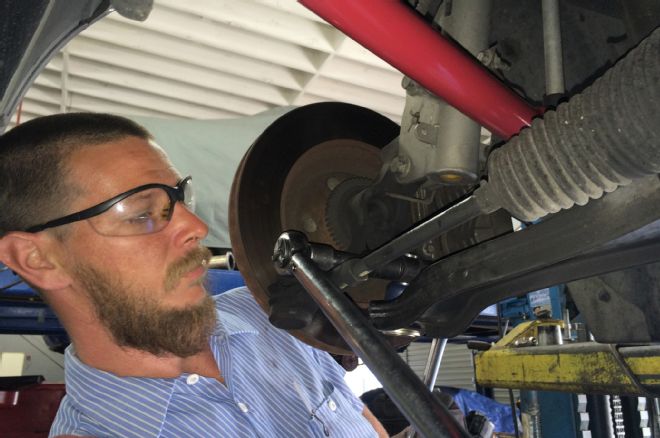
02. S197 ball joints are a different breed from any previous Mustangs. Rather than a cone shape that is pressed into the spindle, the S197’s ball joint is of uniform diameter top to bottom and locks into place on the spindle by way of a bolt.
03. That’s great news for swapping them since it means separating the ball joint from the spindle only requires removing the bolt and then lightly tapping the lower control arm downward. It’s just that easy!
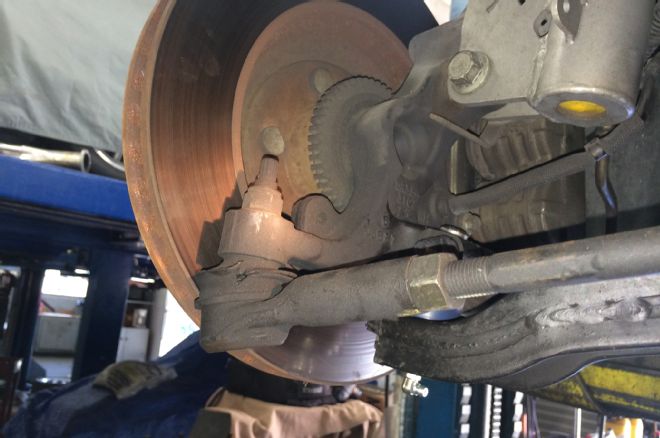
04. Even though our S197 is only 10 years old with 86,000 miles on it, the rubber ball joint boots were cracked and shot. We simply pried them off because we won’t be reusing them. The Steeda ones should be much more durable.
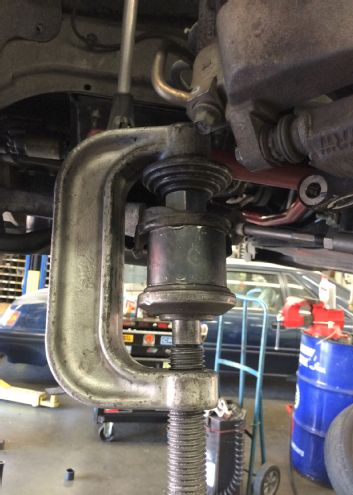
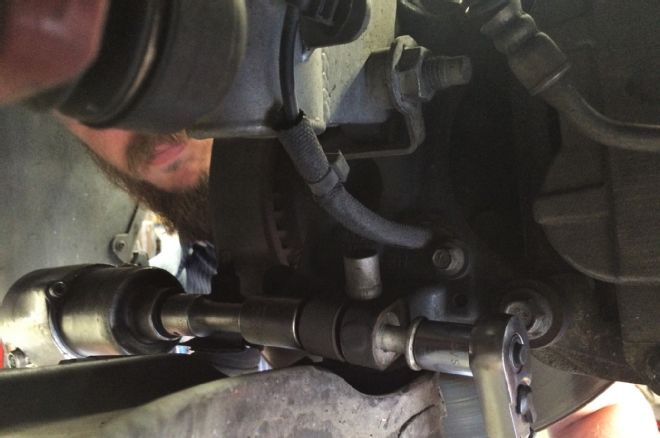
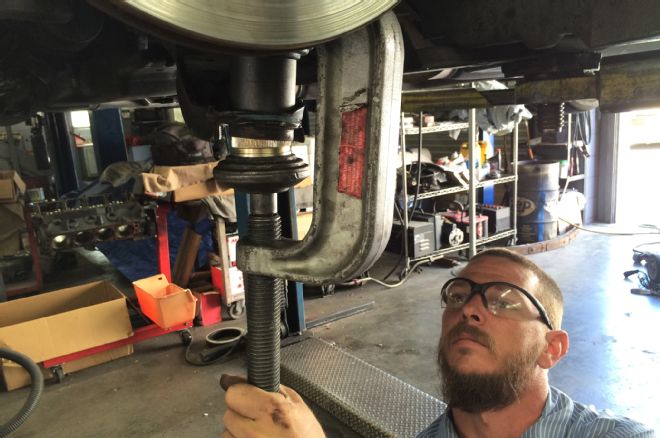
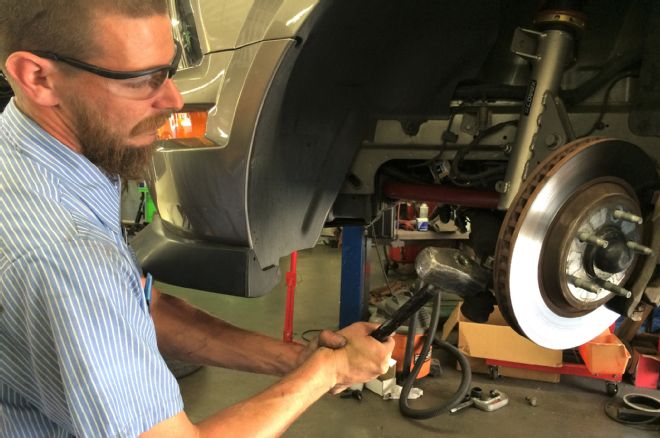
05. There are two ways to remove the ball joints from the lower control arms. Steeda recommends pulling the lower control arm to put it in a press to remove the ball joint. Our expert mechanic, Steve Miko at Mustangs Etc. in Van Nuys, California, recommends a faster way, one that leaves the front suspension intact and installed. You will need a rather large clamp to use as a press. The large cylinder on the bottom is just a piece of pipe that allows space for the ball joint to be pushed into.
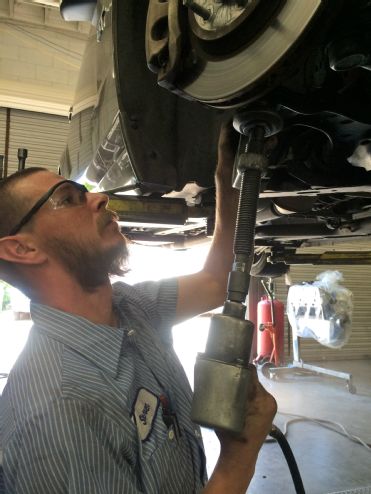
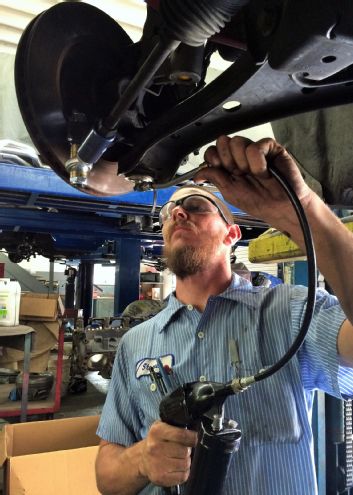
06. A large impact is your friend to provide the hammering force to push the ball joint out. This is definitely not something you can do by hand.
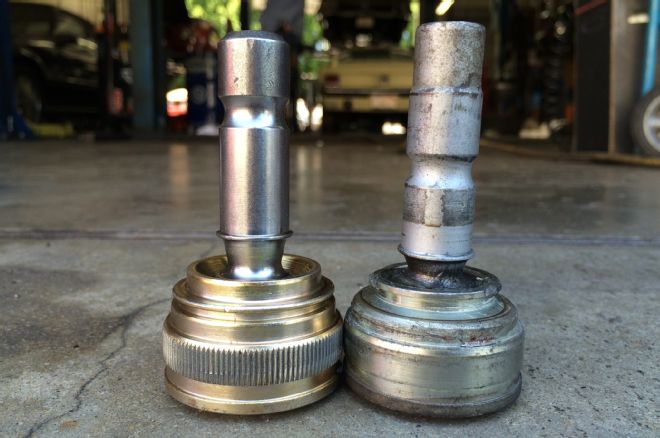
07. Here is a side-by-side comparison of the stock ball joint pulled from our S197 (right) with the Steeda X5 (left). Note that the ball joint itself is exactly the same length, but the ring that the bolt uses to lock the spindle to the ball joint is raised significantly.
08. To install the X5, we simply flip the arrangement on our press and put the pipe on the top so that the clamp can push the ball joint into the control arm.
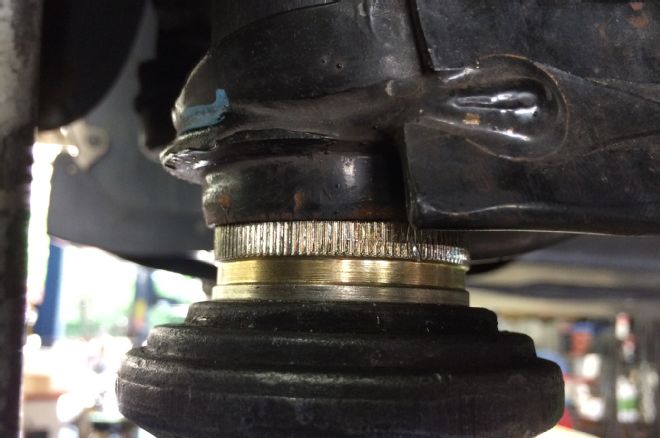
09. To account for any irregularities in used arms, the X5 has these grooves to dig in and take up any slack in the steel and root it in solidly. This also means that you need to take care to ensure that you drive it in square and even, because backing it out is not easy or recommended.
10. With the ball joint fully seated, this retaining snap ring is installed from the top.
11. It may sound silly, but getting this poly boot on was probably the hardest portion of our install. It fits perfect once you get it on, but it doesn’t flex much and pushing it down so that the ridge locks into the groove on the ball joint is a challenge. We used a small pipe to help us push it down.
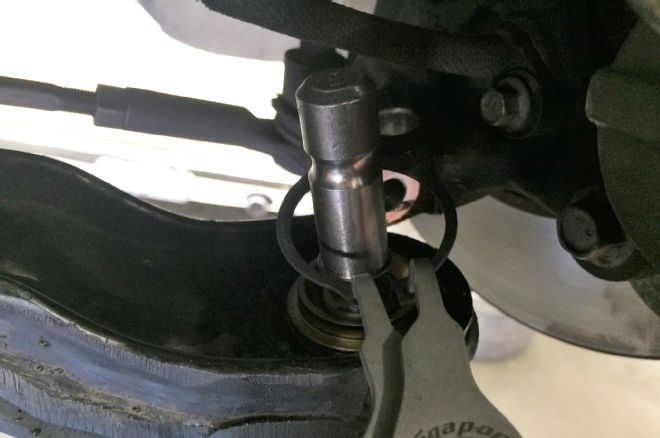
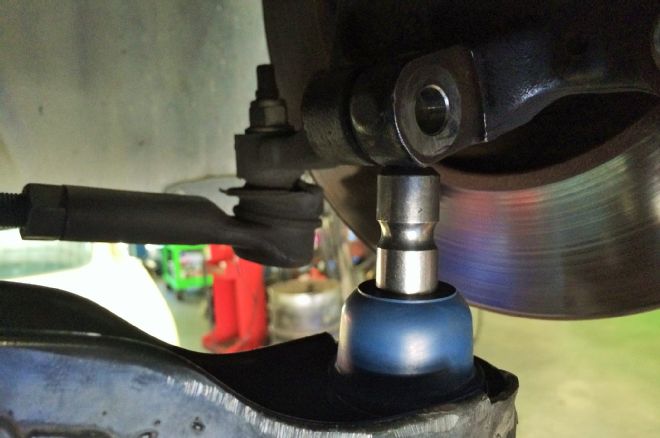
12. Since no pressing of the ball joint into the spindle is necessary, it is simply slid up into the spindle. Then the new bolt from Steeda is slid through and torqued to 76 lb-ft.
13. Unlike the nonserviceable stock ball joint, the X5 has a grease fitting that allows it to be filled. They are shipped dry, so be sure to pump them full of grease before use.
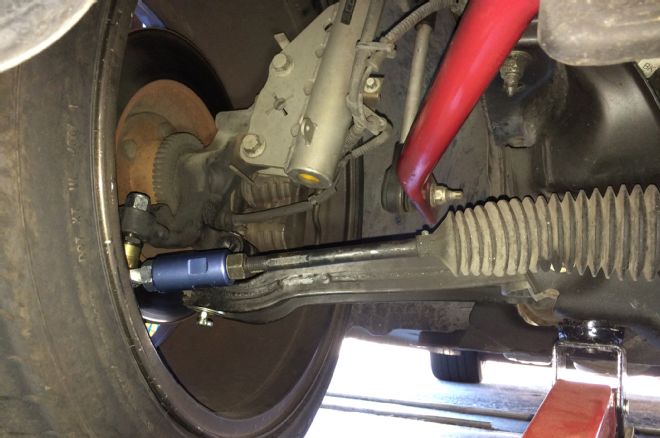
14. While we’re under here, there’s one other quick upgrade we can do to help the manners of our lowered S197: the tie-rod ends.
15. These are still old-school conical style joints; once the retaining nut is removed, a sharp whack with a hammer will knock it loose.
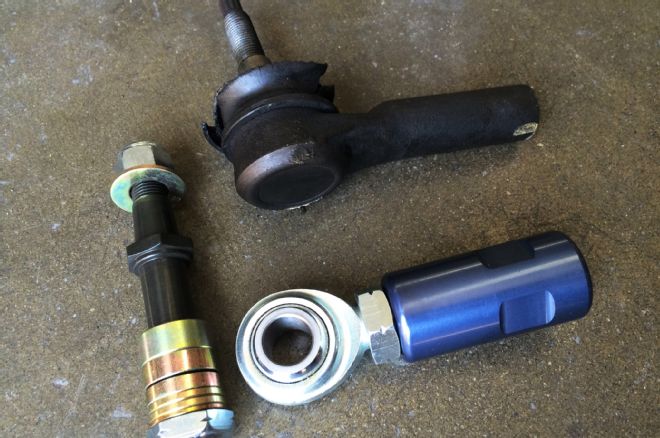
16. This is Steeda’s bumpsteer kit compared to the stock S197 tie-rod end. Installing these is a quick and easy way to combat the other thing that rears its ugly head with lowered cars: the tendency of the front end to track and pull over ruts and bumps. Steeda always recommends using these on lowered cars and particularly pairing them with Steeda’s extended ball joints.
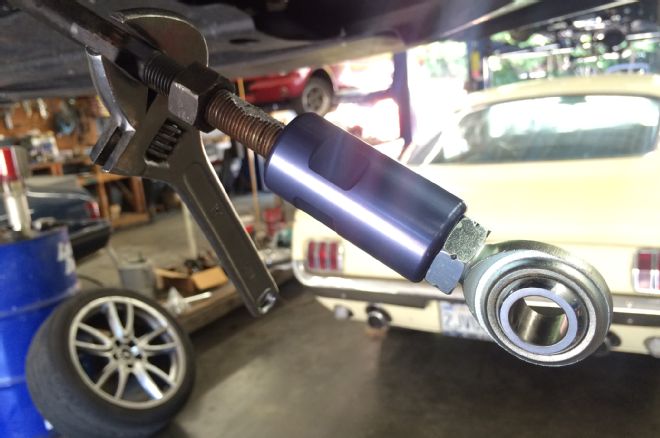
17. Installing these is just as easy as unscrewing the stock ones and screwing the Steeda tie-rods ends in place.
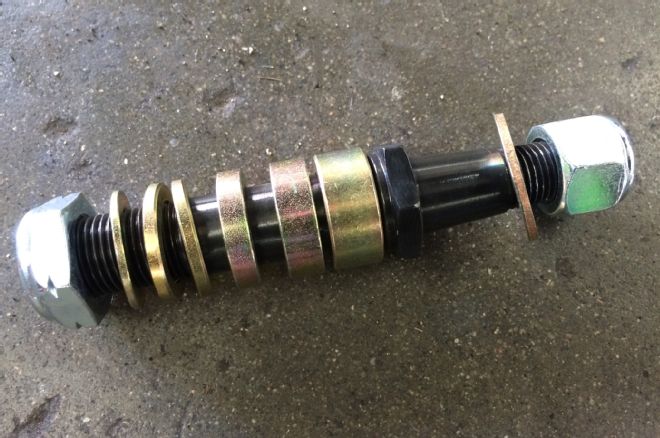
18. This is the part that holds the key to dialing out bumpsteer. The variously sized spacers on the stud allow the tie rod to be raised or lowered to the right distance to create the correct arc during suspension travel that will not induce bumpsteer.
19. This is the distribution of spacers that we chose to try for our kit. There are solid recommendations that will get you in the ballpark based on the suspension drop the car has, but it will always be a bit of trial and error to find the right combo for your car.
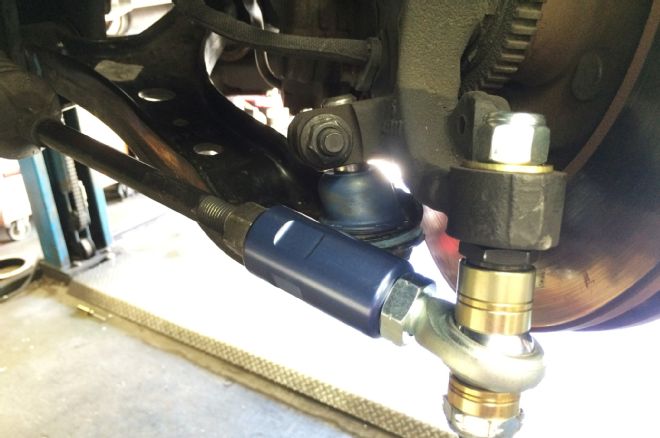
20. Our guess was pretty good. Note that the tie rod and the lower control arm are on the same plane. That’s a good place to start. We’re actually going to drive the car like this and see how the bumpsteer feels. There is of course a much more technical method of dialing out the bumpsteer—by measuring the arc throughout the suspension travel—but that requires quite bit more work with special tools.
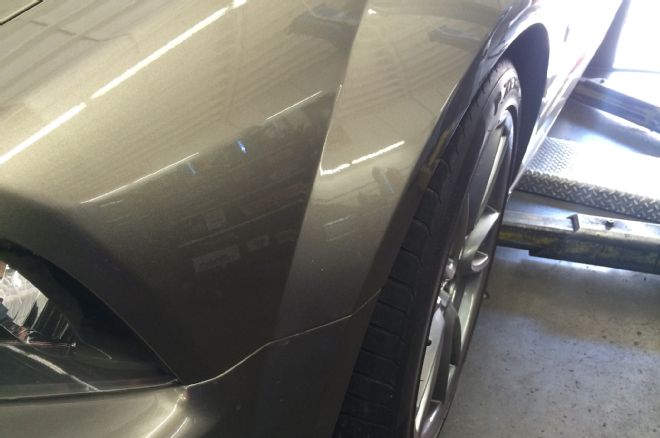
21. By extending the ball joint, we not only changed the geometry of the front suspension but also changed the static alignment. Look closely and you’ll see that the front wheels are toed out very significantly. The car is definitely not drivable like this, so an alignment is needed.
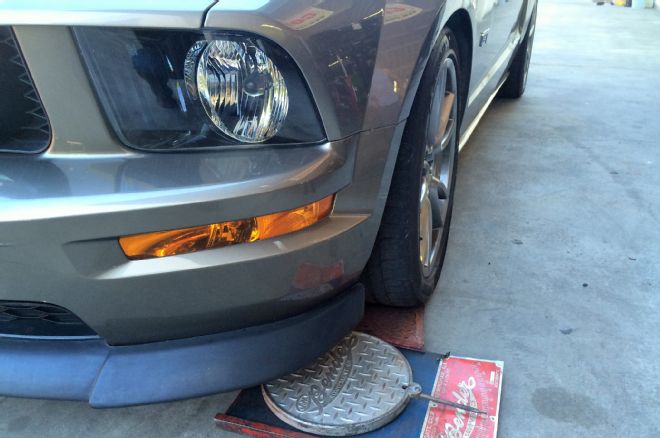
22. So that we don’t chew up the tires on the way to the alignment shop, Miko used these alignment plates to at least get us in the ballpark.
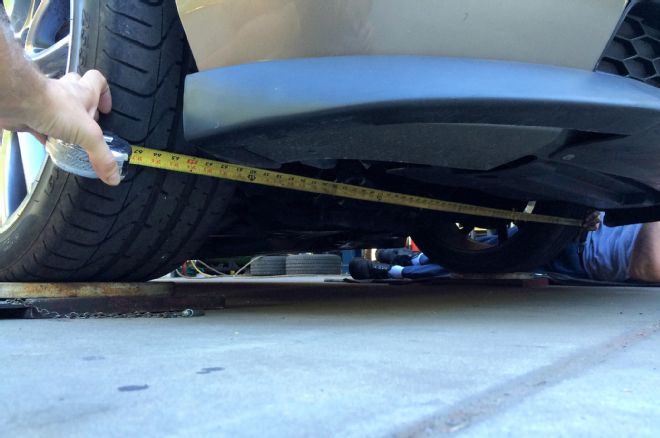
23. It’s crude, but the simplest DIY method of setting the toe is by measuring the distance between two points on the tires. Obviously we can’t be as precise as a laser system, but we can get quite close by measuring from the right points. Rather than using the sidewall, which can vary a great deal, opt for a tread block. Also, go as high up on the tire as the chassis will allow straight line measuring. We established roughly a 1/8-inch toe-in that will allow us to drive it temporarily.