When you go to purchase a truck the last thing you want to think about is tearing it apart. Fixing major damage can mean the difference between keeping the truck or passing it on to the next sucker who wants a project.
With this particular truck the owner started off by doing the paint and body rather than having the frame looked at. It was not until he drove the vehicle on a long trip and felt how poorly the truck performed. He then took the vehicle to Deuces Wild Hotrods & Customs to investigate what made the truck handle like a school bus with pinto brakes.
One of the previous owners had installed a Camaro front clip. By the looks of it, whoever installed it wasn’t very experienced when it came to welding. Don’t get me wrong, the welds looked like they would have held together just fine, but the overall install was more concerning than the structural integrity.
After looking closely at the frontend, John had noticed the front arms of the donor clip were working against each other. Now this is the hard part if you don’t know how alignment works, but I’ll try my best to explain. The Camaro donor clip was not level with the rest of the frame, and in fact it was installed pointing downward in the front (negative caster). This caused the lower control arms to have a negative caster, meaning the lower control arms tilt toward the front.
Our new Fatman front clip is set up so that the lower control arms are level or at 1.5 degree tilt positive caster (tilted back). Then looking at the upper control arms John noticed that the upper arm was almost level to the frame or something around 1 degree of positive caster. The upper control arms would have been OK if the lower control arms were not at such a negative caster.
Upper control arms are weird in that not every vehicle is or should be set up the same because of variances in the frame, vehicle weight, motor size, and the list goes on and on. Let’s say the owner did nothing about fixing the Camaro donor clip and kept driving it. Well then he would have probably seen poor braking performance because the of the negative caster and increased bushing wear on the control arms. Not to mention that with this particular donor frontend the steering box and steering shaft were in the way for any kind of performance headers.
The replacement Fatman front clip comes with a rack-and-pinion frontend that frees up tons of room on the driver side of the engine bay. You have to remember if you have a free-flowing exhaust it equals more power and that is always a good thing.
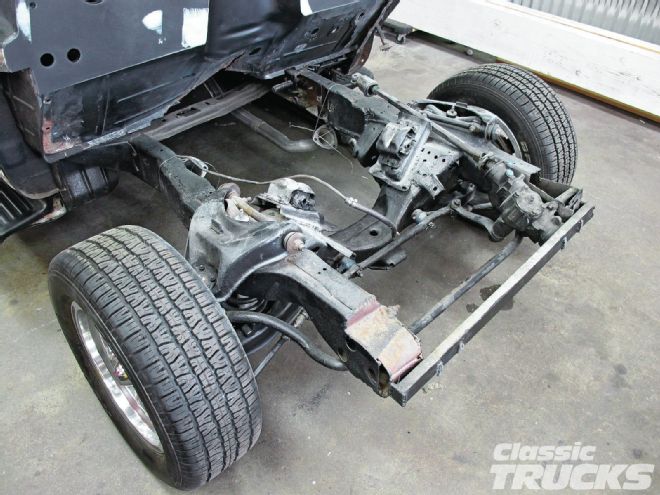
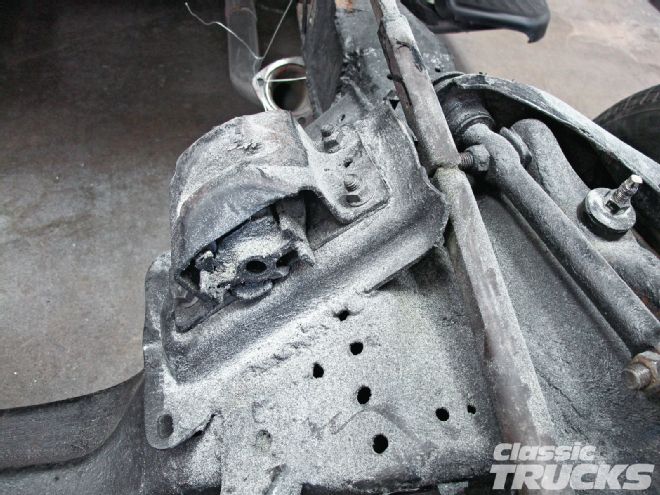
01 Doesn’t look too bad at first glance. Well let’s take a closer look.

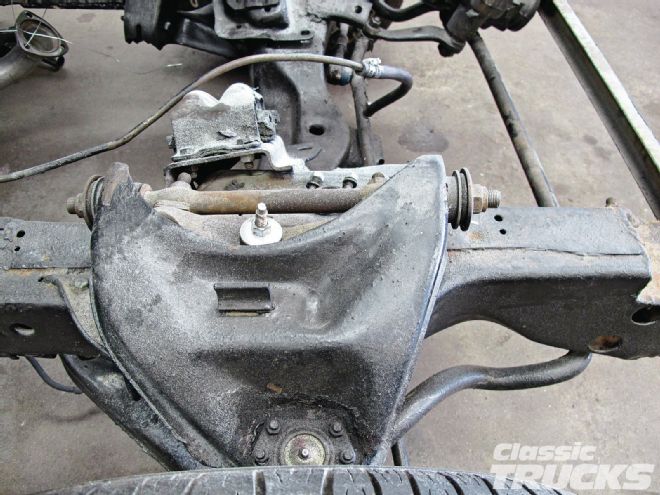
02 Its hard to tell from this photo, but the upper control arm was set at almost 0 degrees caster with the weight of the engine out of it.
03 The steering box was not properly boxed in and in fact only two bolts were holding it in, the other had fallen off. Could you imagine if the upper bolt would have come loose and the steering box moved while driving? I wouldn’t want to drive it nor would I want it on the road with my wife and kid.
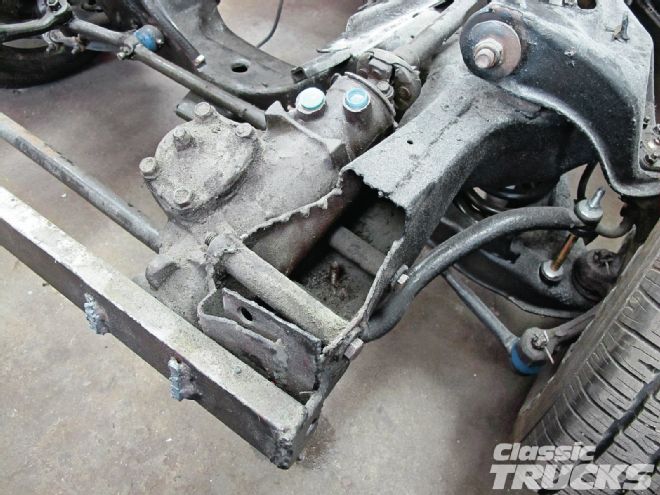
04 Notice the steering shaft and how close it was to the engine mount plate. It’s crazy how much was done to lower the truck, but nothing in regard to safety. All it would take is for the already messed-up steering box to shift over a 1⁄4 inch while exiting a freeway and the steering shaft could lock on the engine mount causing the steering wheel to get stuck.
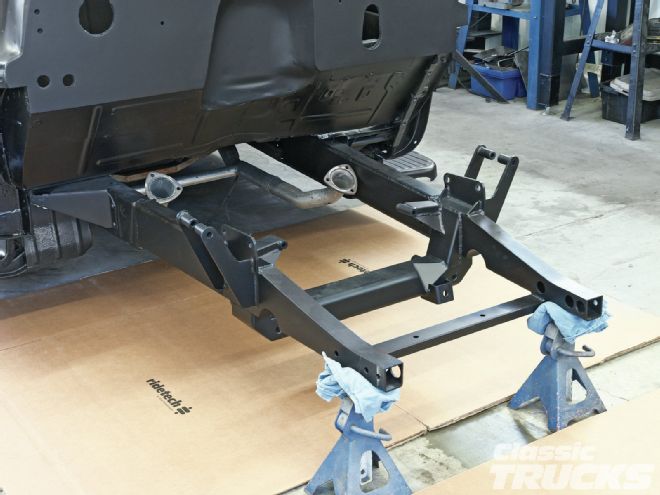
05 So instead of trying to fix the donor Camaro frontend the owner took John’s advice and ordered a Fatman Fabrications front clip.
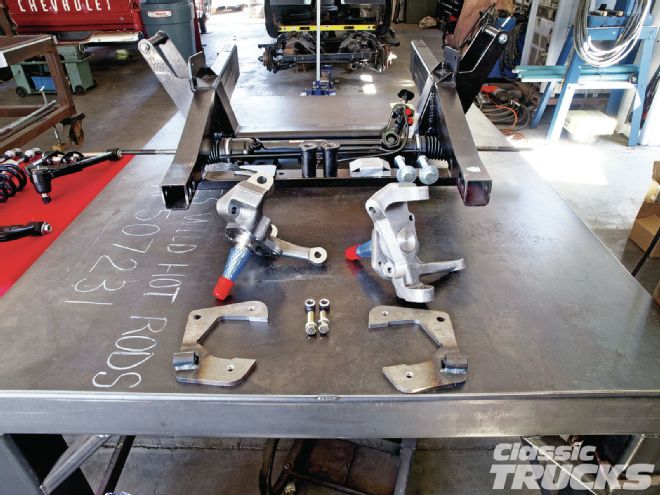
06 John used RideTech upper and lower control arms with RideTech’s new single adjustable coilovers. With the combination of the Fatman front clip and the new RideTech parts this truck should ride great and align perfect.
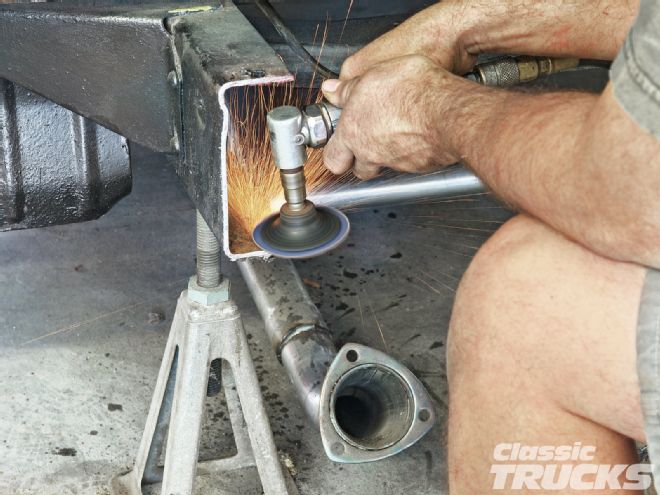
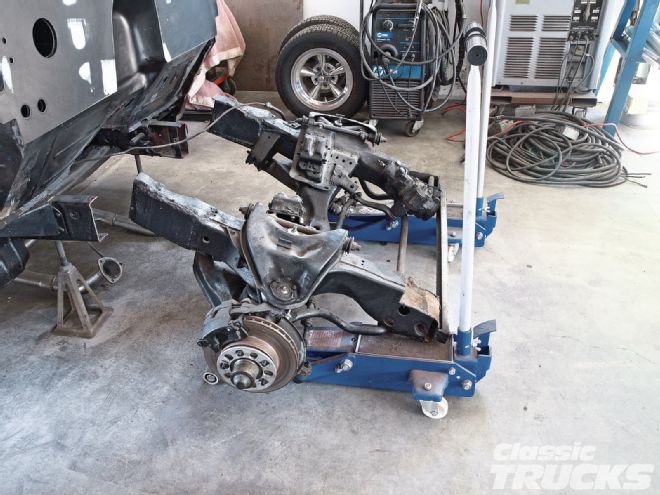
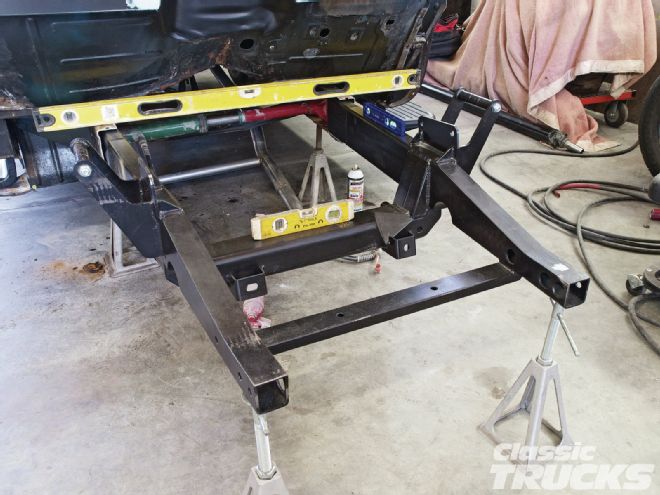
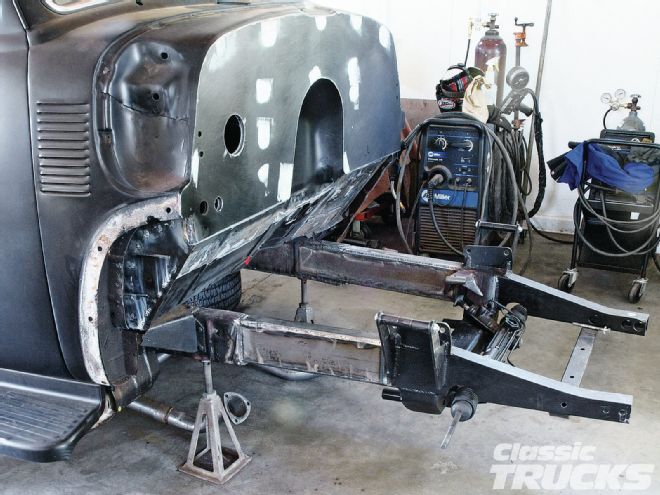
07 After leveling the frame from left to right and front to rear, John carefully cut out the Camaro frontend.
08 The inner framerails were ground down so that John could weld fresh metal to metal. This way he could make a clean weld on the old frame and new front clip.
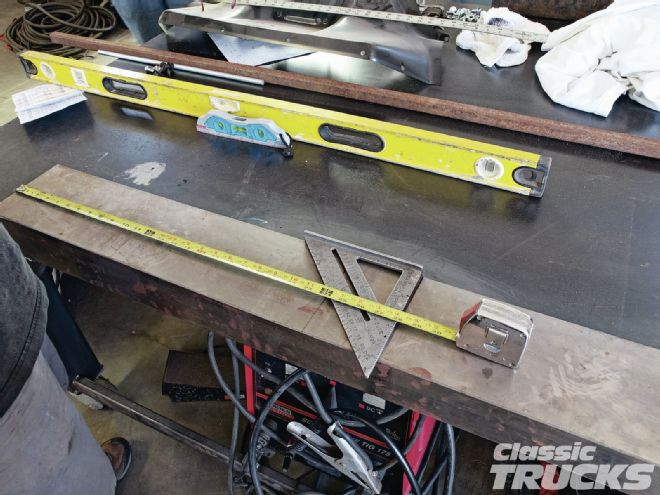
09 The clip was then slid into the old frame with the help of a porter power tool. Then several levels were placed on the new frame to help level the front clip. Since John already leveled the stock frame, he could match level to the new clip. Make sure to also check left and right and check the stub to see if it is square in the frame.
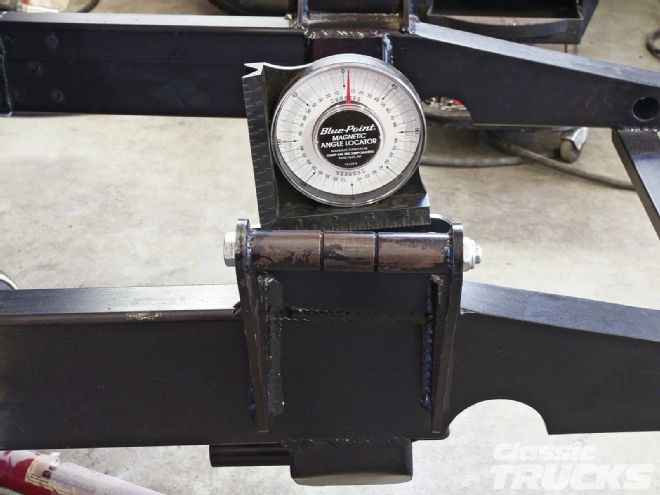
10 John also made sure that the clip is the same height from left to right and that the frame does not raise or dip on one end. 11 Before welding, John checked that the upper control arm mounts were within tolerance. They were right where Fatman recommends them to be at positive 5 degrees caster (tilted back).
11 Before welding, John checked that the upper control arm mounts were within tolerance. They were right where Fatman recommends them to be at positive 5 degrees caster (tilted back). Note: Caster can be set at the upper arm plus or minus 5 degrees.
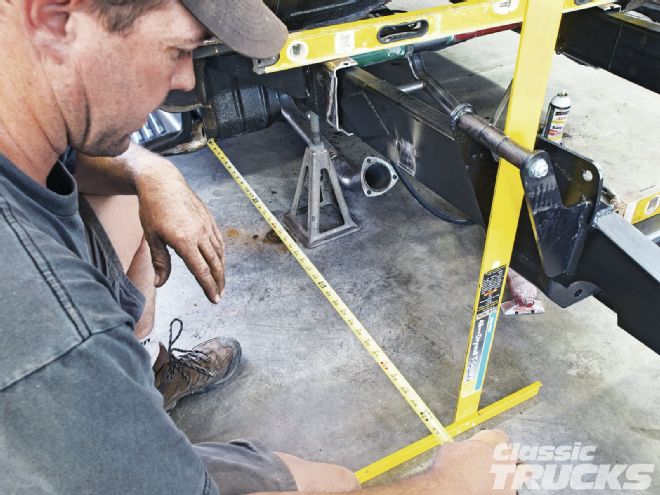
12 A few more measurements to see if the frontend was in the right spot and John and RJ could test fit the front sheetmetal.
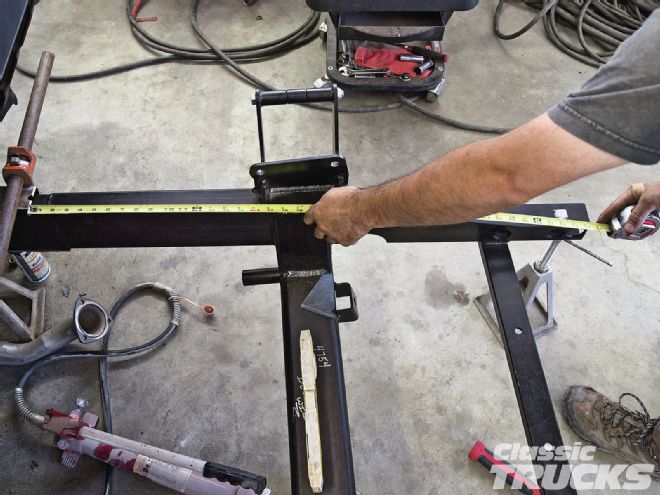
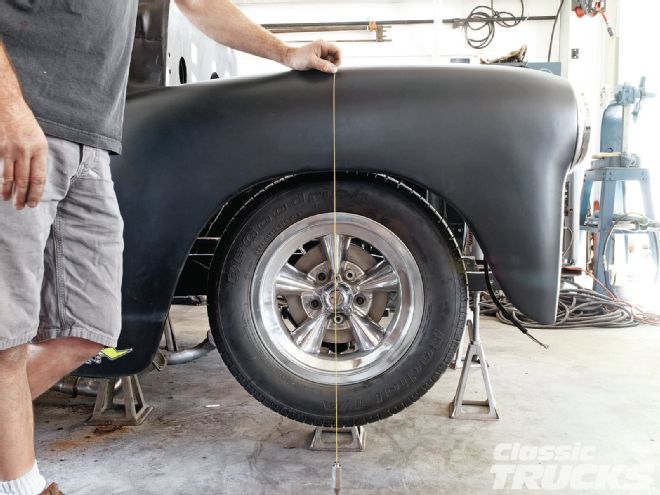
13 The front clip was supported with screw jacks and tacked in a few spots to help hold it in place. John then installed the front sheetmetal and checked the wheel centerline with a drop center.
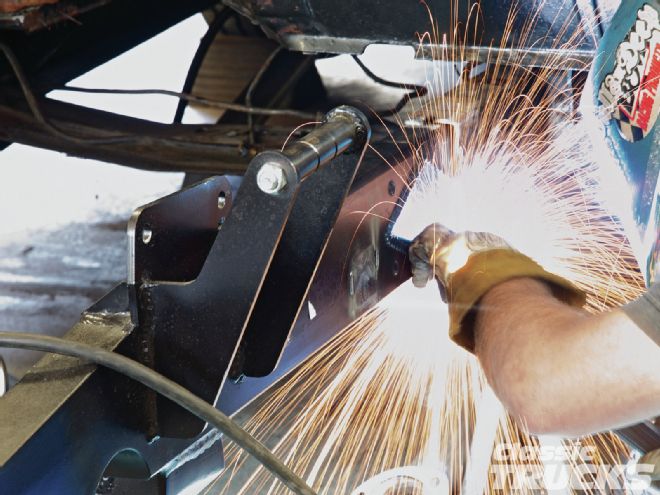
14 Time to throw some sparks. John welded inch stringers to each side so that the frame would not move from welding.
15 Then, while waiting for the frame to cool, RJ and John made boxing plates to further structure the stock framerails. They used 6-inchx10 gauge cooled rolled steel for boxing plate.
16 While they were at it, the owner wanted the old frame and new frame to look smooth. So a few thinner sheets of sheetmetal were cut out to smooth out the frame.
17 Coachcraft, a custom body shop, is right next door so the owner also cleaned up the framerails and firewall with a fresh coat of black paint.
18 John used anti-seize on the lower control arm bolts to prevent rust. This also helps the control arm go on with ease.
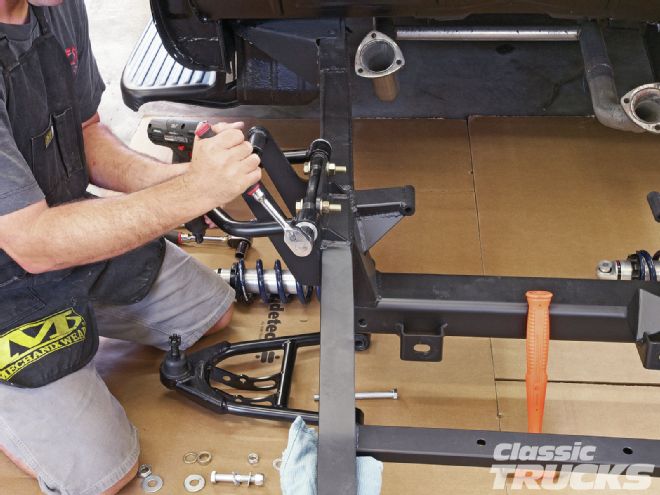
19 The upper and lower arms were installed along with the RideTech single adjustable coilovers.
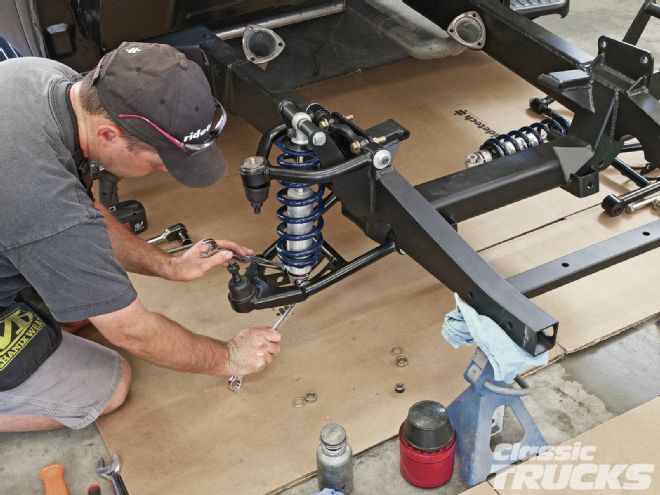
20 Upper and lower control arms were bolted on via the RideTech spindle. Make sure to use anti-seize on the ball joints and use cotter pins on the castle nuts.
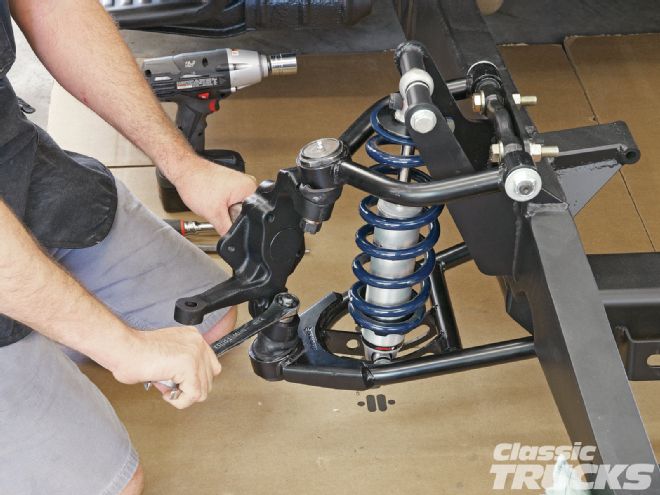
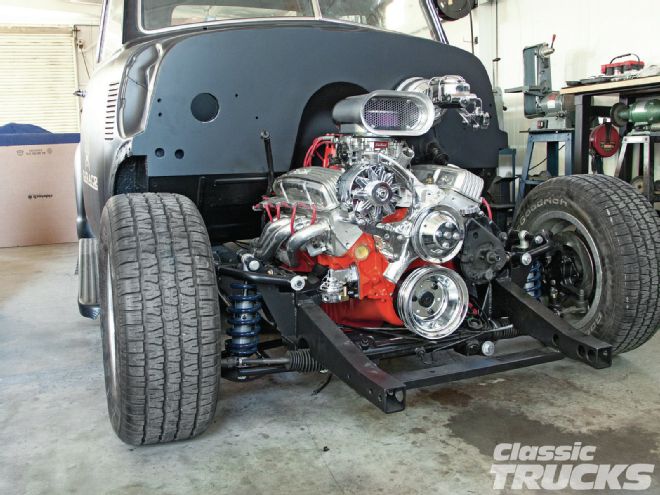
21 The brakes were installed and the guys were getting ready to install the engine into the custom mounts.
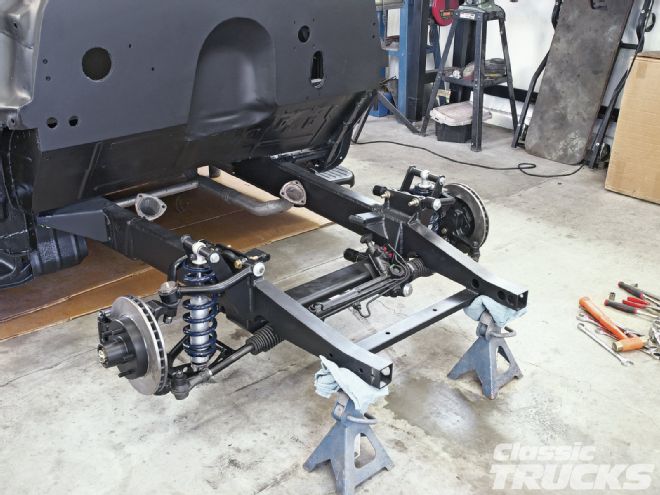
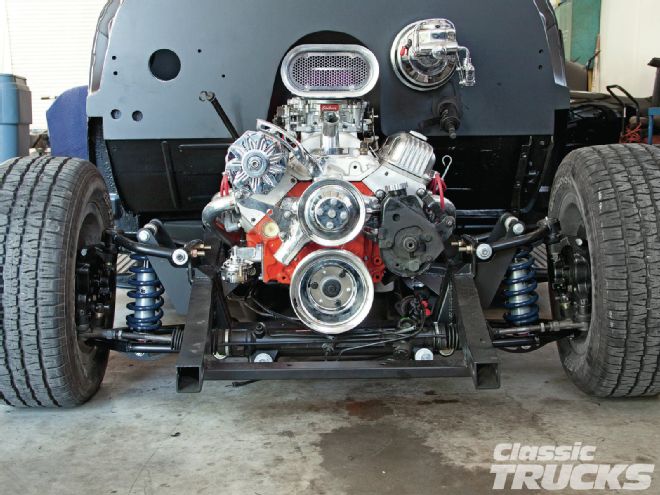
22 With the Chevy 350 installed the RideTech coilovers were adjusted to level out the ride height. Well, as much as we could without the front sheetmetal on.
23 If you look at the lower control arms when everything is assembled they should be parallel with the ground at ride height. Also the upper control arms should point slightly up toward the top of the tire for camber gain while entering a corner. Make sure to take the truck to a qualified alignment shop after all the work is completed. A proper alignment will not only make the truck handle better, but you will have less tire wear and possibly better mileage. Also, adding a rack-and-pinion steering will make it feel more positive and react more like a new vehicle.