
When I purchased my 1963 Nova wagon almost 20 years ago I sat down and made a list of things I was going to either replace or restore to get the car where I wanted it. The one thing that I didn’t even consider at that point was the audio system. My car was in original condition, and that meant a trusty Delco AM radio in the dash with a tinny defrost grille speaker (which actually worked) so I figured what with ball games and some oldies stations that would be fine. That idea lasted for a couple of months before I was going insane knowing every car that passed me was enjoying a plethora of FM stations I had no access to. Researching a replacement that would fit in my factory-cut dash without carving it up yielded very little for my taste and budget so I did what any red-blooded American would do, I disconnected the AM radio and bought a decent late-model AM/FM CD combo and stuck it in the glovebox. That’s about as good a solution as putting a new TV on top of an old, broken TV. Fast forward a dozen years and I had had enough of reaching across my cab to change the station or pop in a new CD. Yes, it was time for an intervention on myself.
Enter RetroSound and their Model Two AM/FM radio with iPod/iPhone, USB MP3/WMA playback, and Bluetooth capability. Designed to be flexible and fit most classics.
Luckily for me, audio/install expert Chris Peterson was contacted by RetroSound to do the install and, since this wasn’t his first rodeo, everything was accomplished in one day. I am now cruising in style with modern technology and a cornucopia of listening options.
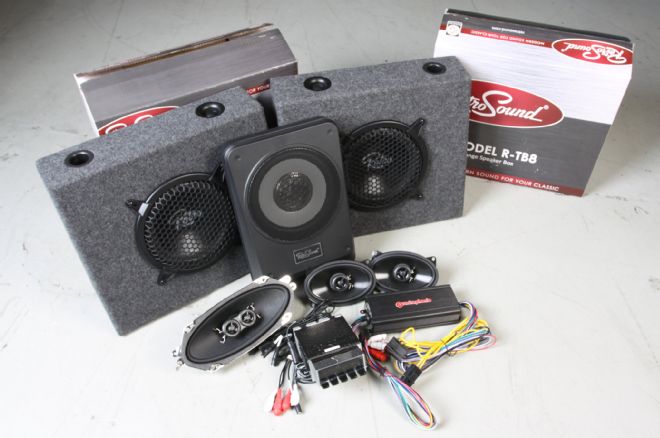
1. Here is the complete system we received from RetroSound, minus the antenna, which we installed as well. The Model Two radio, Quad 4 amplifier, SUB-8100 active subwoofer, R-463N (4x6-inch coaxial) speakers, R-410N center dash speaker, and two R-TB8 8-inch full range box speakers, and antenna (not pictured).
2. We removed the old, worn-out kick panels and, since we were installing new kick panel speakers, purchased a set of new ones from Classic Industries.
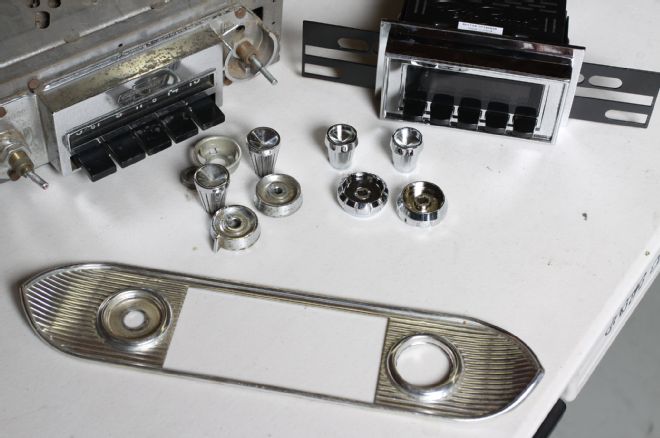
3. RetroSound radios come with a kit to match them to the stock radio opening. This is how they can have one radio fit many cars. The knobs come in a couple of different styles; we chose a style very similar to our stockers.
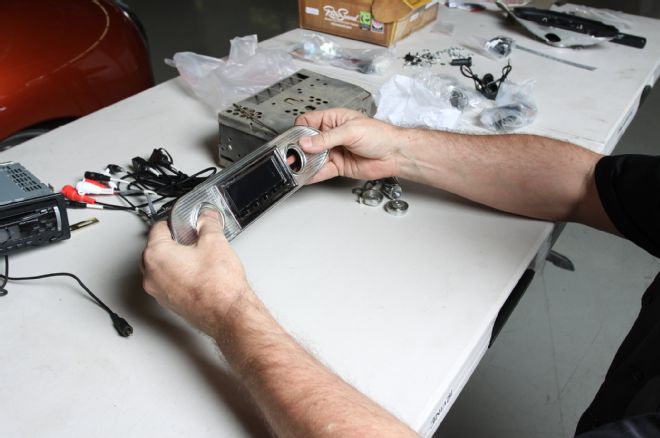
4. After laying out the equipment and assembling some basic hardware, Chris used the factory bezel to size up the side brackets on the head unit.
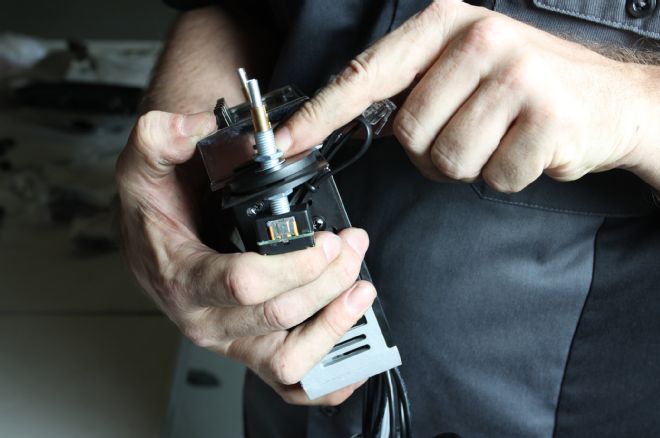
5. The retaining bracket fasteners can be adjusted forward and back to achieve the correct depth. Slight adjustments were made so the unit sat flush with bezel.
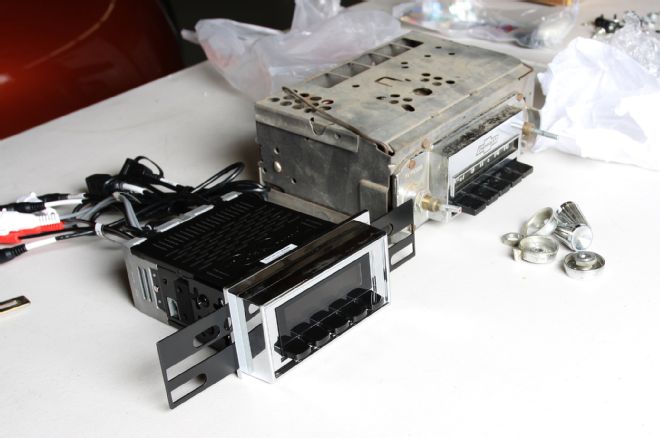
6. As you can see, the modern unit is a fraction of the size (and weight) of the stock one.
7. The dash speaker was then wired up and fit into the stock mounting bracket.
8. All of the connections were soldered and heat shrunk. Heat shrink tubing was used on the speaker leads to clean up the install.
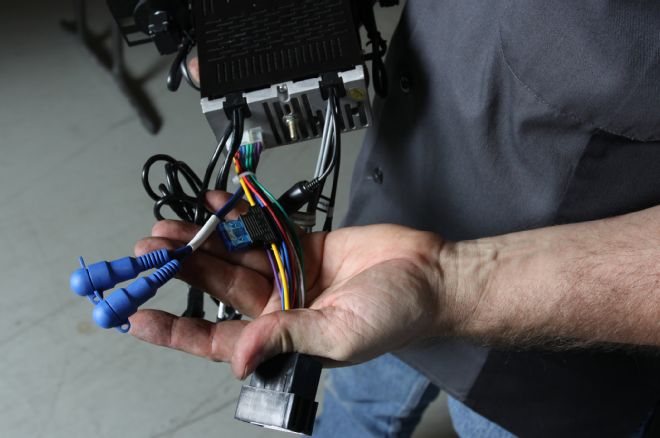
9. This is where it starts to get technical. Identification of the various leads is critical.
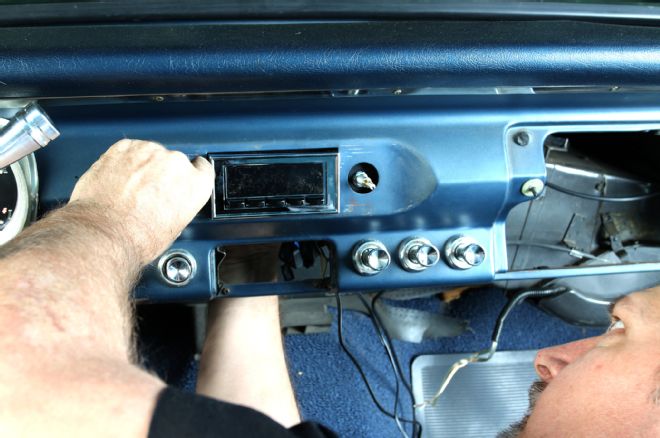
10. Chris then popped the Model Two into place; it fit like a glove.
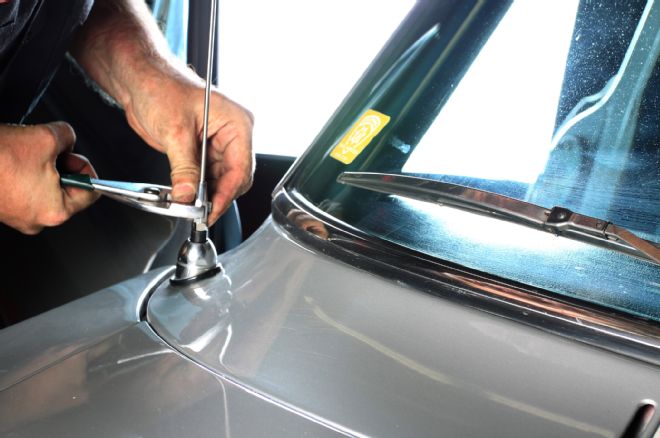
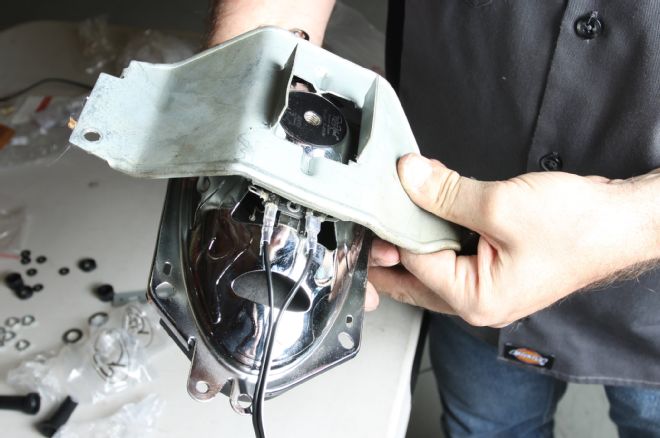
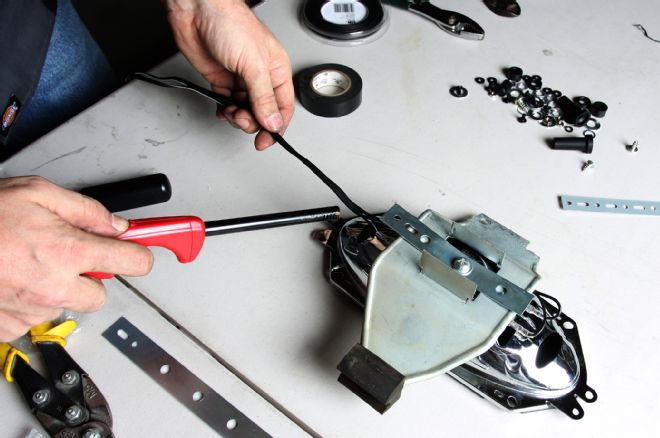
11. Next, we shifted to the antenna. After removing the old one, Chris fed the new line through the cowl and secured the top, ensuring a solid, leak-free fit.
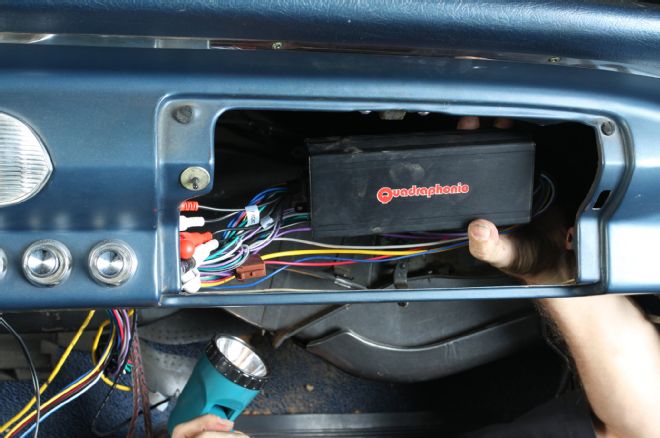
12. Since we were also replacing the glovebox liner, Chris decided to see if we could fit the amplifier under the dash. There were a few factory mounting points that allowed him to mount the amplifier above the glovebox.

13. Because we had more speakers than either the radio or amplifier could run at one time, the radio is running the dash speaker, and the amplifier is running the rest of the system. Chris then separated the proper lines for the unit and amplifier.
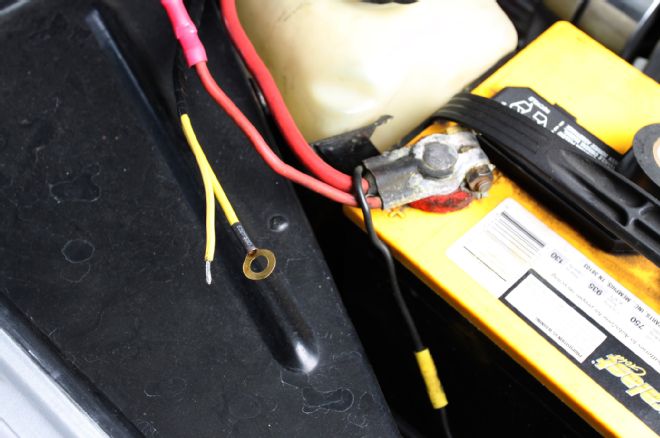
14. To power the peripherals, a wire was routed to the battery through the firewall and along the heater core hoses and attached directly to the battery.
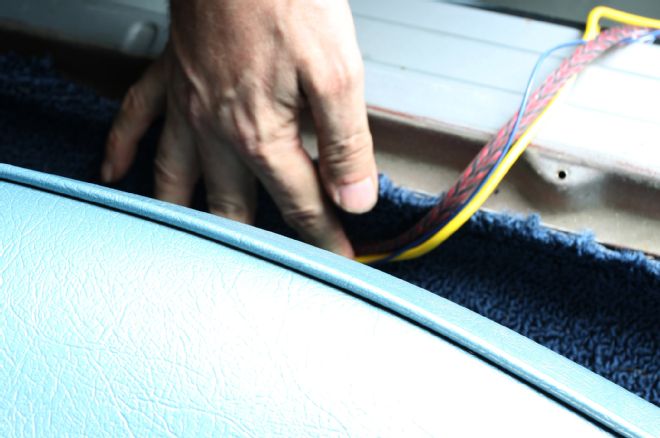
15. After removing the doorsill plates, the power and signal wires were routed to the position where we would be hiding the subwoofer under the passenger seat.
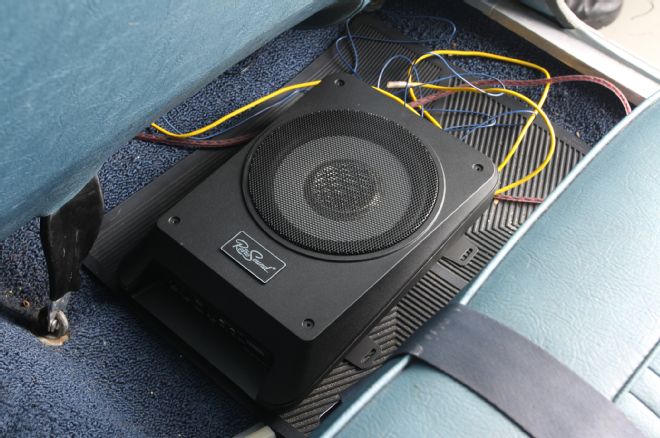
16. Once power was routed and the brackets were attached, we slid the unit under the seat and attached it to the floor.
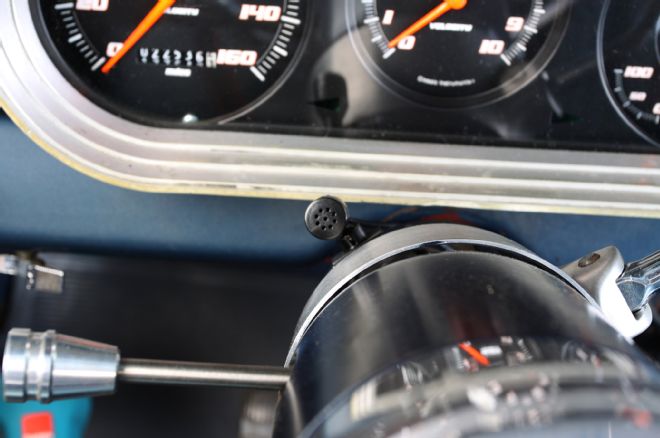
17. The Bluetooth unit comes with an external microphone that makes hands-free phone calls through the system a snap. We mounted it on the steering column.
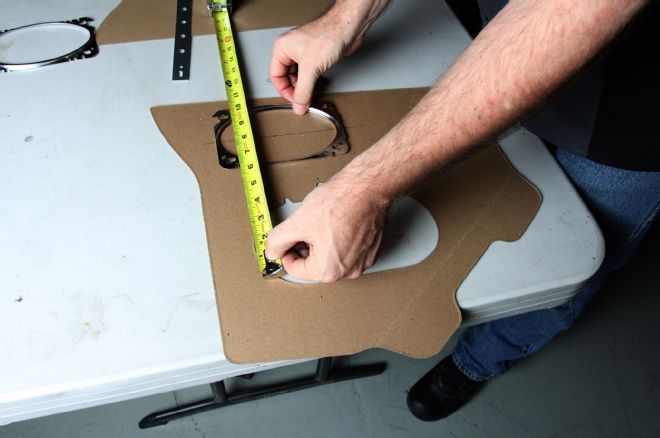
18. Chris then prepped the kick panels, measuring the exact location of where he wanted to mount the new speakers. He then used a pair of tin snips to carefully cut out his drawn template.
19. With the carpet peeled back, the connected speaker/kick panel assembly was massaged in and secured, as was the passenger-side panel.
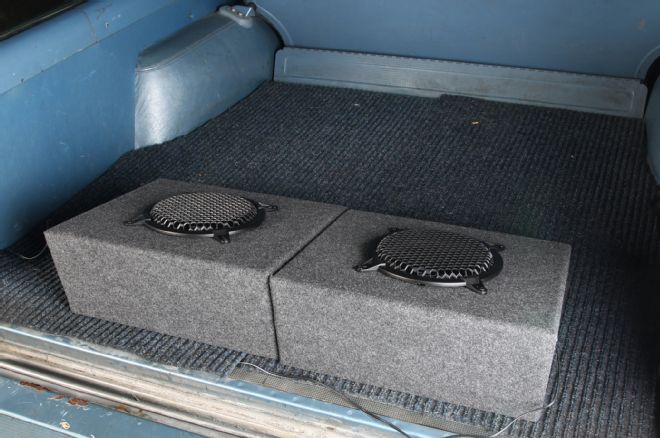
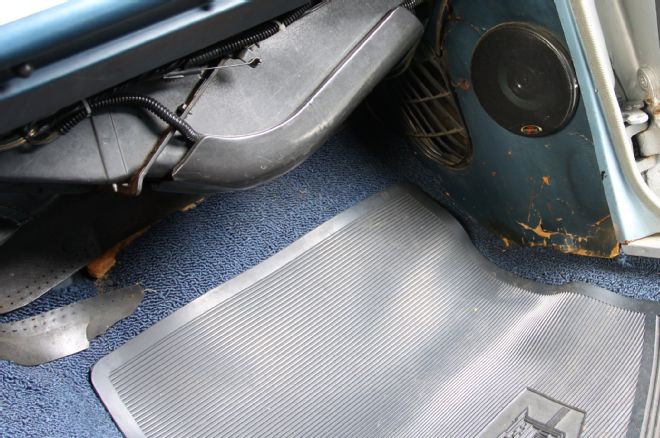
20. Chris fed speaker wire along the driver-side sills to the waiting 8-inch R-TB8 RetroSound box speakers at the back of the wagon.
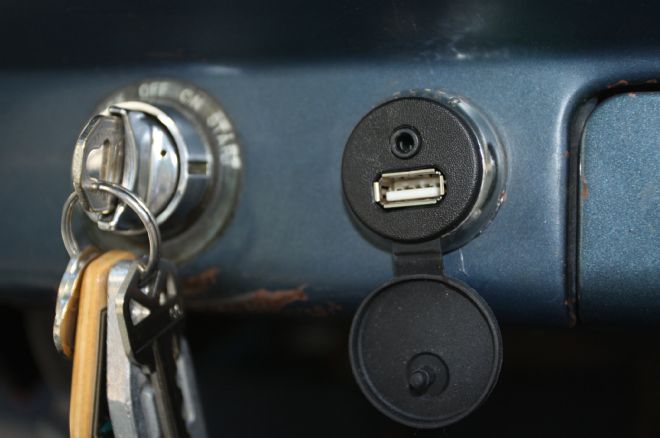
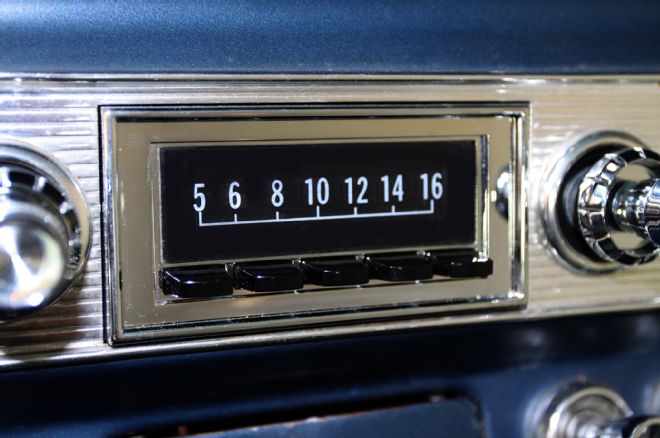
21. The supplied USB extension can be mounted anywhere, but the cigarette lighter hole is the perfect size to accept the unit and is very convenient.
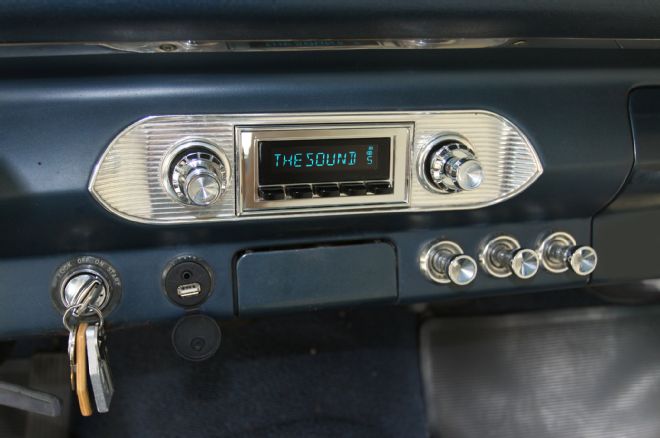
22. The color digital display face is easy to read and provides just enough information to know what’s coming through the speakers.
23. For those wanting a more “classic look,” there is an optional overlay that provides an authentic AM radio look when the unit is off, and doesn’t obscure the display too much when the unit is on.