Although we'd completed 80 percent of the wiring on the Speedway Motors R&C Tribute T, once we got it back from the Street Rod Nats in Louisville and caught our breath after the rapid build, we decided it really should have turn signals, especially since they're mandatory for our forthcoming DMV titling process. This would be easy in the rear, as we could wire it so the brake lights flashed, but what to do at the front, as we didn't want to add extra lights?
A visit to OTB Gear solved our problem, with a pair of their beautifully crafted 682-C headlights, designed after the 1940s Guide headlights of the same name. We opted for the black primed bodies with chromed turn signal housings and chrome rings, feeling all-chrome lights might be too much on the T, as it has a chromed grille shell too! The lights are supplied with mounts, hardware, and wiring, making installation a breeze.
To operate the turn signals we turned to LimeWorks Speed Shop, and one of their ribbed turn signal switches. This clamps to the steering column, with an indicator light at the end of the arm, so dash lights are unnecessary. Our tech center manager, Jason Scudellari, was tasked with the job of wiring the turn signals, while yours truly took pictures and handled fabrication chores as needed. Despite me hampering him, the T now has turn signals, and just needs to visit the DMV for the delights of the registration process.
 1. A T may have minimal electrical circuits compared to a full-bodied car, but there’s also minimal space in which to fit it all! Once we’d removed the circuits we wouldn’t be using (A/C, heater, electric windows, antenna) this is what we were left with.
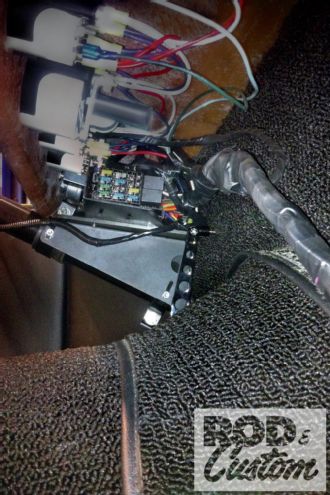
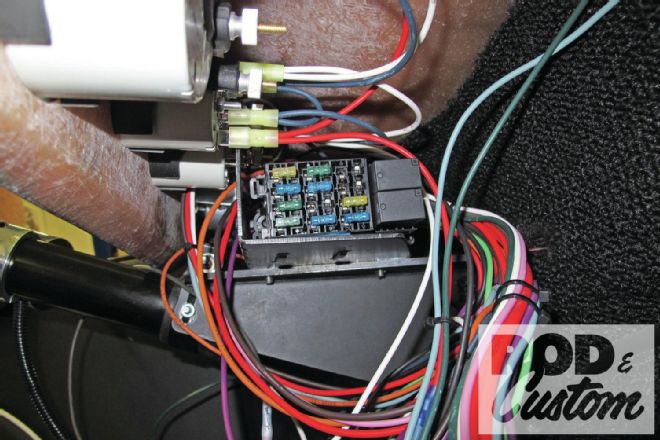 2. We mounted the fuse/relay panel on a fabricated bracket above the steering column, bolted to the steering column support structure. Here it’s out of the weather and harm’s way, but easily accessible.
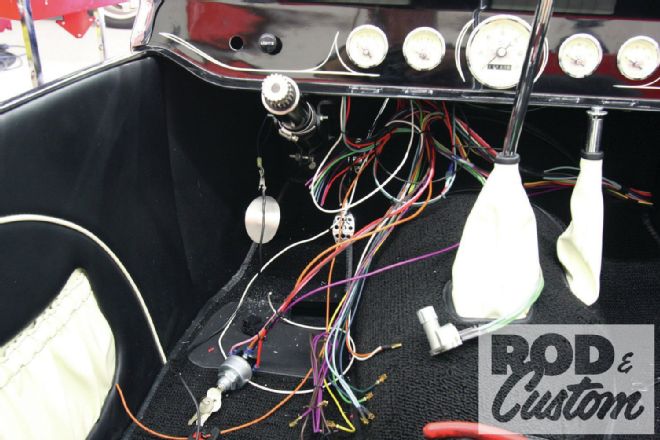
 3. Though not part of our turn signal story, we finished wiring the Auto Meter gauges while we were bent double under the dash.
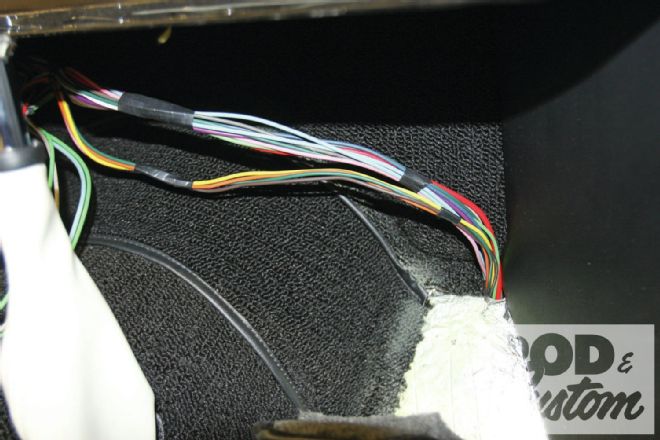 4. All the wiring that had to exit the interior, for lights, gauge sensors, ignition, was routed through a 3/4-inch hole drilled in the corner of the passenger footwell.
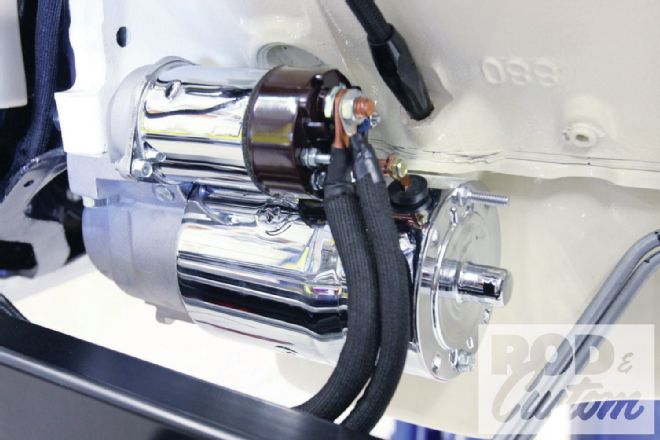 5. Again, irrelevant to the turn signals, we installed a chrome early style starter from Powermaster to match the period feel of the Tribute T.
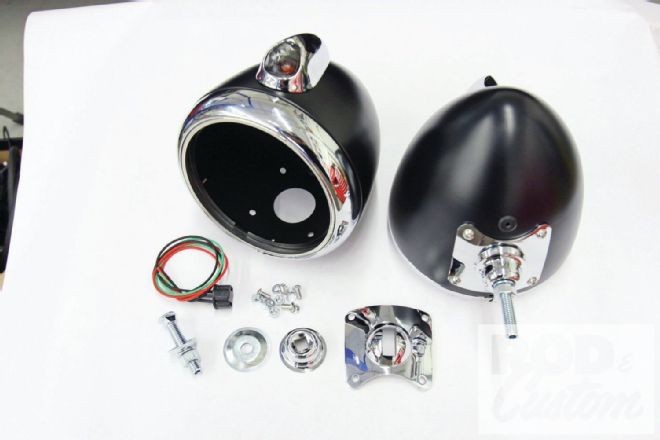 6. OTB Gear supplied a pair of their 682-C headlights, inspired by the classic Guide headlights from the ’40s of the same name. They are available fully chromed, all black primer, or, as we chose, black primer with chrome turn signals. Everything shown here is supplied, as well as a spare orange bulb.
 7. The OTB gear lights install in exactly the same way as the Speedway-supplied chrome ones we were using, except that the wiring passes through a grommet in the housing rather than through the mounting stud.
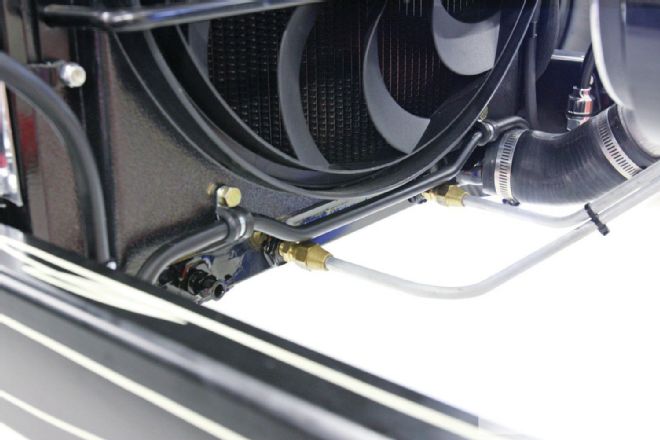
 8. OTB Gear also supplied these neat wiring looms, which we mounted on a pair of fabricated brackets inside the framerails.
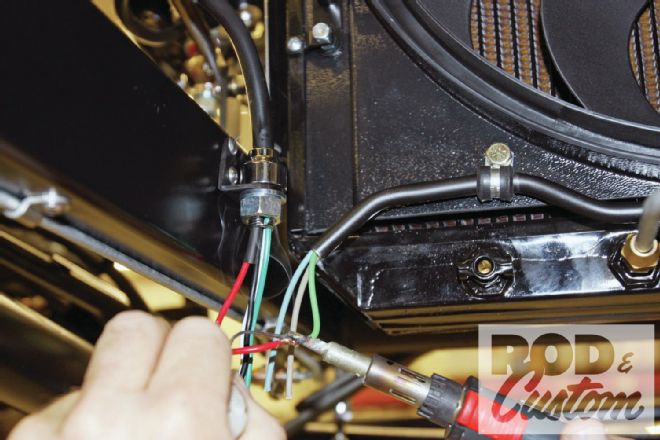 9. With the Speedway wiring harness run to each designated section of the car, we soldered the harness to the headlight wiring, covering the joints with heat-shrink tubing.
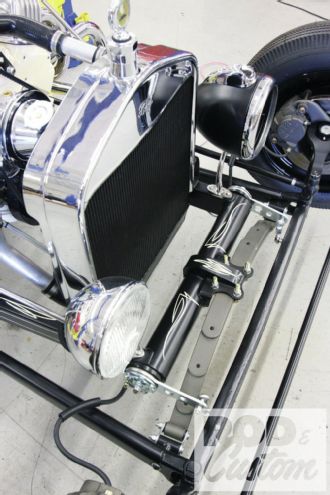
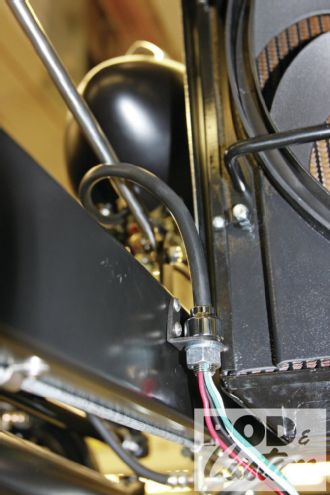
 10. We fabricated this section of tubing from 3/8-inch aluminum fuel line, bolted it to the fan shroud, and fed the wiring harness through it in an effort to hide the wiring at the front of the chassis.
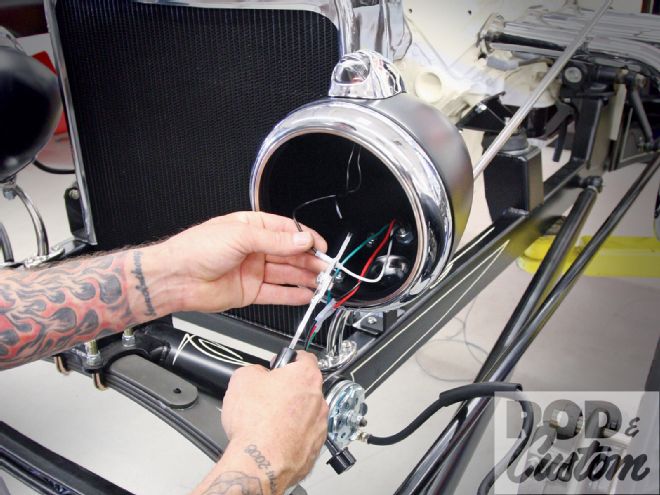
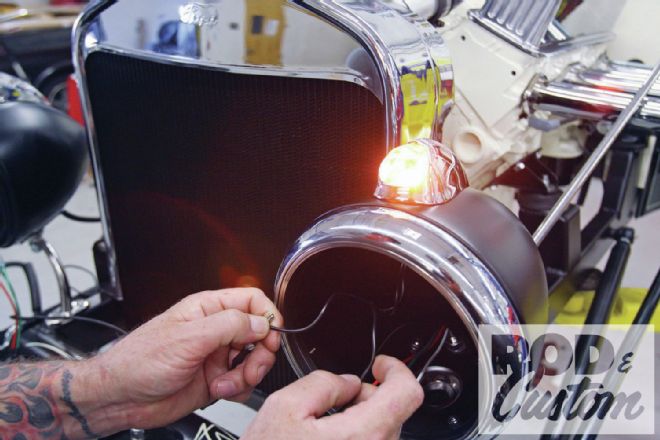
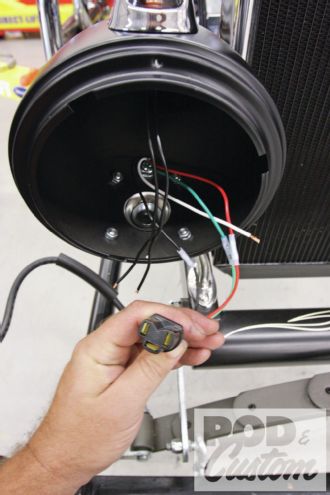 11. The two black wires are for the turn signal and hazard lights (which we’re not using), and I’m holding the OTB-supplied headlamp connector.
 12. Our tech center manager, Jason Scudellari, double-checked his wiring before installing the lamps.
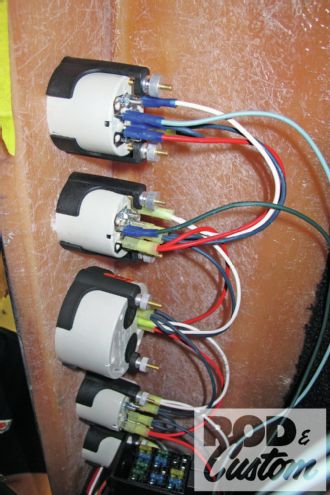
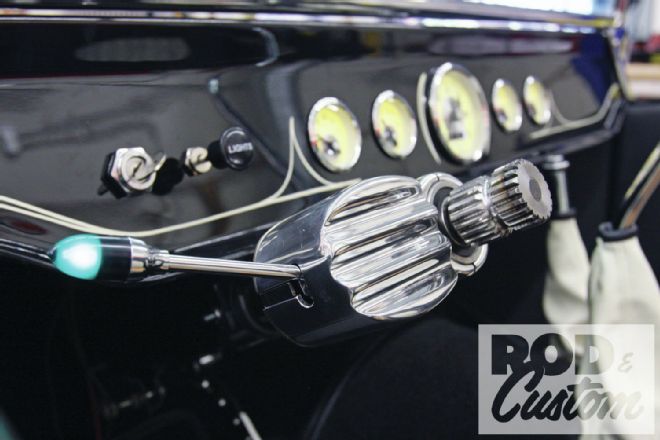
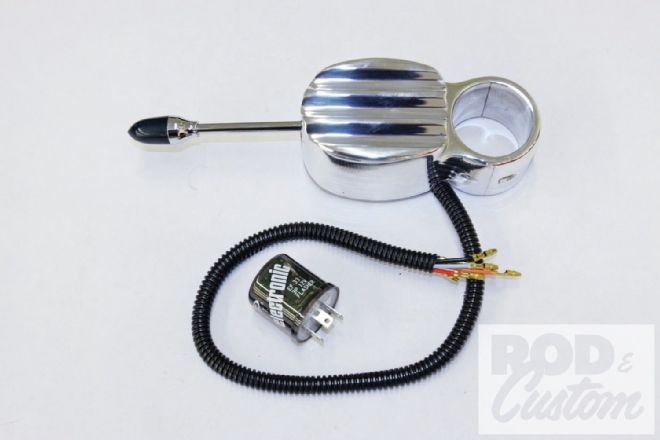 13. We used a LimeWorks turn signal switch, as not only does it match the engine components with its finned body, but it’s easy to wire into an existing aftermarket harness, unlike some others. You do, however, need a three-pin relay, as shown.
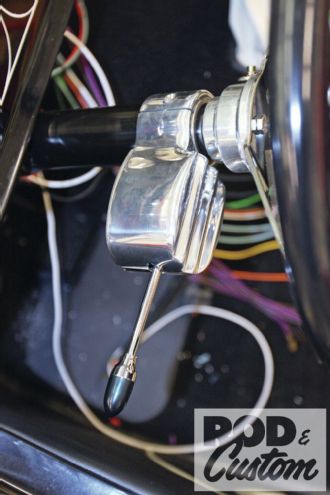 14. Mounted at the very top of the 1 3/4-inch-diameter column (LimeWorks offer switches for 1 1/2-inch columns too) we checked for clearance between the switch and the steering wheel before tightening the pinch bolts. Perfect.
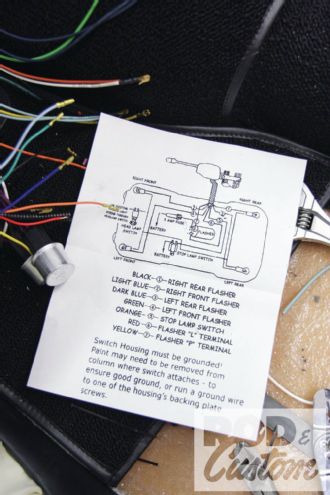 15. The instruction sheet supplied makes connecting the switch simple.
 16. Ignition on and we have turn signals. And dash lights too if you look closely!
 17. Once we knew everything worked as it should, the harness was tidied up, wrapped in tape, and routed neatly under the dash.