How It All Started
Dennis Jones started pinstriping in high school in the mid-’50s but did not feel proficient enough to charge for his work until 1959. Jones attended L.A. Trade Tech out of high school to learn how to custom letter, but pinstriping was not taught, so he picked it up as he practiced his lettering.
Step 1: Get paint thinner for cleaning brushes.
There's a few things you'll need before you start slinging paint. Paint thinner or mineral spirits are used for cleaning the brushes and thinning the 1Shot (1Shot.com) striping paint, which is always a little thick out of the can. Never use lacquer thinner for anything involved with striping.
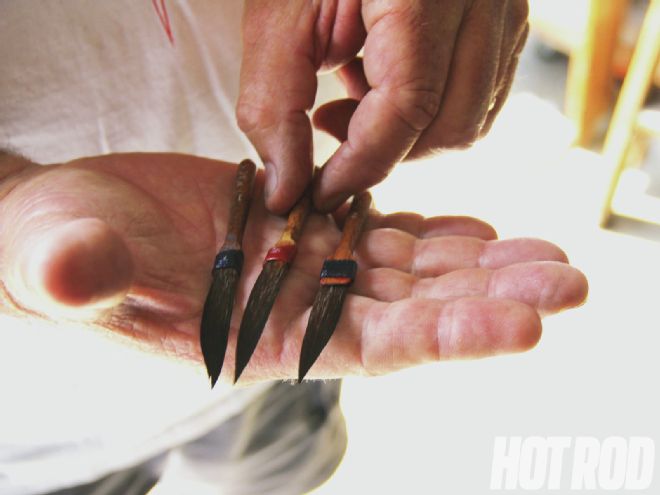
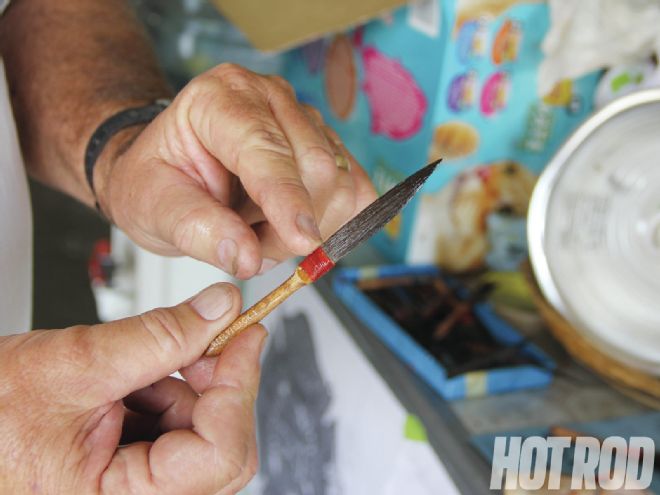
Step 2: Pick out brushes.
Most Striping brushes come in different sizes, which are marked on the handle. On the left is a Mack No. 1 - what veteran striper Dennis Jones says is the standard size. On the right is a No. 2, and in the middle is the Mack Kelly - series No. 1. This is a special brush developed by Mack and striper Tom Kelly, with the main difference being it features longer hairs. It is Jones’ preferred brush.
Step 3: Plan To Thin
1Shot has been the industry leader forever. Unless it’s an extremely hot day, plan on thinning, which we show next.
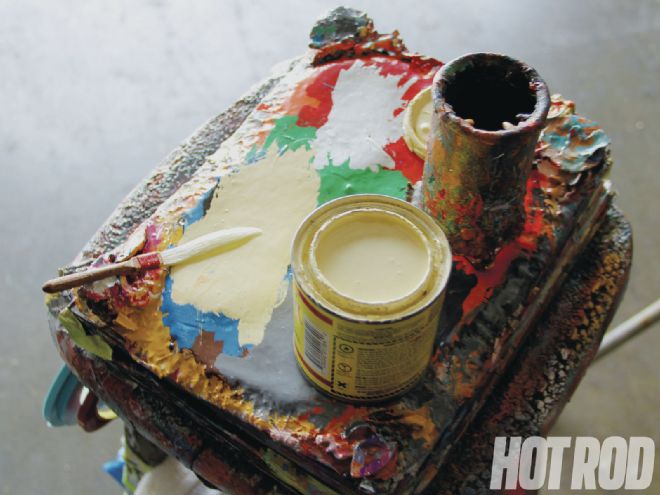
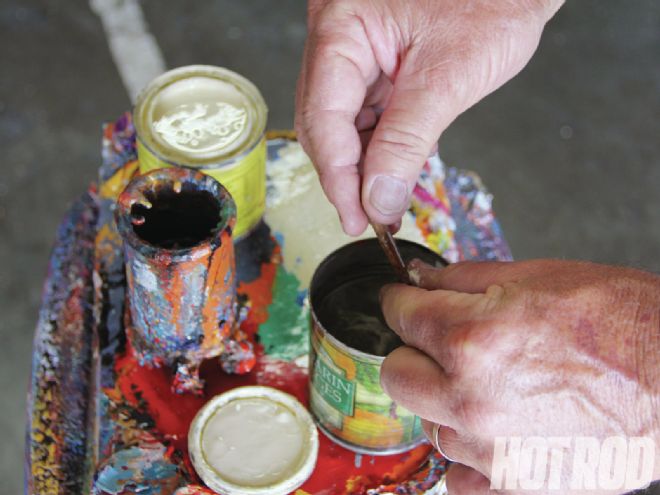
Step 4: Use clean surface.
Here’s the open 1Shot paint, an already loaded brush, and a small can of thinner to dip the brush into for thinning the paint as you go. This whole mess is sitting on an old phone book. Once it gets glopped up, the top page is removed and a new, clean surface appears. Repeat as needed.
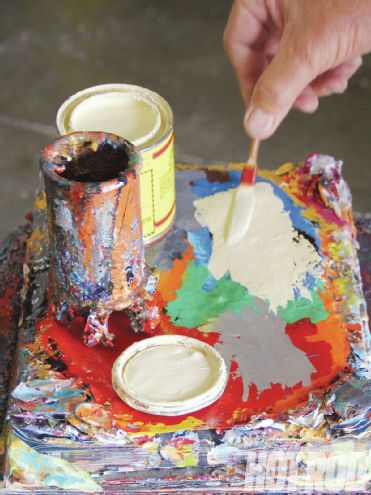
Step 5: Rinse and dip brush into thinner.
The brush is first rinsed out in thinner to remove the motor oil Jones dips the brushes into after a job is done, which helps them maintain their point and straightness. He dips the brush into thinner, then the 1Shot, and starts working the two into the brush in a back and forth motion. Only thin the paint enough to keep from dripping. This can take a few minutes, as the perfect consistency is what allows the striper the ability to pull a long line of paint.
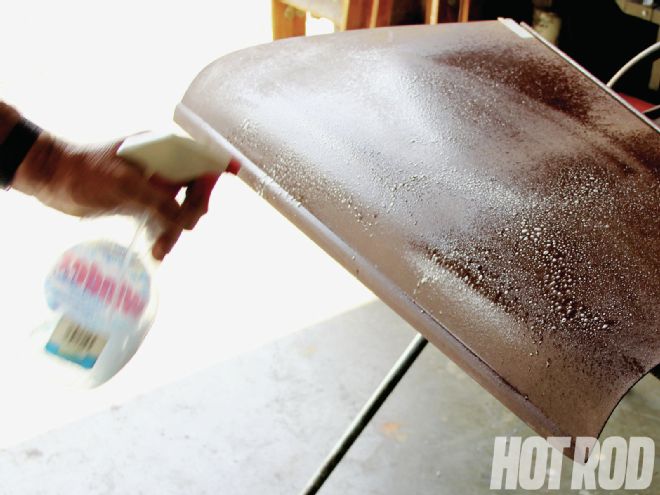
Step 6: Wipe surface clean to remove grease and dirt.
Whatever surface you’re striping, you have to wipe it with surface cleaner to remove grease, dirt, and other contaminants. It will usually dry soon after contact.
Step 7: Remove extra film with glass cleaner.
Come back with a little glass cleaner to remove the film left from wiping the surface in the previous step. Once you’ve done this, you’re ready to start striping.
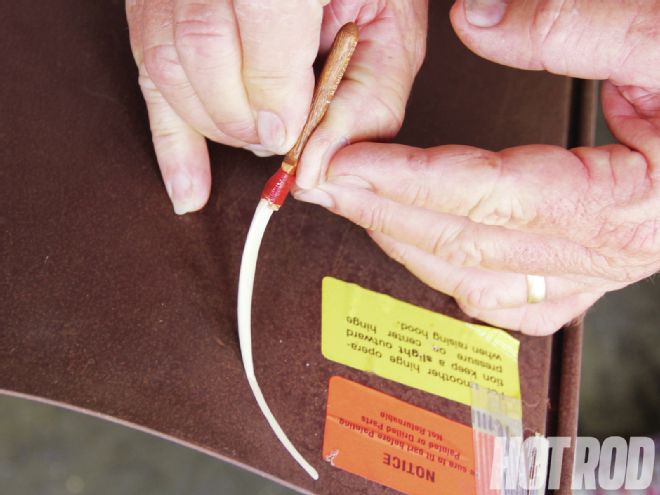
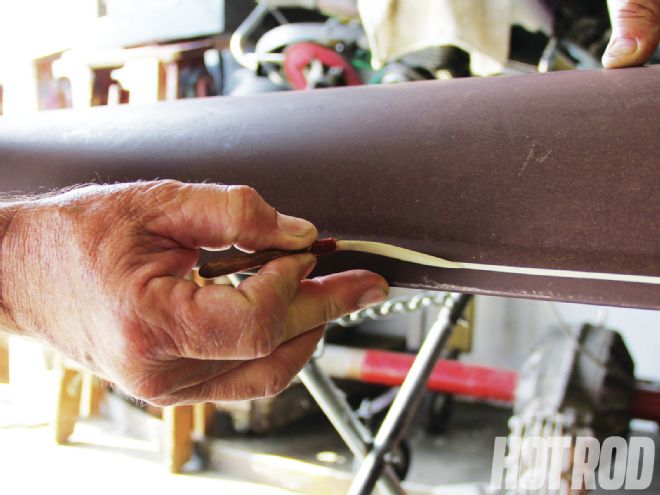
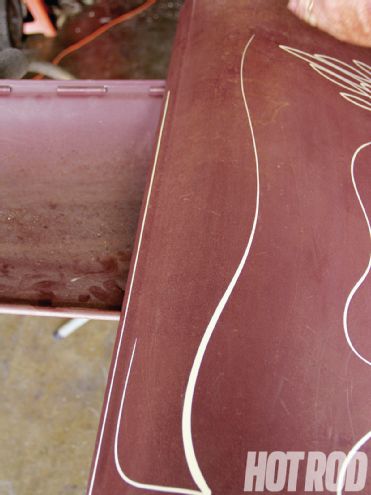
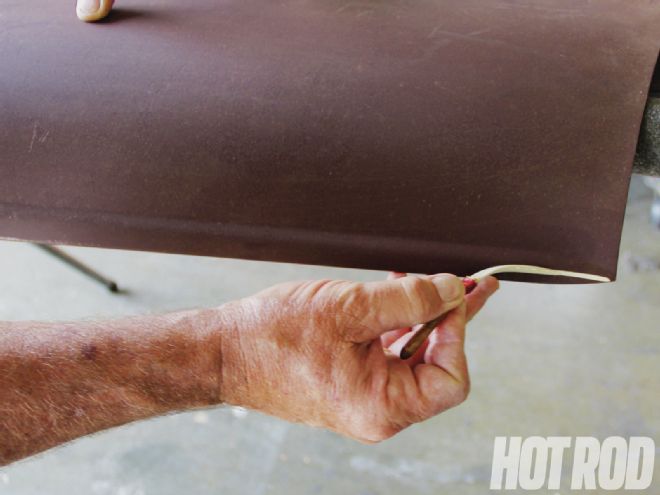
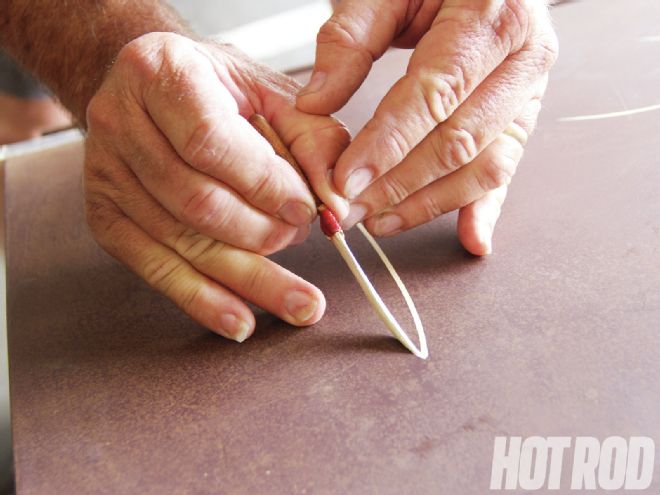
Step 8: Position brush tip and start pulling back. First, let’s remember that those things that look the easiest usually are not. Now, since this Deuce hood has a bottom lip, Jones hooks his middle and fourth fingers on it as a guide and to help steady his hand. He positions the tip of the brush and starts pulling back, always maintaining the same distance between the brush and the guide fingers, so the stripe stays in the same place on the hood reveal.
Step 9: Maintain spacing.
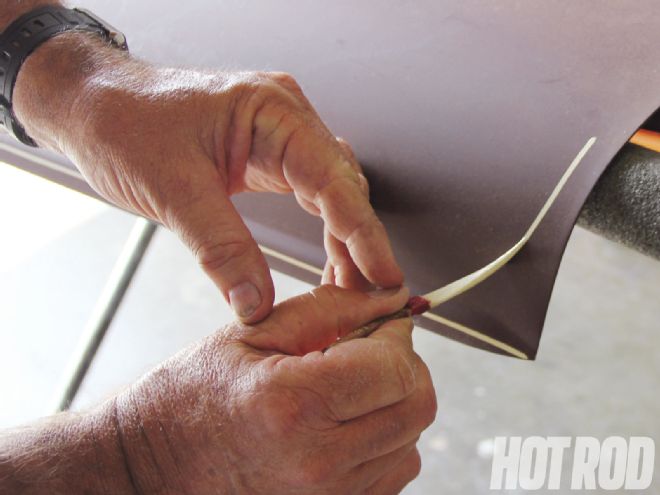
Here’s a different shot of the same operation. The brush is loaded with paint, so it has weight to it. Where it falls naturally is the position Jones keeps to maintain the spacing of the stripe on the reveal.
Step 10: Use two finger to support lines.
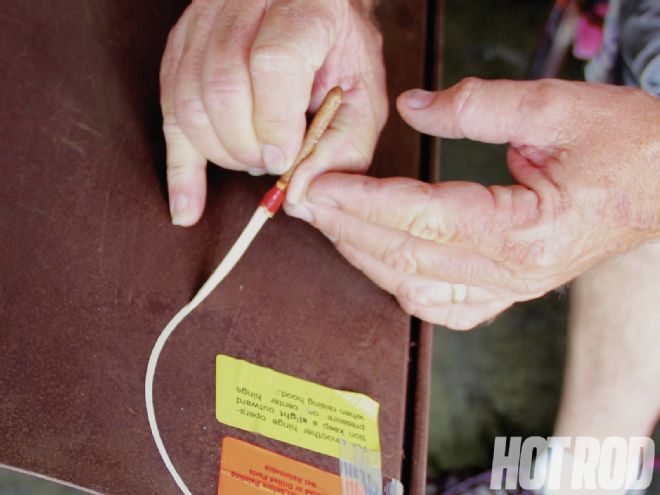
When he doesn’t have a convenient body line, gap, or visual guide like a tape line, Jones helps support his striping hand with two fingers from his free hand. Let’s just say it takes a fair amount of practice for this operation.
Step 11: Create solid foundation.
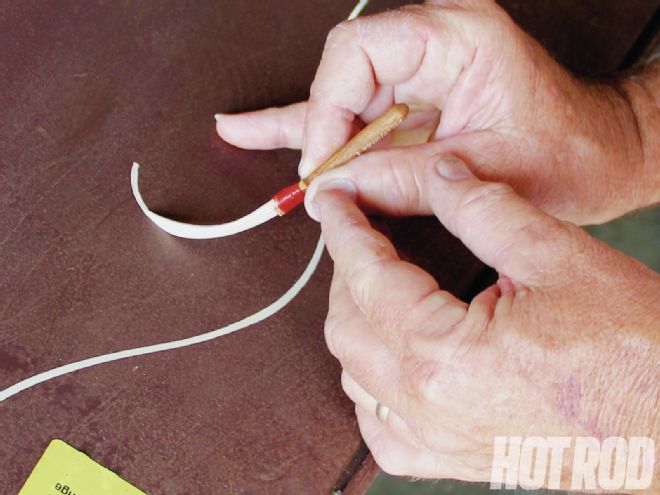
The same situation was encountered here, so a similar two-finger support helps keep the flowing lines looking effortlessly curved. Jones is also resting the side of his support hand on the hood, as is the pinky finger of his striping hand. This all helps to give his hand a solid foundation.
Step 12: Change direction and orientation for consistency.
If you look back at step 11, notice the position of the handle corresponding to the direction of the arc. As the direction changes, here Jones leads the brush into the turn by slightly twirling the handle as he pulls the line. So, not only is the direction changing, but so is the orientation of the brush to the surface.
Step 13: Lead into the curve.
Notice how Jones does the two-finger support with the pinky finger of his striping hand planted on the surface and how the brush is twirled to help lead it into the curve.
Step 14: Place centerline for long designs.
When coming up with a design in the middle of a large panel, there are no grids, centerlines, or other marked guides. Jones might place a centerline if a long design is desired. To start one of these freehand designs in the middle of a panel, he creates the center or middle element and builds from that point out.
Step 15: Pressure determines thickness.
The pressure Jones puts on the brush determines line thickness, as does the size of the brush. Here he’s putting down more pressure to get a wider line that will thin out as he moves farther into the design.
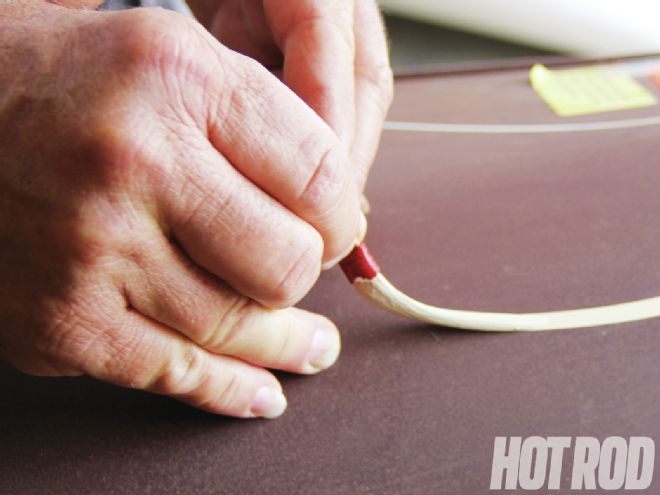
Step 16: Control thickness for variations.
The finished line varies at a controlled thickness, all based on the pressure Jones applied to the brush.
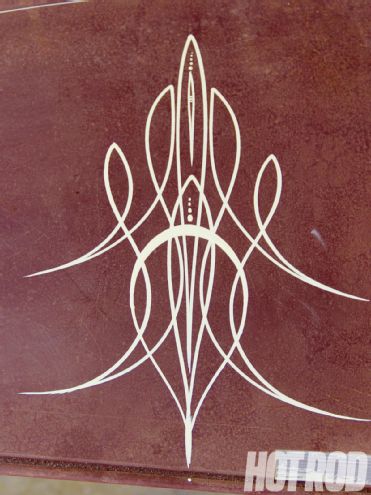
Step 17: Hide mistakes with thicker lines.
This hood tapers as it goes forward, so the design isn’t perfectly symmetrical as it tapers in from right to left. The middle element was the beginning of the design, and Dennis built it out from there. The thicker element is a way to hide mistakes when a jag occurs or lines don’t exactly meet in the middle.
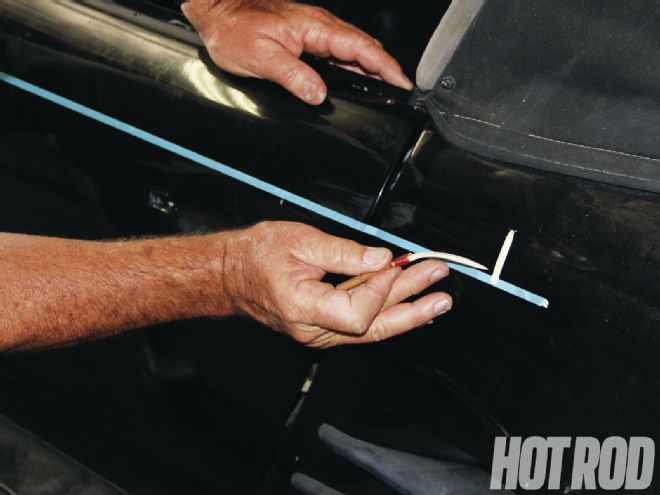
Step 18: Tape line helps guide hands.
When there is not a body line or other means of guiding your hand, a tape line is put down to guide your hand, but also to guide your eye--just make sure your line doesn’t touch the tape, or capillary action will pull the paint under the tape.
Step 19: Be flexible with designs.
The element in the center was the start of this design. Jones suggests not trying to use a grease pencil or otherwise predetermine your design but allow it to develop and come from your eyes and mind.

Step 20: Clean brush and prep area.
We’re not done - there’s still cleanup and brush prep. Here, Jones has scraped the brush on the side of the can to get rid of the excess paint before rinsing in thinner. He proceeds with rinsing in the first can of thinner and will follow with a dip in the cleaner thinner.
Step 21: Dry brushes with rag.
After the paint is completely removed from the bristles, he dries it out with a rag. From here, he’ll dip in some 10W motor oil to maintain the brush’s point and straightness. He says there should always be something in the brush - it should never be left dry.
Step 22: Reuse brushes.
The ferrule of the brush should not have any paint left in it. Here, the brush has been thoroughly cleaned and dipped in motor oil. If a brush is prepped and cleaned diligently, it will last for years.
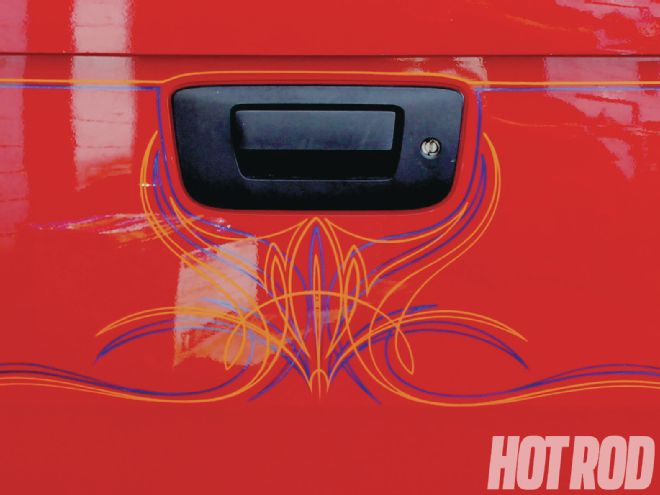
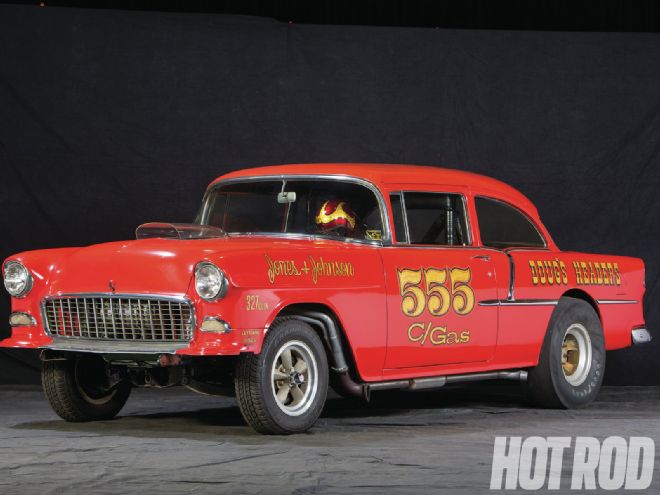
Step 23: Pinstipes last a long time if done right.
The same techniques apply to lettering. This is Jones’ ’55 Gasser he originally striped for his brother in 1964, proving a good pinstripe or lettering job can last almost forever if done correctly.
More Talent
There are a lot of pinstripers plying their trade throughout the world. A great place to find some of Jones’ work, as well as many others is at PinHeadLounge.com. Find the Stripe-O-Dex and an alphabetical listing of thousands of stripers should give you plenty of inspiration.