Applying color
OK, you've sweated out the details and now it's time to receive your reward. While it may seem like it's taken forever to get to this point (and, frankly, it has), applying a fresh coat of paint is where the magic begins. But there is nothing as frustrating as getting to the final step of the painting process and having something go wrong that erases all the previous painstaking efforts. The best insurance here: check with a professional should you have any questions. Shooting test panels and keeping your spray gun clean will also help ensure that the final color matches your vision.
The Basics
There have been countless kinds of paints applied to cars over the years. Today, the two-step acrylic enamel or urethane paints are preferred. Lacquer has been all but outlawed in most states, so original Corvettes in OE lacquer are a thing of the past. But have no fear, the new paint products are excellent and will give tremendous results. Finishing the paint process with a clearcoat topcoat will add durability to the paint surface and add to its depth when admiring your work later.
Both acrylic enamels and urethane are applied similarly to lacquer finishes, but fewer coats are needed over those legendary 20-coat lacquer jobs you've probably heard of from old guys still crusty with overspray. This is because more paint is applied with each new-style paint coat because of the higher viscosity of the paint (usually a half to one part thinner to one part primer). In most cases, it takes three coats of base color and three topcoats of clear. The best bet is always to enlist the help of a local pro to supply some guidance.
Gunning for You
If you've been napping for a few years, you've probably missed out on the big change in spray guns. For the most part, old syphon spray guns, which required high-pressure lines, are not used. Actually, they are not the preferred style of gun today for a variety of reasons, the least of which is the wrath of local pollution-control officials, who have outlawed their use.
So what's the alternative? HVLP, which stands for High Volume, Low Pressure, and is the most common spray gun used today. Instead of drawing paint from the bottle fitted below the spray gun system, the paint is gravity-fed into the gun through a tank, which sits above the mechanism. Before you start complaining about this new system, realize that these guns are far more efficient than the syphon spray guns delivering as much as 80 percent of the product to the surface yet requiring as little as 10 psi of line pressure to operate. Syphon guns often needed between 45 and 70 psi of line pressure with an efficiency of as low as 40 percent. Regardless, a 5hp compressor is still considered minimum support for an HVLP spray gun.
Ready to Shoot?
Prep and safety are the keys to achieving not only a great final product but also to living through the process. Purchasing a cheap but complete paint suit is a great way to keep paint and other toxic products out of your personal system and clothing. Wear a respirator with two air filters, and some kind of head covering and goggles are a great idea. Keep your area clean and you'll be rewarded-more importantly, you'll create less work-by keeping dust and dirt out of the painted surfaces. There are few things more frustrating than inspecting your work and finding one small flaw in an otherwise perfect panel. -Cam Benty
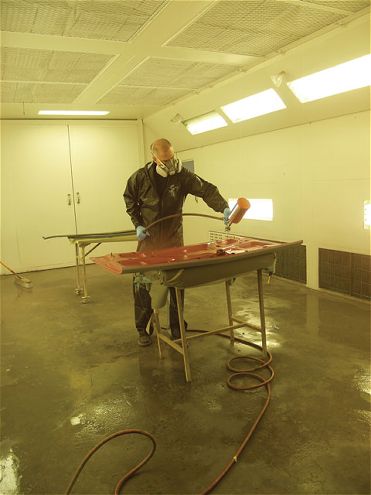
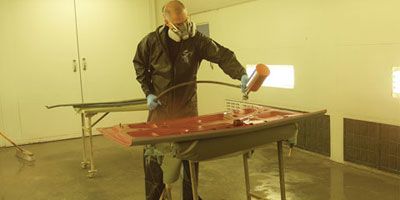
Note the clean and well-lighted spray booth. It is critical to monitor the temperature in the booth as well, as it will affect the amount of thinner and material used, drying times between coats, and the final results.
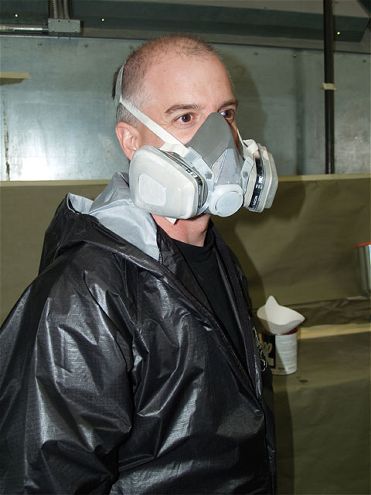
Mark Oja of Paul Gonzalez Custom Cars is a master painter. Note the proper use of safety suit and respirator. We recommend gloves and goggles as well.
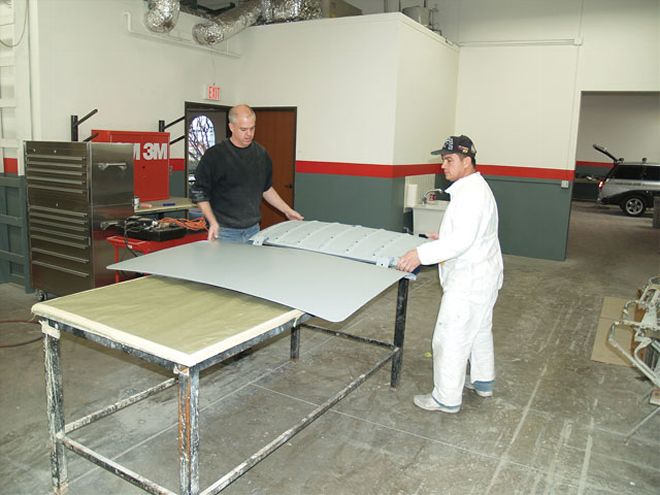
Each panel was primered and block-sanded with 600-grit paper prior to painting. A table such as this is great to keep the parts from moving while painting. Covering the top of the table with masking paper will keep it from receiving extra layers of paint and primer in future paint efforts.
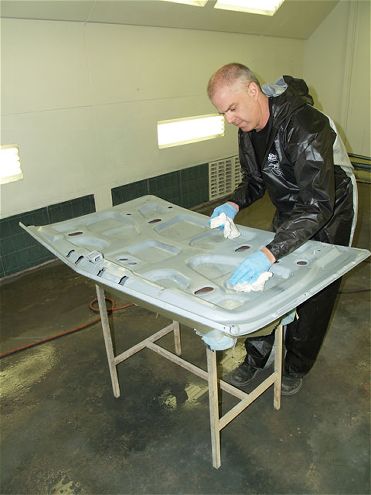
You just can't be too clean when you are about to paint. This panel was cleaned with soap and water and then grease and wax remover to eliminate blocking debris. A tack rag gently wiped over the surface is great, too. Complex pieces like this decklid require compressed air to get out the last bits of water and dust.
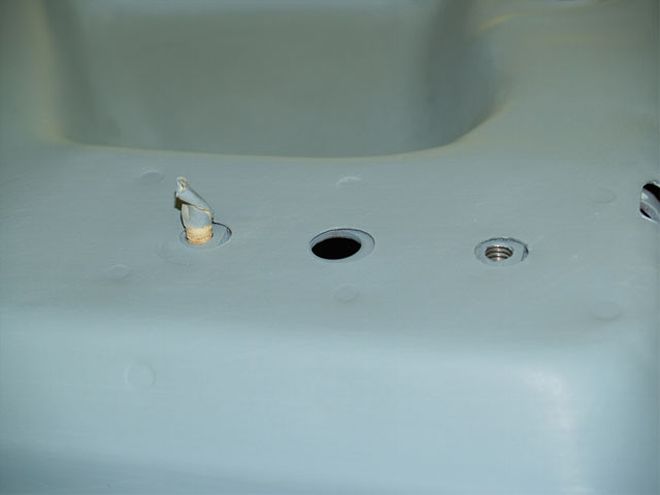
Simple things such as plugs will help keep threaded inserts clean and free from paint or primer.
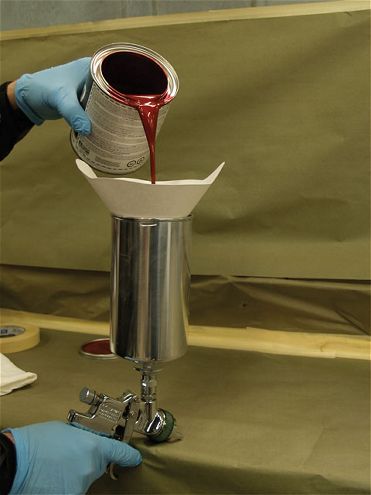
We used Sherwin Williams Ultra 700 Red Metallic Urethane for this project. Here's a simple step often forgotten-stir the paint. There is a lot of material that floats to the bottom of the can, so make sure you stir it thoroughly and often. Filter the paint as it enters the paint gun reservoir. Note that this is a HVLP gun. Paint filters are fairly standard, but don't forget to grab them when you pick up your paint. Note the protective gloves, which can be changed often.
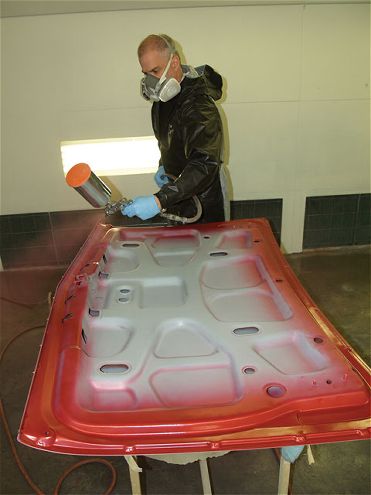
The bottom side of the panel is painted with the basecoat, making sure to cover the edges. The entire panel will be painted with the basecoats, top and bottom, and then the top clearcoats will be applied.
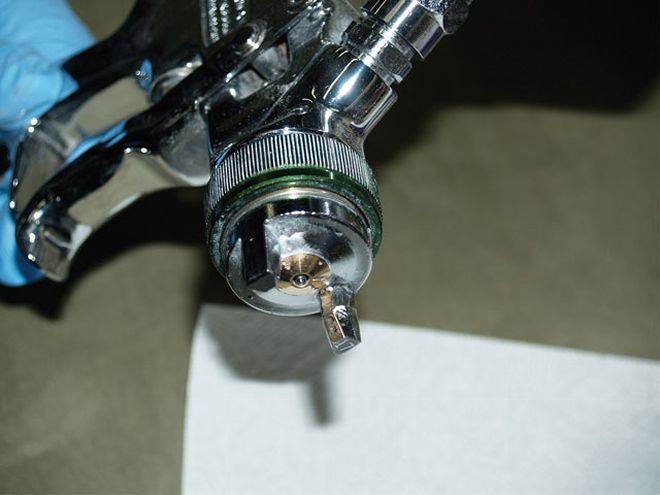
Spray gun nozzles are adjustable (the inner fittings are changed) depending on the paint being used. Ask your paint professional which one is right for your project. This is a 1.6 nozzle-for those who were wondering.
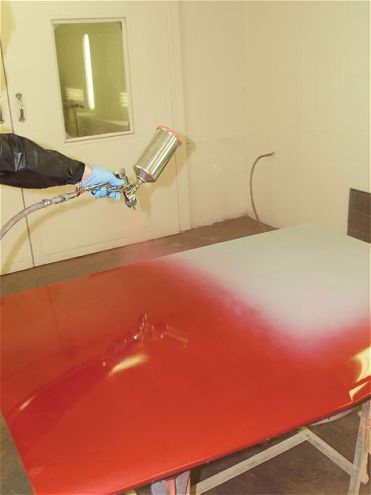
Three coats of base color paint were applied and then three coats of clear. Note that we worked the panel from each side into the middle, making sure to cover the edges. The gun should never be closer to the panel than 18 inches and can be tested beforehand to make sure the pattern is appropriate. If the gun spits at any time, stop and clean out the nozzle with acetone and start again. Avoid contact between the air hose or spray gun and the wet painted panel or vehicle-or you will have to repair it by letting it dry and sanding out the flaw.