A question from one of our readers asked us: “What exactly is the rear engine seal and why is it so expensive to replace? There’s got to be a “trick” to getting seals like this in without buying expensive equipment that dealerships use. Can you shed some light on an easy way to get these seals in place without damaging the inner lip?”
-Mike G., via importuner.com
 |
Main Crankshaft Seal Replacement - Tricks Of The Trade
|
Main Crankshaft Seal Replacement - Tricks Of The Trade
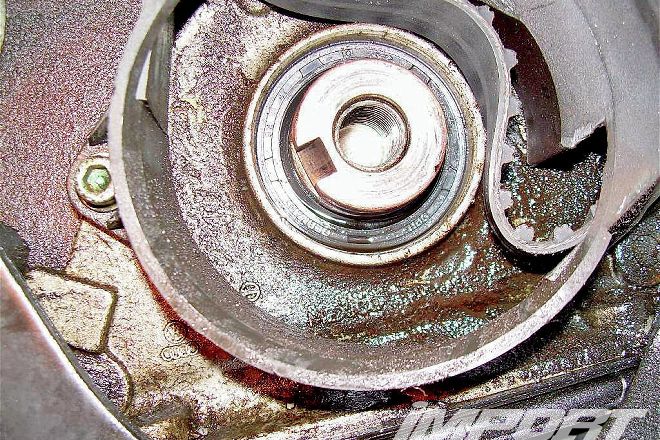
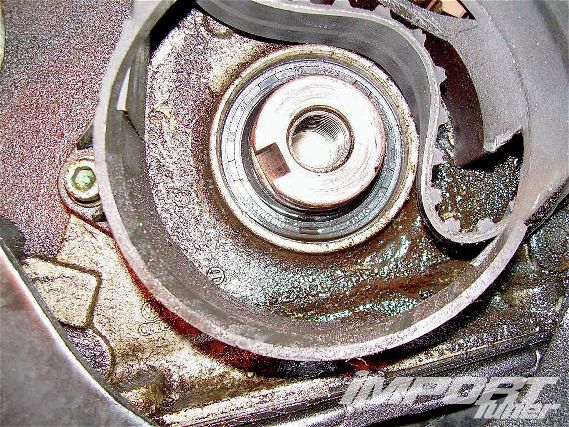
To answer Mike’s questions, let us first return to the basics. A rear main seal, or crankshaft seal as it is commonly referred to, is a big, round rubber seal between the engine and transmission. The rear seal fits snuggly around the rear of the crankshaft and keeps the engine oil from escaping. Over time, the rear main crank seal can become dry and crack or tear, and if left unattended, it will leak oil and eventually foul the clutch. The crankshaft can also become out of balance due to an internal engine problem, and wear or “ride” on the lip of the seal in an asymmetrical pattern. The seal can also leak due to an extended vehicle storage period that allows the seal to dry out and crack.
 |
Main Crankshaft Seal Replacement - Tricks Of The Trade
|
Main Crankshaft Seal Replacement - Tricks Of The Trade
Unfortunately, a leaky rear main seal is pretty common on older model cars with high mileage. On a rear-wheel-drive vehicle, removing the transmission is usually the easiest, but on a front-wheel-drive vehicle it is sometimes easier to remove the engine to gain access to the seal.
Getting it fixed at the dealership can run in the neighborhood of $500; however, if you’ve got a free afternoon, you can fix it yourself for under $50.
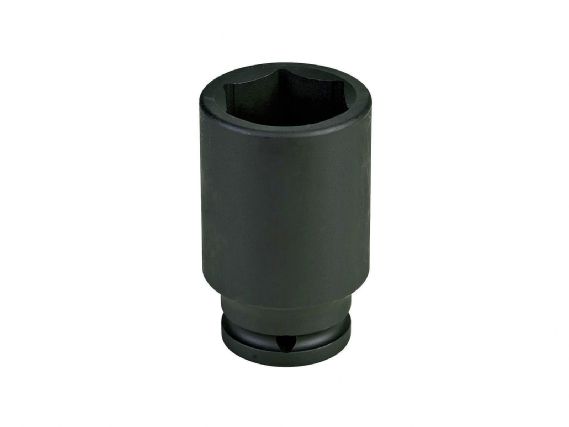
Many want to do this job, but may be a bit scared of the unknown and how to properly replace the seals. The most common method to replace a seal is to hammer it into place using a thin-walled socket that has a similar diameter as the seal. Unfortunately, this method is frowned upon as it can cause the inside lip of the seal to snag or cut off when pushing the seal in the bore resulting in a premature leak.
 |
Main Crankshaft Seal Replacement - Tricks Of The Trade
|
Main Crankshaft Seal Replacement - Tricks Of The Trade
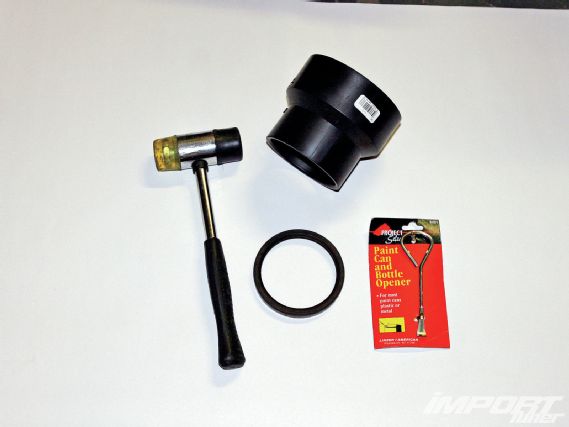
If you’ve wrenched on engines as long as we have, you learn to pick up a few tips and tricks along the way to help speed up the process. Using some homemade tools we purchased at the local hardware store, which includes a 4-inch PVC pipe cap, a paint can/bottle opener, and a piece of 2x4 wood, we devised a special installer tool to press the seal in evenly and to the right depth for less than $10.
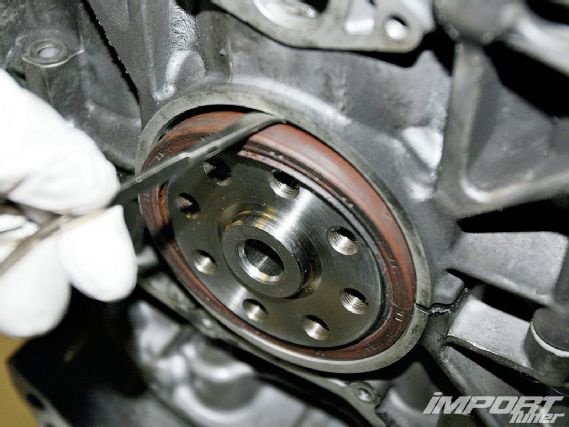
The curved face on the end of our paint/bottle opener worked as an excellent tool in prying off our old crank/main seal. Upon removal of the old seal, be sure to inspect the crank surface where the seal rides on the crank. On rare occasions, the seal will wear a groove into the shaft causing it to leak. Be careful not to nick the crank surface when taking out the old seal.
 |
Main Crankshaft Seal Replacement - Tricks Of The Trade
|
Main Crankshaft Seal Replacement - Tricks Of The Trade
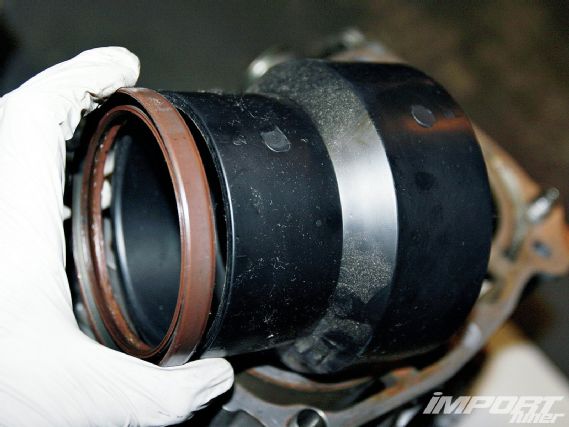
The PVC pipe’s plastic construction not only prevented us from gouging the seal’s rubber material, but also provided more surface area than a typical metal socket to properly drive the seal into place.
 |
Main Crankshaft Seal Replacement - Tricks Of The Trade
|
Main Crankshaft Seal Replacement - Tricks Of The Trade
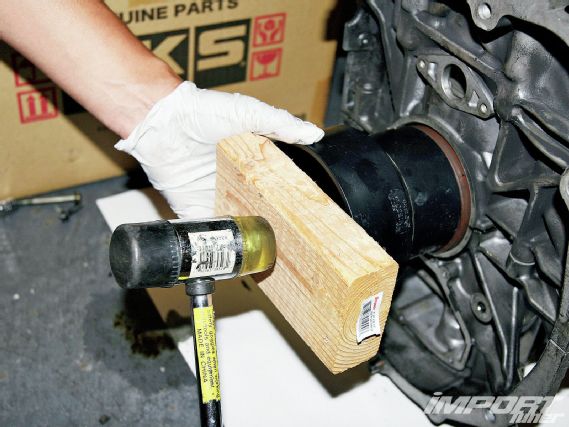
Using a piece of 2x4 wood, gently tap the seal into place. Use small blows with your hammer to ensure the seal is properly pressed evenly into the block along while monitoring the proper depth.
 |
Main Crankshaft Seal Replacement - Tricks Of The Trade
|
Main Crankshaft Seal Replacement - Tricks Of The Trade