 | Nissan 240sx KA24DET Block Buildup
A As the saying goes, "The journey is more important than the destination." There have definitely been loads of events up to this point but we can finally say we're at the halfway point of our build. This month, again with Naoto Negishi from NPD, we'll finally put the bottom end of our 750hp KA24DET together and discuss how we prepped our components.
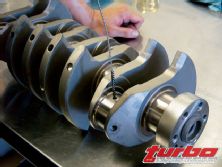
After the issues we had last month, we were finally able to send our parts over to Ogawa-san at WPC to have them treated. WPC uses a technique to treat the surface of metallic materials and embed them with solid lubricants, such as tin and/or molybdenum disulfide, to reduce friction. Ultra-fine material is fired upon the surface of the part being treated, creating a micro-dimple indentation. This indentation accumulates oil on the surface of the material, promoting lubrication.
 | Nissan 240sx KA24DET Block Buildup
Running our fingers across the face of a treated surface, a noticeable difference can be felt. WPC is a treatment, not a coating. This means that it's resistant to solvents and only wears away as the part wears down, making it much more effective for motors that will see extended use over long periods. Peter Yeung from XS Engineering says that a noticeable difference was seen on their time attack RB26DETT engine from idle to full throttle.
The standard menu of parts to be WPC treated are piston rings, skirts, pins, rod bearings, main bearings, and oil pump gears. After discussing it with Ogawa-san, Naoto wanted to go a step further and also have the cylinder walls, crank, buckets, and cams treated. Since WPC uses media to peen the metal surface, any orifice that media can accumulate must be opened up and cleaned after the treatment process. This includes any freeze plugs on blocks and plugs on cranks.
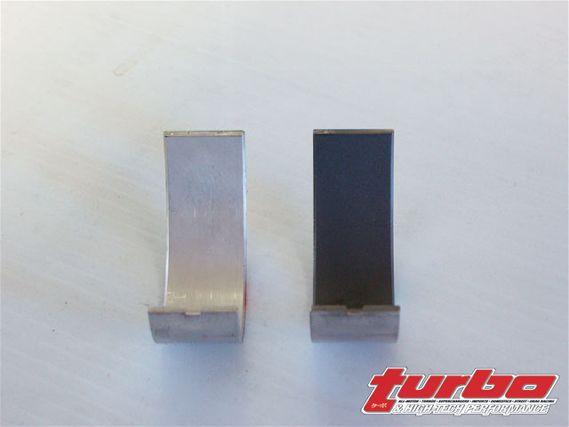 | Here you can see the difference between a stock bearing and a WPC-treated bearing. The difference can be felt by hand.
This is especially true for the oil galleys on the crankshaft and any passages on the block. Ogawa-san stresses that all parts to be treated should completely disassembled upon delivery to WPC and thoroughly cleaned once treated. We went to the extent of going back to Ultra Performance Machine to have them thermal wash the block, just to make sure any leftover media was addressed.
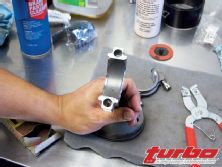
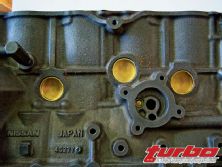
Once back at the shop, we were finally ready for assembly. Naoto first installs brand-new freeze plugs onto the block. Applying sealant to the mating surface of the plug, each one is tapped on with a seal driver until it seats. He then installs our AMS main studs to the block. Each stud is coated with high-pressure lubricant throughout the friction surface; this includes the non-threaded section of the shaft. Naoto suggests using a brush for application since it applies just the right amount needed and keeps the grease from getting messy.
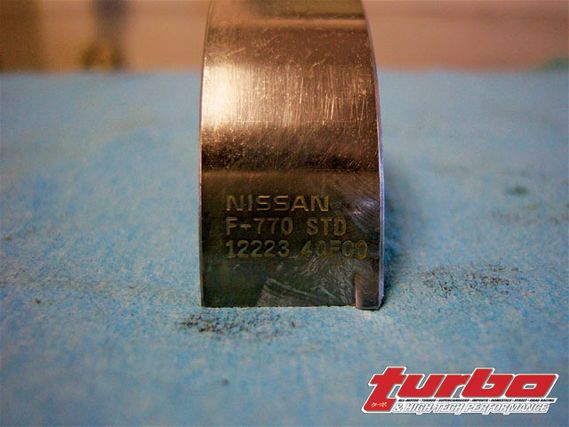 | WPC is really good about cataloging parts given to them, but it's a good idea to have some way of discerning parts. Most factory bearings have numbers stamped on the non-friction side.
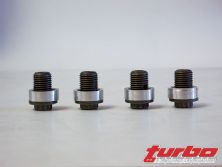
A preliminary test showed that the oil squirters needed to be removed as the counterweights hit the jets. In its place are oil squirter delete rings. Being that we're using forged pistons, the squirters wouldn't be as effective because there are no cooling channels machined into the piston itself.
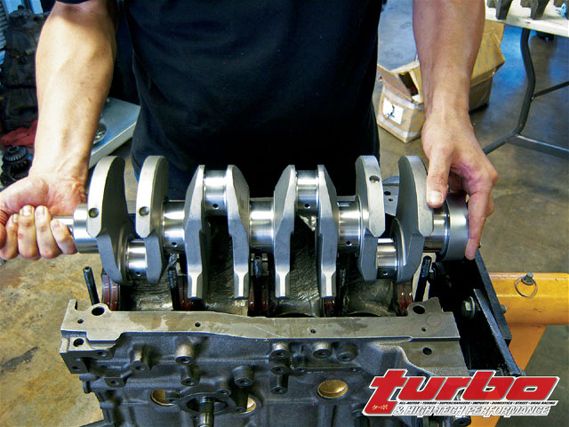
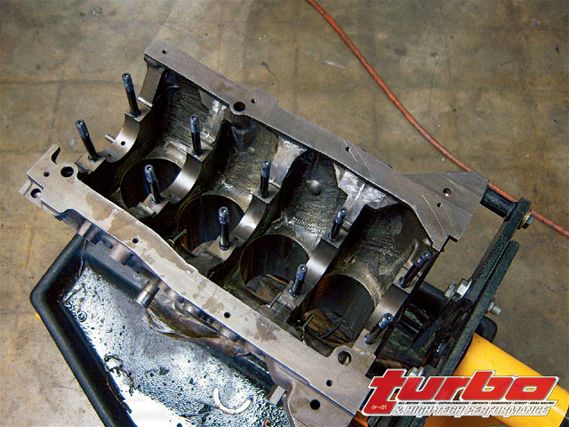
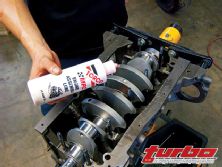
From here, the main bearings can be installed. The top and bottom bearings are different (one is grooved to channel oil from the block onto the crank). A liberal amount of assembly lube is applied to each bearing. Our crank is then set in place.
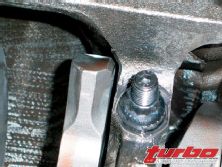
The mating bearing is installed into the main girdle and the girdle assembly is torqued onto the block. Proper torque here is key. Naoto says that variances in torque can make big differences in the out of roundness of the main journal and the crank-to-bearing clearance. This can contribute to irregular bearing wear. We turned the crankshaft over a couple times to make sure there isn't any interference from either the block or the girdle.

 | Each of the locks have to be seated by hand. Be careful as the edges are usually sharp and have a tendency to go flying if not seated properly.
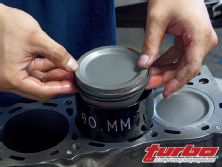
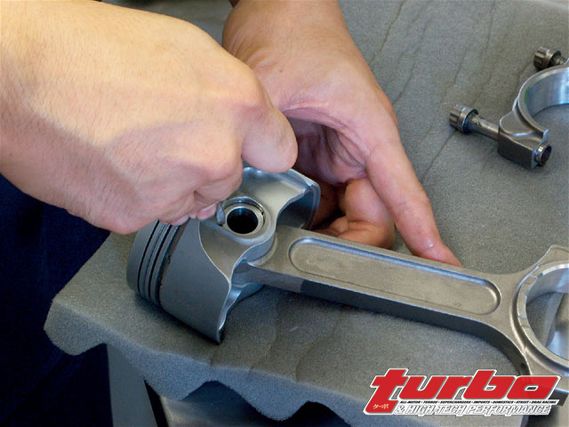
On the bench, we assemble the rods and pistons. First coating the wrist pin with oil, it is then inserted into the piston and rod. Then, using a small screwdriver, each lock is installed. There's no easy way of doing this, just be careful not to damage the piston when you're trying to get the lock seated. Naoto filed the rings before we sent the block out to get WPC treated, so we just had to install them to their respective piston.
Each rod is fitted with its proper bearing. Once in place, each ring is set to its position. We used the factory manual to determine the position of each ring.
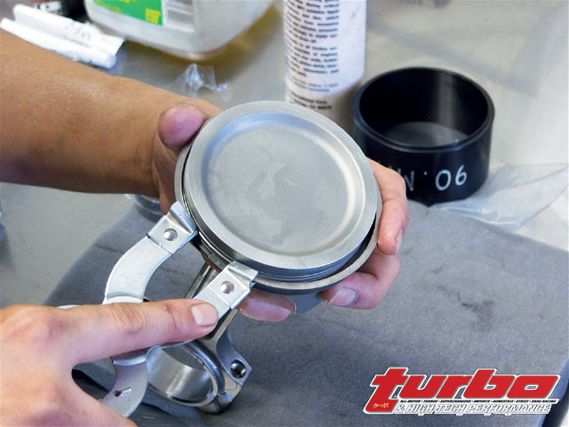
Naoto sets the crank at a position where he has enough access to tighten the rod bolt. Again, a liberal amount of assembly lube is slathered on the piston skirts, and the piston is installed using a ring compressor.
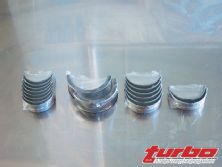
 | The ring is installed using a ring expander tool. Keep in mind the position of the notch in the bearing when putting them in.
The piston is pushed all the way down until it makes contact with the crank. Install the rod cap, but just cinch down the rod bolts. Once the pistons are installed, the rod bolts are torqued together to keep consistency.
We finally crank the whole assembly over a couple times to check for any other issues. Even with our massive fully countered crank, our block assembly spins like butter. This is probably attributed to having all of our friction surfaces WPC treated. We can't wait to see this monster roar on the dyno.
There you have it. Our short-block is now assembled and ready for a head. The process is pretty straightforward at this point. The key, like we've stressed since the beginning, is to be tedious and check everything over. Next time we'll assemble the valvetrain and finally torque it down to our block. We are that much closer to our monster KA24DET.