Up to this point, the ’07 Si sedan has seen basic bolt-ons that included a few different header options, a set of mild cams, dyno tuning, suspension, drivability upgrades, and some custom one-off pieces under the hood. What I haven’t touched on yet are any appearance upgrades. It being a street car and daily driver, I wasn’t looking for any wild aero or graphics schemes, but rather subtle changes that would enhance the factory lines which I’ve actually come to really appreciate.
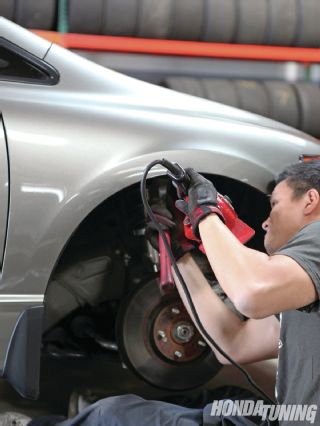 |
Mike Chang of Evasive reworking the fenders.
|
Mike Chang of Evasive reworking the fenders.
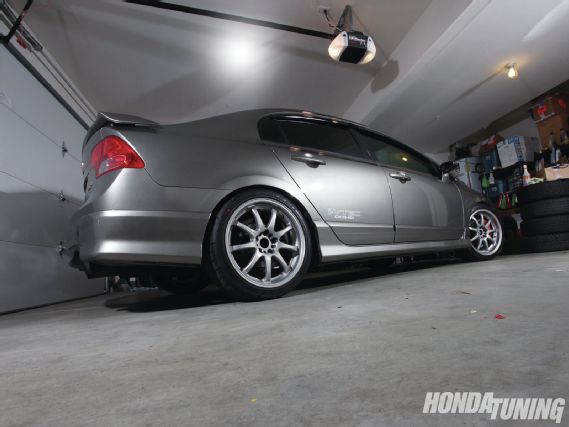
First on the list was a new/used set of wheels. A good friend of mine was tired of his 18x9 +30 and 18x8 +35 Work XD9 rollers, and we agreed on a wheel swap with an unused set of wheels that were collecting dust in my storage garage. Tire selection was fairly simple, a set of Falken Azenis RT 615Ks in 235/40-18 and 225/40-18 were chosen for daily duty. An aggressive tire sidewall combined with pretty aggressive wheel sizing meant a fender roll was going to be needed. As usual, I contacted Mike Chang at Evasive, and he agreed to take a hammer and heat gun to the front fenders and a fender-rolling tool for the rears. Much like many of the newer Honda and Acura chassis, the rear fenders are double-walled and tough to roll. Plenty of heat and a bit of muscle are needed to push them down enough to fit wheels of this size and offset. Up front, a heat gun warmed things up while some delicate hammer work cleared the path for the wider, 18x9 wheels.
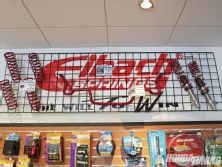
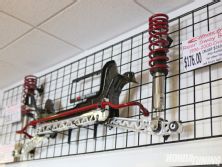
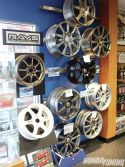
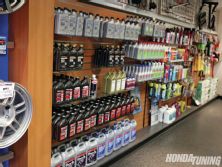
Just one day after leaving Evasive, I headed to Norm Reeves Honda of Cerritos, California. If you remember from the introduction of the Si series, I’d mentioned Norm Reeves in that article as its service department had found and rectified a serious third-gear issue I was having with the car. This time around, I’d sourced a set of HFP side skirts and a rear bumper skirt to match the HFP front lip that I’d already installed when I first bought the car. Norm Reeves sells a lot of Hondas. Actually, Norm Reeves sells a ton of Hondas. However, the dealership also has a first-rate service department and installation center where customers can have everything from factory alarms to body kits to foglights installed by certified Honda technicians. Furthermore, Norm Reeves Honda Cerritos also has a stocked showroom with quality aftermarket parts from the likes of Eibach, Volk, Torco, and many more, as well as Honda-licensed apparel, accessories, and of course, HFP goods.
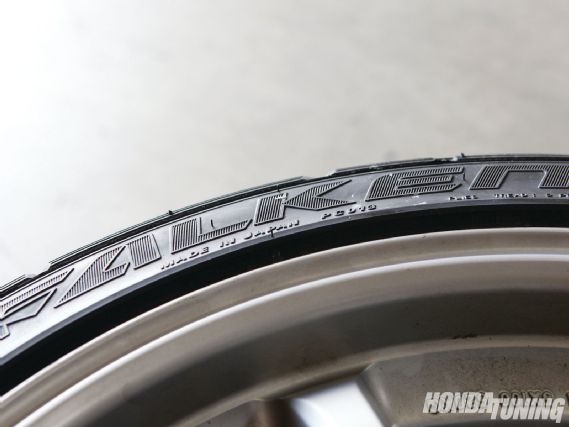 |
Falken RT 615K
|
Falken RT 615K
Here’s a quick walkthrough on the installation of HFP’s side skirt and rear lip with Norm Reeves:
Fitment of the HFP product is, well, factory fresh. No gaps, no rubbing, and because the parts come painted from the factory, no need for a body shop visit. Installation is pretty simple for someone to do at home with basic tools, and the experienced Norm Reeves Honda crew breezed through the entire process in less than an hour.
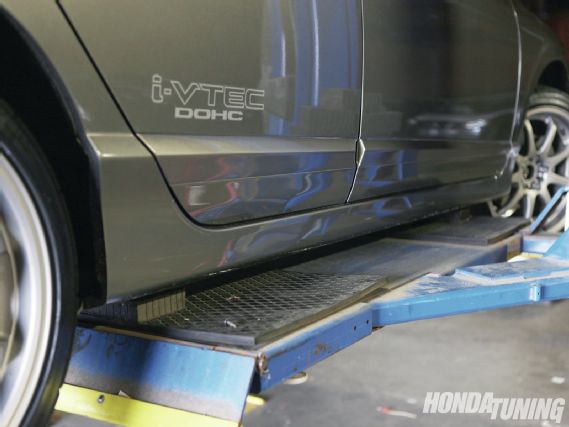
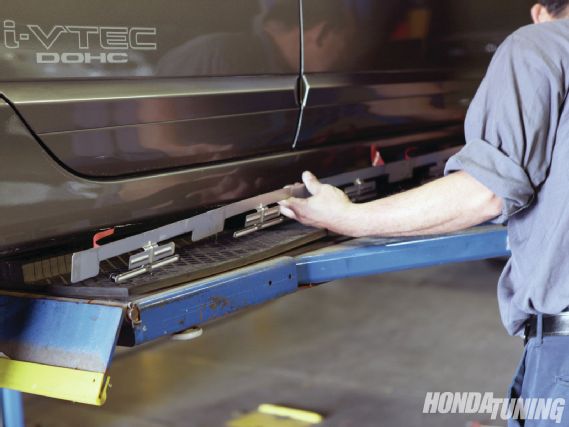
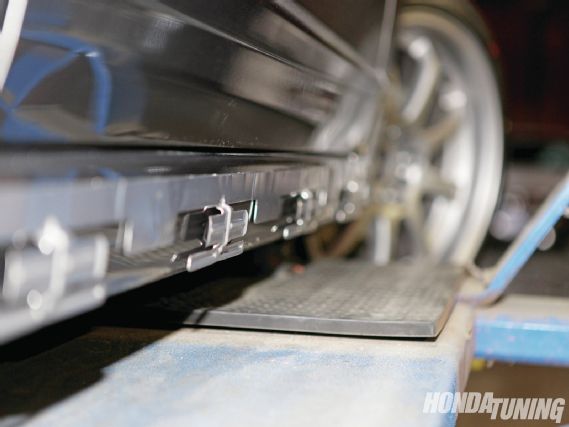
Once our Si is on the lift, the area that will receive the new side skirt is thoroughly cleaned with alcohol to clear any debris, dust, or built-up wax to ensure a solid contact area.
 |
Project Honda Civic Si: Honda Factory Performance
|
Project Honda Civic Si: Honda Factory Performance
 | Project Honda Civic Si: Honda Factory Performance
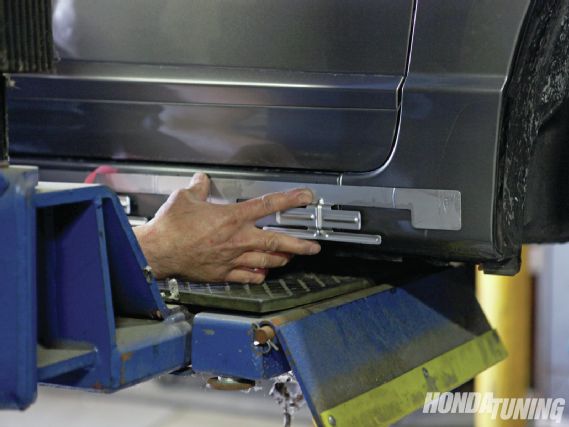
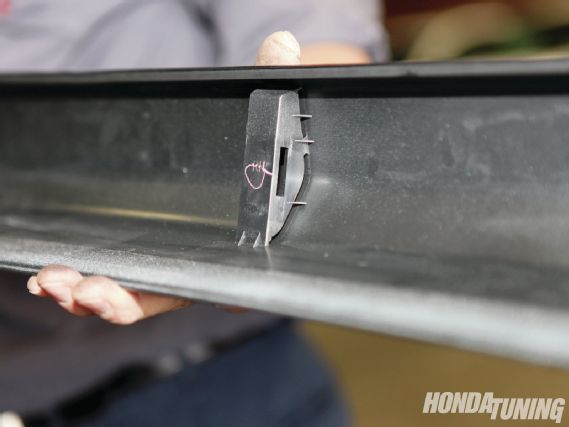
This metal bracket will eventually attach to the body with high-grade adhesive, and will help secure the new side skirt.
 |
Project Honda Civic Si: Honda Factory Performance
|
Project Honda Civic Si: Honda Factory Performance
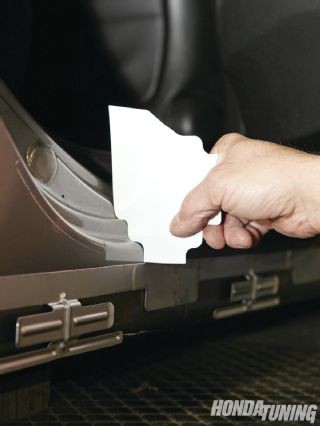
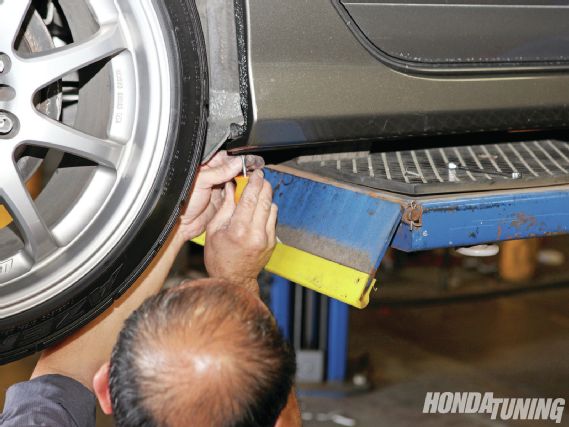
Before peeling back the tape, a cardboard reference piece that mimics the shape of the doorsill is used to avoid an uneven install.
 |
Project Honda Civic Si: Honda Factory Performance
|
Project Honda Civic Si: Honda Factory Performance
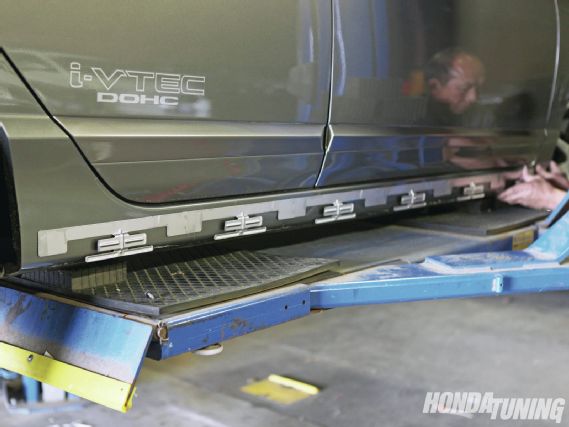
Once the tech is satisfied with the fitment from front to back, the metal skirt holder is stuck to the body, and within just a few moments, a rock-solid bond is achieved.
 |
Project Honda Civic Si: Honda Factory Performance
|
Project Honda Civic Si: Honda Factory Performance
 | Project Honda Civic Si: Honda Factory Performance
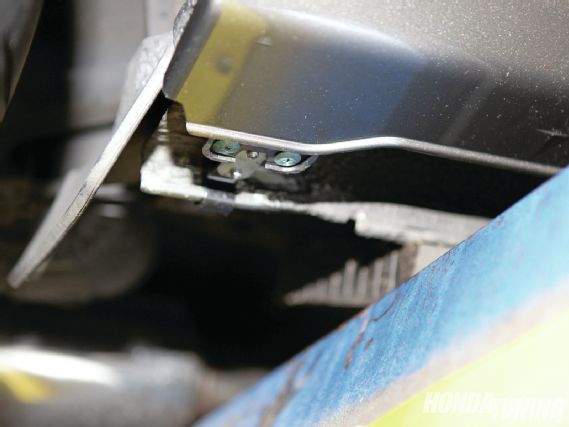
Here you can see where the metal bracket’s arm will meet with the plastic holder on the inside of the side skirt. The skirt is lined up, then simply slid across the metal bracket and locked into place. Additional adhesive on the skirt itself is applied to the body, and fastening screws in the front wheelwell are added.
 |
Project Honda Civic Si: Honda Factory Performance
|
Project Honda Civic Si: Honda Factory Performance
 | Project Honda Civic Si: Honda Factory Performance
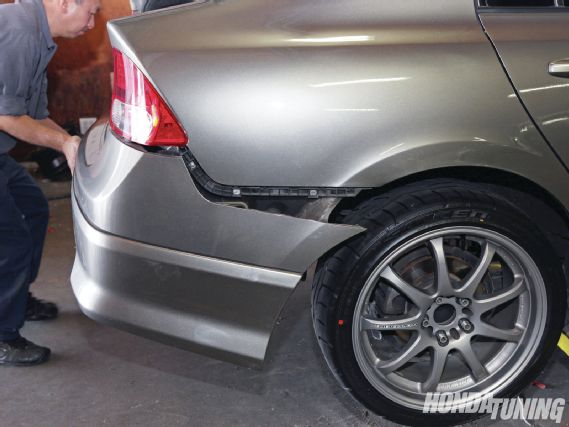
Toward the rear, an underbody fastener that connects the skirt to the chassis is secured. Once complete, you can see how precise the fit is, and how the side skirt carries the factory lines perfectly.
 |
Project Honda Civic Si: Honda Factory Performance
|
Project Honda Civic Si: Honda Factory Performance
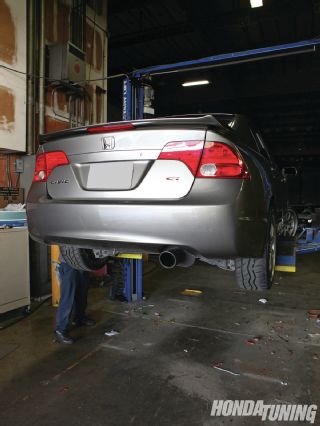
The OEM rear bumper is about as boring as you can get from a sedan. A little bulbous and quite mundane, the HFP rear lip is slightly more aggressive while still maintaining the flow of the factory lines.
To begin, the rear bumper cover needs to be removed along with the mudflaps (if you have them). Remove a few screws inside the wheelwells and inside the trunk sill, along with a group of clips under the rear, and the bumper cover is unclipped and removed. It’s a good idea to place the bumper facedown on something soft as it will be rotated and pushed around a bit, which can cause scratching and gouging.
 |
Project Honda Civic Si: Honda Factory Performance
|
Project Honda Civic Si: Honda Factory Performance
 | Project Honda Civic Si: Honda Factory Performance
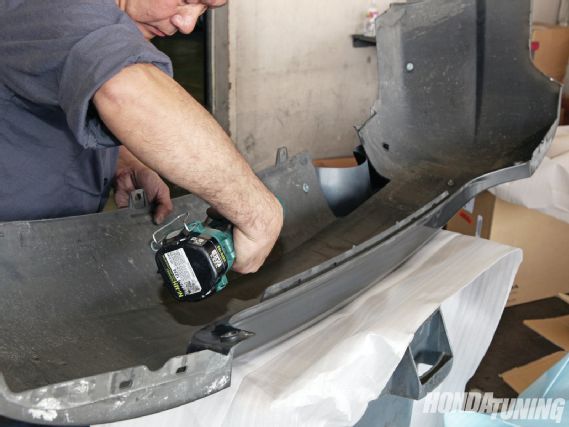
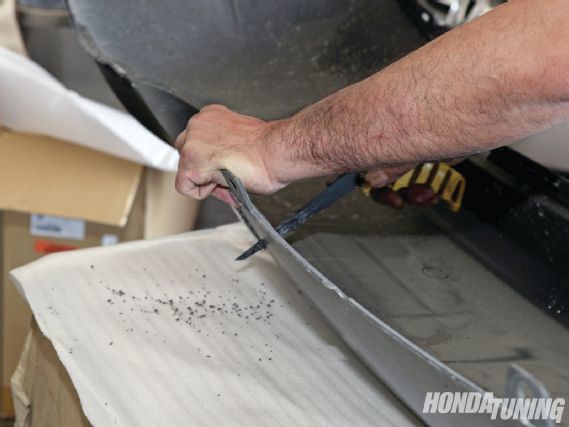
The factory exhaust opening on the bumper will need to be trimmed slightly to make room for the new piece. A Dremel-type rotary tool or a simple serrated thin hand saw like this one will make quick work of the thin plastic bumper cover. Factory lines direct you on where and how much to cut. Inside the bumper you’ll also find premarked holes that will need to be drilled out. Again, the bumper cover’s plastic is thin, so even a moderately powered cordless drill will do the trick.
 |
Project Honda Civic Si: Honda Factory Performance
|
Project Honda Civic Si: Honda Factory Performance
 | Project Honda Civic Si: Honda Factory Performance
The skirt is fastened into place with the supplied hardware, and the bumper is then reinstalled on the car. With the Vibrant exhaust system, there was a bit of a clearance issue. To give the exhaust tip a little more room and to avoid burning the rear skirt, a lower-hanging rubber exhaust hanger was used to drop the rear portion of the muffler and tip by about an inch. Problem solved.
 |
Project Honda Civic Si: Honda Factory Performance
|
Project Honda Civic Si: Honda Factory Performance
Norm Reeves' Parts and Accessories Showroom