The life of a truck can be hard. Most spend their time busting their beds hauling heavy loads, having their suspension abused by ruts and potholes, paint blasted by salt or gravel, and then driven home to be left outside in the elements like a dog in the yard. Some trucks have all the luck though. They get to be driven off the lot new, destined to become a show truck and be ogled by masses of onlookers at custom truck shows, never having to put in a hard day's work. When a truck is headed for the high life there is usually a long list of modifications that will be done before rolling into the show and having a crowd gather.
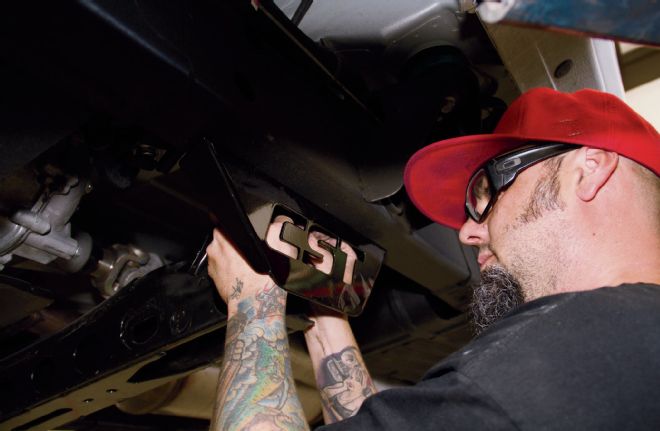
One thing was certain in this build early on: It needed to be substantially higher than stock. When the overall look was mapped out and agreed upon, this pre-show truck was sent to Devious Customs in Riverside, California, to have an altitude adjustment by their extremely capable hands. A 6- to 8-inch lift kit was ordered up from CST Suspension, which would give it just the right stance and ride height before a host of upgrades were installed. The kit came with all the necessary parts to lift our Silverado, all powdercoated black, including a massive one-piece gusseted subframe, steering drop down centerlink, and 2.0 emulsion shocks. Even with all the changes, this tough and well-designed kit still retained the factory track width. The truck also received a set of red letter General Grabber 35x12.5R20 tires featuring an aggressive tread pattern and a set of gloss black and machined RBP 89R Assassin Wheels as part of the full-scale build with Devious.
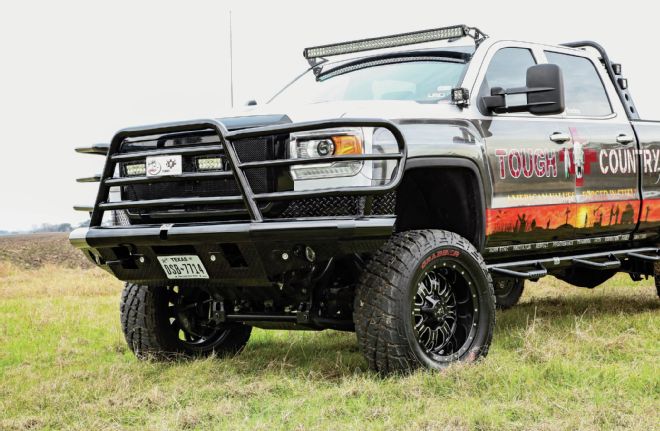
The Devious crew was going to then tear the Sierra apart to bring it back up in a different form for Tough Country where it was debuting at SEMA to showcase their line of bumpers, side steps, headache racks and lightbar mounts this past year and at the time was one of the first '15s to receive such a lift. Follow along as we dive deep into this lift installation to show how an all-inclusive kit can turn a task into a breeze.
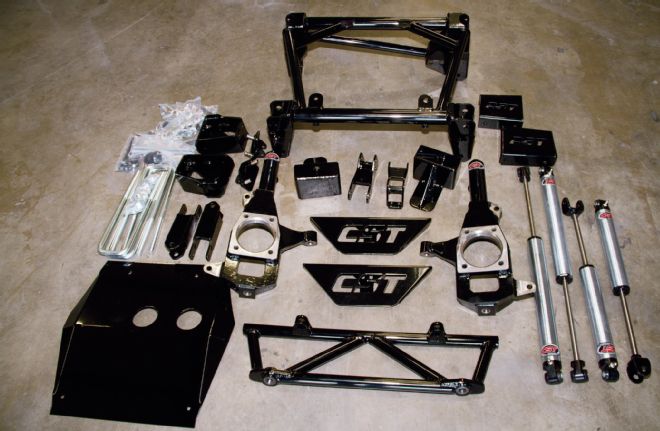
| Cst Lifting Kit
1. The complete kit from CST included everything needed to lift this Sierra up, including the subframe, spindles, steering centerlink, diff drop brackets, bumpstop brackets, front skidplate, rear lift blocks, U-bolts, rear brake line bracket and all necessary mounting hardware.
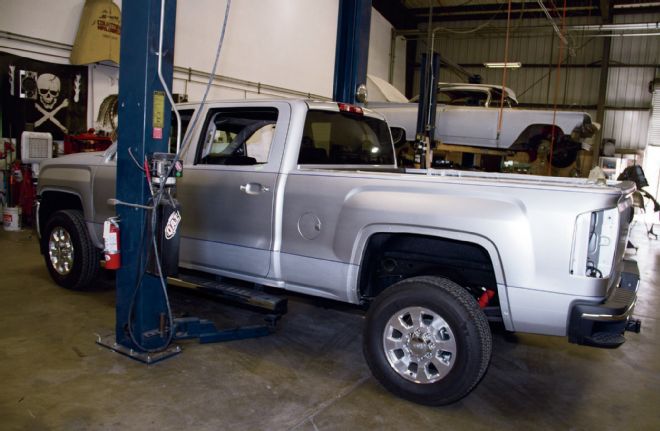
| 2015 Gmc Sierra On The Lift
2. Putting the stock truck up on the lift was the first step; it got raised to a workable height and all four wheels were removed.
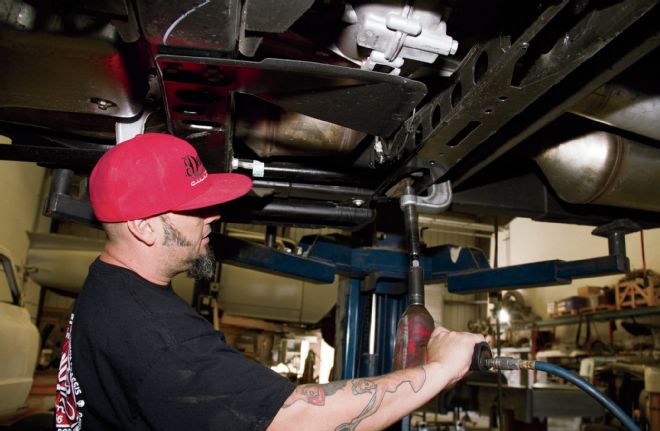
| 2015 Gmc Sierra Unloading Tension On The Torsion Key
3. We unloaded the tension on the torsion key with a removal tool and unscrewed the adjustment bolts. Then, the retaining block was removed and the torsion bars were ready to be slipped out.
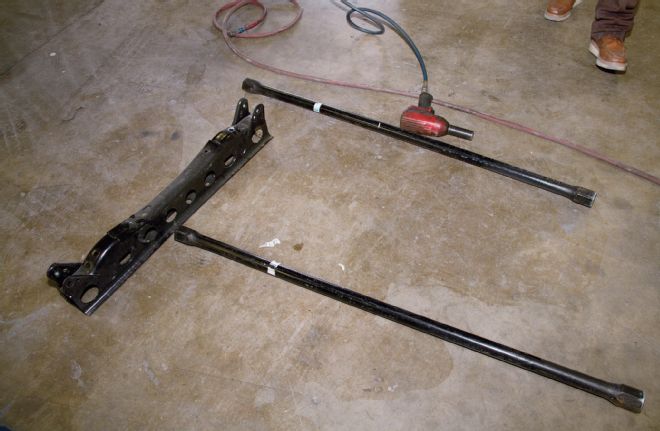
| 2015 Gmc Sierra Torsion Bars Removed
4. Next to be taken out was the torsion crossmember, as it will be relocated later. The two bolts on either side were removed and the crossmember was able to be dropped out, with the now unloaded torsion bars taken out and marked R and L to be reinstalled later.
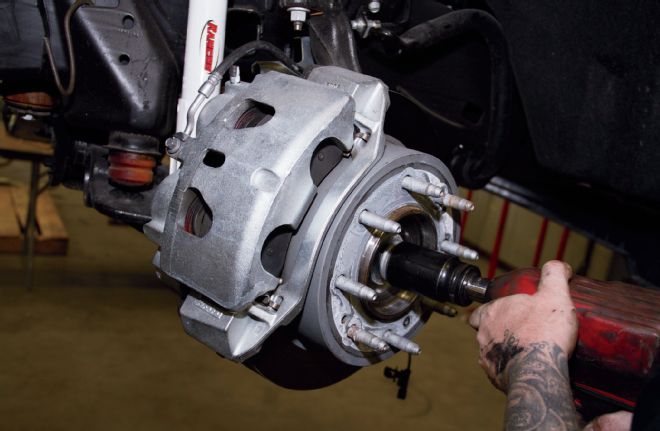
| 2015 Gmc Sierra Removing Front Hub
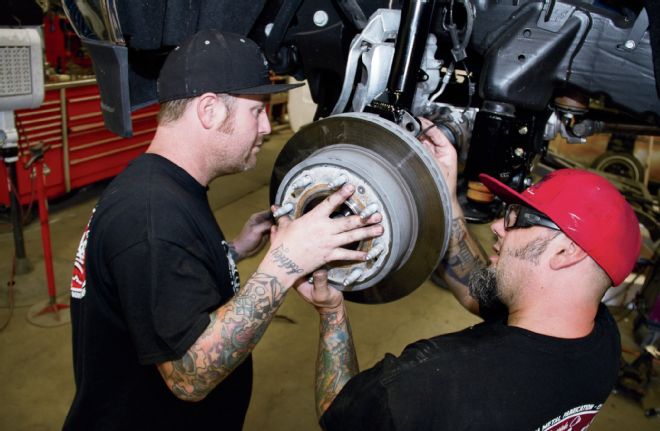
5. The Devious crew then turned their attention to the front hub removing the axle nut, the brake caliper, and the brake disc so the rest of the front suspension could be accessed.
| 2015 Gmc Sierra Removed Spindle And Lower Arm
6. With the brake caliper safely hooked aside, we were able to unbolt the shock, and disconnected the axle from the spindle. We then removed both the spindle and the lower arm as well.

| 2015 Gmc Sierra Removing Axle From Front Differential
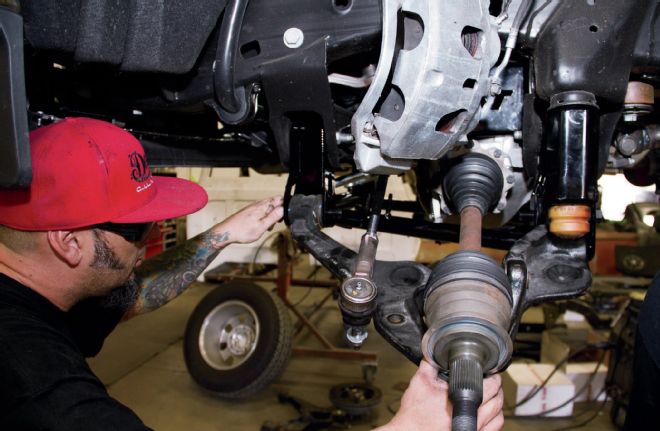
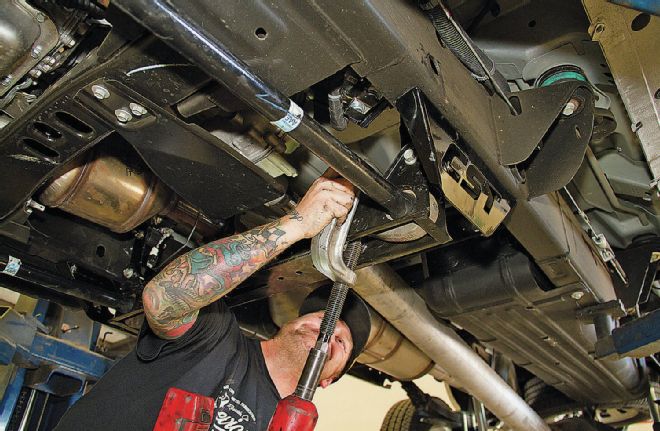
7. With the axle now free and hanging, the six bolts were removed and we were able to remove the axle from the front differential. We repeated that process on the passenger side to free up the differential.
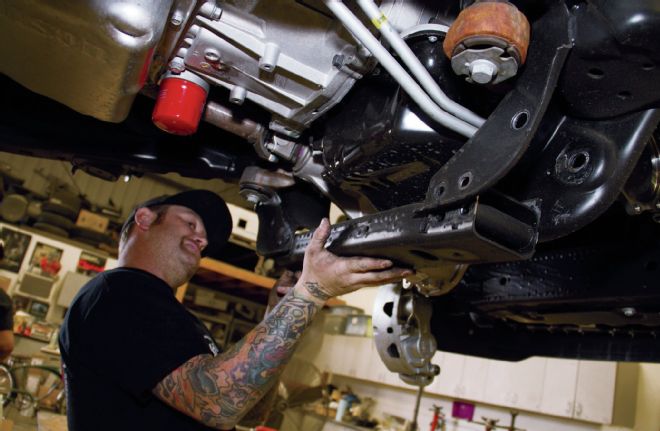
| 2015 Gmc Sierra Removing Crossmember Bolts
8. The rear crossmember had two bolts on either side, which were quickly removed to be replaced by the supplied one from the kit.
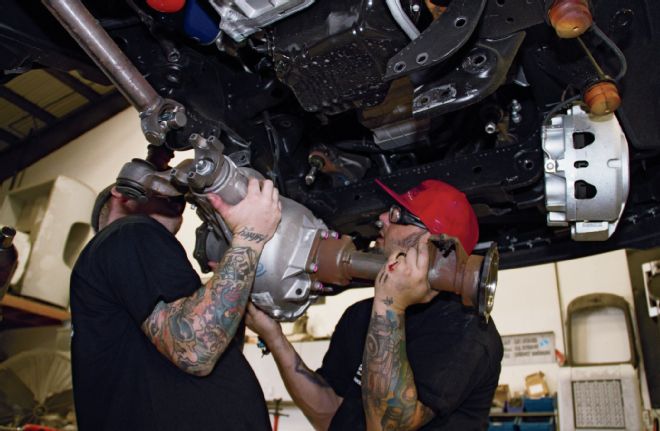
| 2015 Gmc Sierra Removing Transmission
9. With the diff ready to come out, the driveshaft was separated and was left to hang while good ole' brute strength safely lowered the diff out of the way. The four hands of the Devious crew stood in for a transmission jack, but it can be changed alone if one is available.
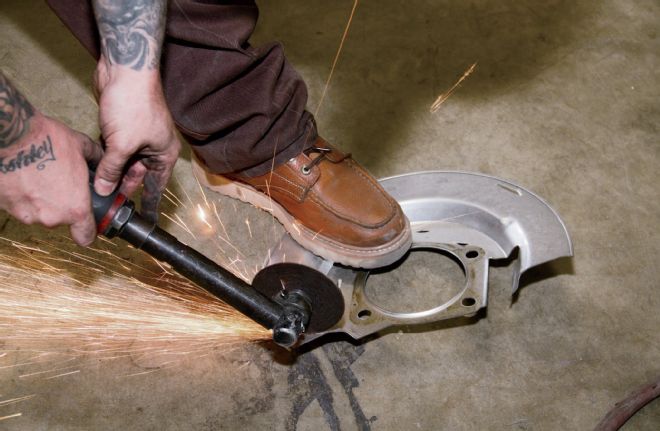
| 2015 Gmc Sierra Cutting Out Section Of Drivers Side Lower Arm Mount
10. Using the supplied pattern that came with the kit, we then cut out a section of the driver-side lower arm mount, carefully noting that the front side of the mount gets more material removed.
| 2015 Gmc Sierra Putting Differential Back In
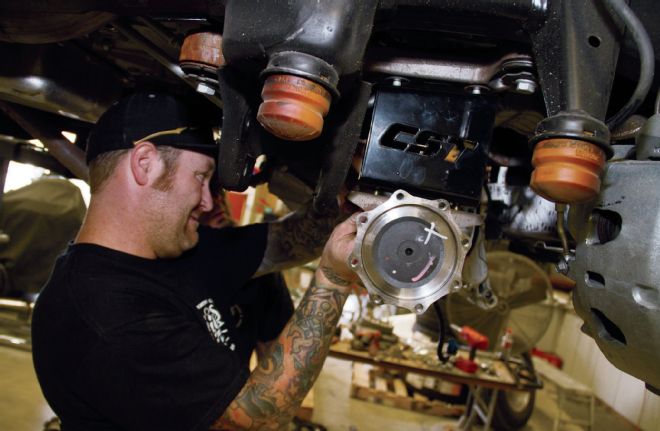
11. Both the passenger and the driver side get a diff lowering bracket, with the CST logo facing outwards. We were now ready to put the diff back in using the new bolts from the kit and tightened it back into place making sure that it did not hit the frame where the driver-side mount was cut. It was adjusted a little to the passenger side before everything was tightened up.
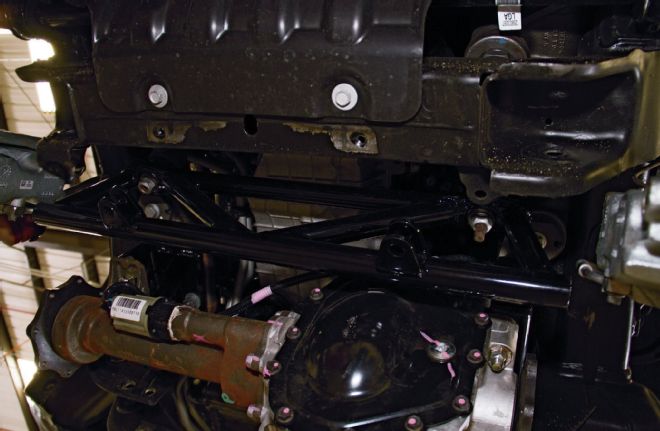
| 2015 Gmc Sierra Trussed Steering Link Installed
12. Team effort was utilized again to install the trussed steering centerlink, making sure that the tabs were facing the front of the truck. A transmission jack could also have been used when working alone, but the buddy system works just fine if one is around.
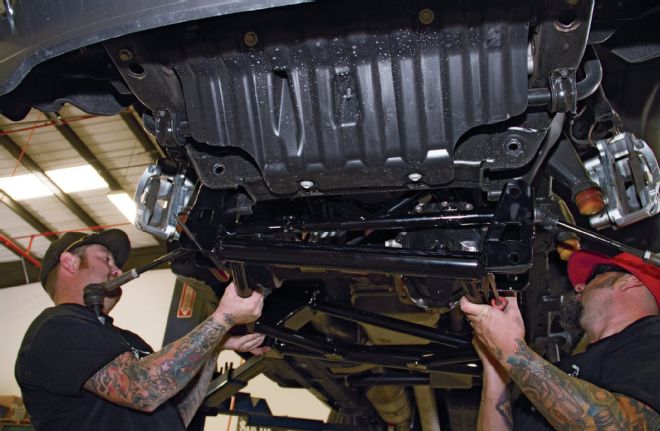
| 2015 Gmc Sierra Adding Loctiteto To Subframe Bolts
13. Adding Loctite to the bolts of the subframe, it was muscled in place.
| 2015 Gmc Sierra Installing Factory Bumpstops
14. The factory bumpstops were then installed to the bumpstop brackets from the kit first using hand power to twist them on, then a ⅜-inch bolt to attach them to the pocket where they used to go.
| 2015 Gmc Sierra Bolting Axles And Lower Arms
15. Bolting up the axles to the differential, the installers then bolted the lower arms back into place leaving the bolts on the arms a little loose to be tightened up when the truck is back on the ground to avoid wear on the bushings.
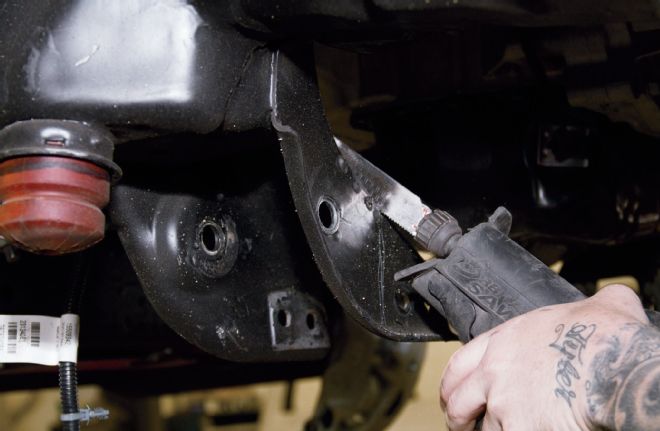
| 2015 Gmc Sierra Cutting Off Part Of Dust Shield
16. The dust shield on the back of the hub had to have an approximately 2x2 triangle cut off the end of it; we made short work of it with a cutoff tool.
| 2015 Gmc Sierra Cst Spindle Being Attached To The Hub
17. The stock spindle was then removed so the CST spindle could be attached to the hub with four new bolts from the supplied hardware bundle.
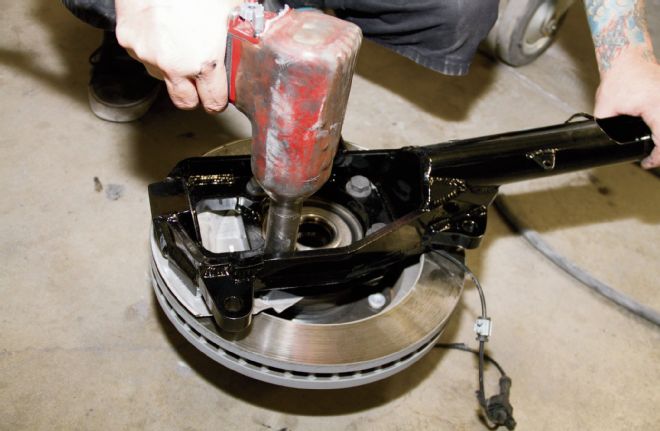
| 2015 Gmc Sierra Reattaching Hub Assembly
18. Now the hub assembly could be reattached, bolting it to the upper and lower arms, and we also fed the axle through so the axle nut could be tightened back up.
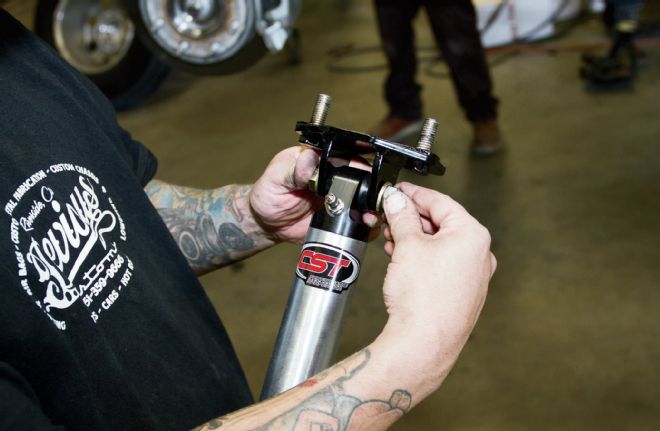
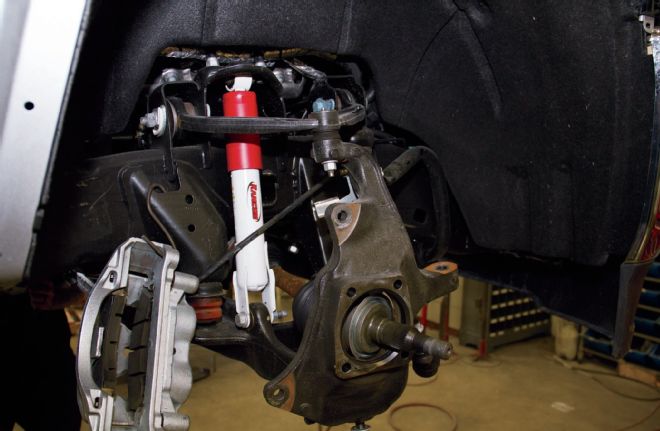
| 2015 Gmc Sierra Rotating Bracket On Shock
19. With the hub assembly in place, attention was turned to the front shocks, which received an extension bracket, making sure to rotate the bracket so the open side faced the rear, and then the shock was bolted into place in the upper and lower shock mounts.
| 2015 Gmc Sierra Steering Tie Rod Ends Bolted In
20. The steering tie-rod ends were next on the list and were bolted back into place on the factory location of the front spindles.

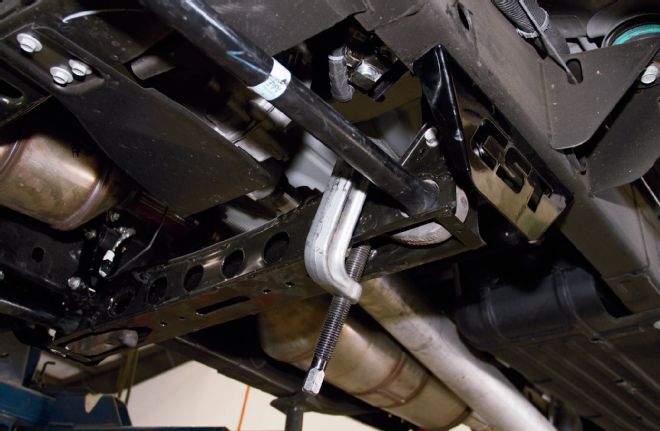
| 2015 Gmc Sierra Drop Mounts On Either Side Of The Torsion Crossmember
21. A set of drop mounts on either side the torsion crossmember then received 1-inch bolts that were dabbed with Loctite and bolted into place.
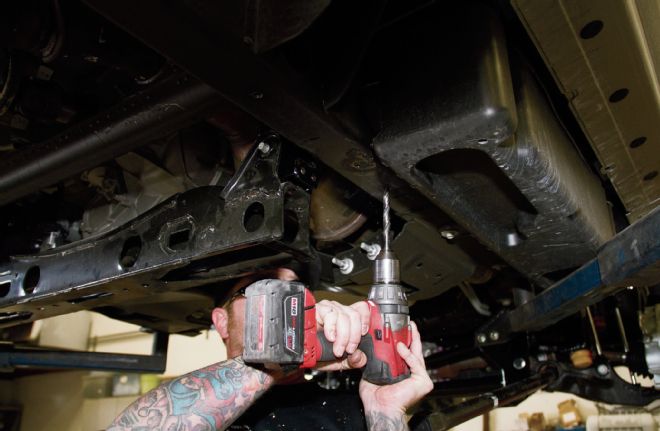
| 2015 Gmc Sierra Drilling Holes In Front Of Torsion Crossmember
22. Two holes were drilled directly in front of the torsion crossmember for the torsion side plates.
| 2015 Gmc Sierra Torsion Plates Bolted Up In Their Location
23. The torsion side plates were bolted up into their location on either side of the torsion crossmember.
| 2015 Gmc Sierra Sliding Torsion Bars In Place
24. Then, we slid the torsion bars in place and slipped the keys back on as well. Using the torsion key tool again, we adjusted them back to the stock position and installed the adjustment bolts.
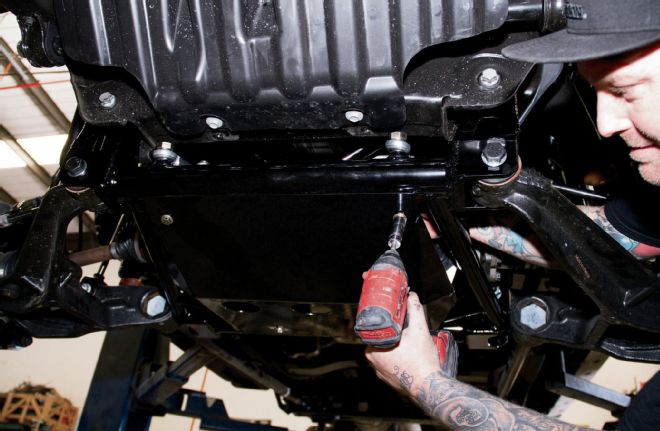
| 2015 Gmc Sierra Installing Front Skid Plate
25. After the torsion bars were set into place, the front skidplate was installed using the supplied hardware from the kit.
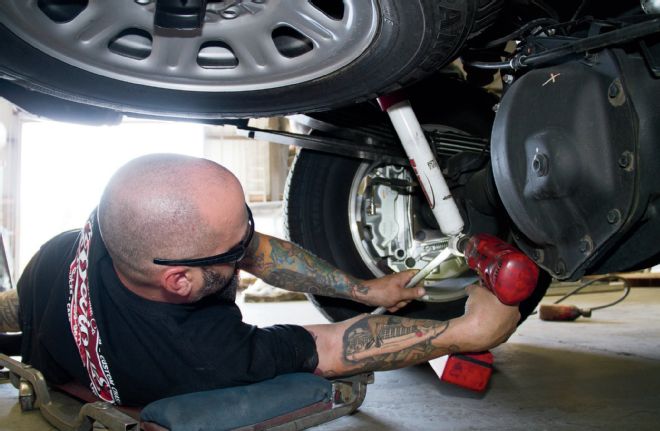
| 2015 Gmc Sierra Unbolting Rear Shocks
26. Turning our attention to the rear, we set the truck on the ground and unbolted the rear shocks.
| 2015 Gmc Sierra Rear Axle Leaf Spring U Bolts Unbolted
27. Then, the four U-bolts from the rear leaf spring were unbolted from the axle.
| 2015 Gmc Sierra Lift Blocks Installed
28. With the truck still on the ground, the lift blocks were installed working on only one side at a time. Once each side was in place, both sides were tightened back down.
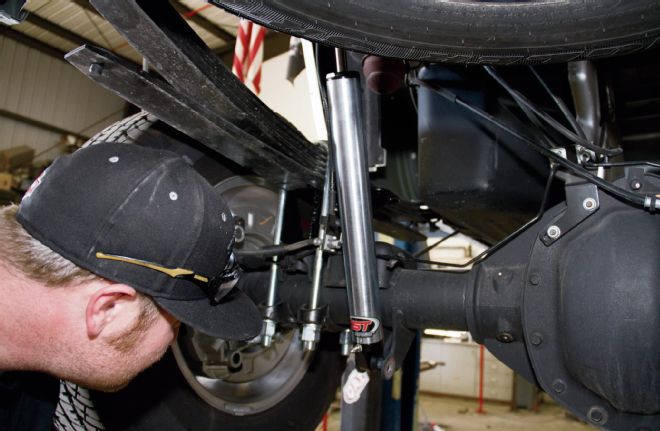
| 2015 Gmc Sierra Rear Shocks Botled Up
29. With the lift block installed, the rear shocks could now be bolted up.
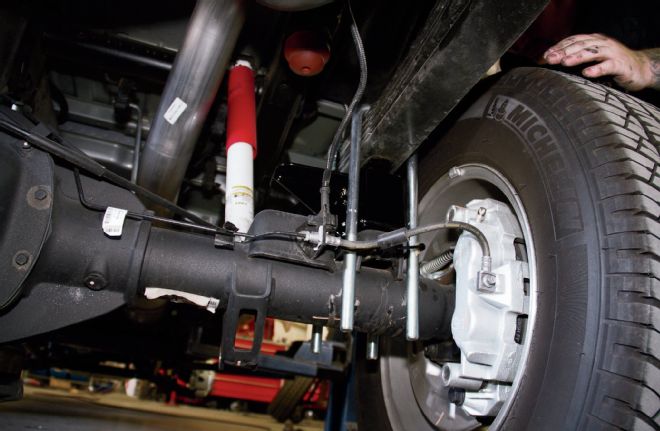
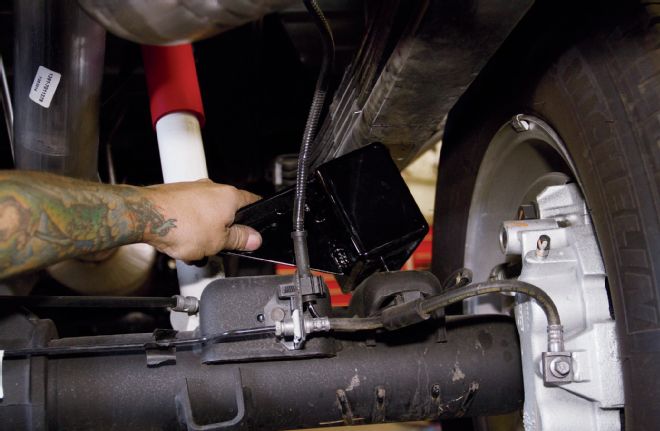
| 2015 Gmc Sierra Brake Lines Unbolted From Axle
30. The brake lines were then unbolted from the axle to be attached to the lift brackets, which received a new set of bolts from the kit, which then installed to the stock bracket using the old bolts.
| 2015 Gmc Sierra Torsion Keys Tightened Up
31. The truck was then raised back up to have the torsion keys tightened up to have a little more lift, but we left it at a safe level to give it approximately 1 inch of droop for a little comfort and to err on the side of safety.
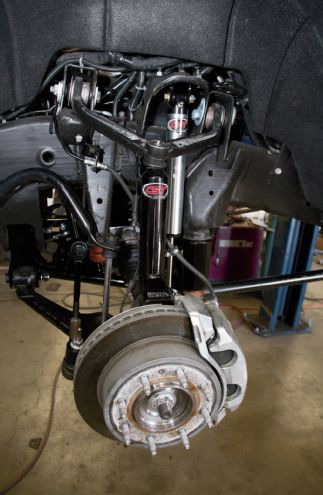
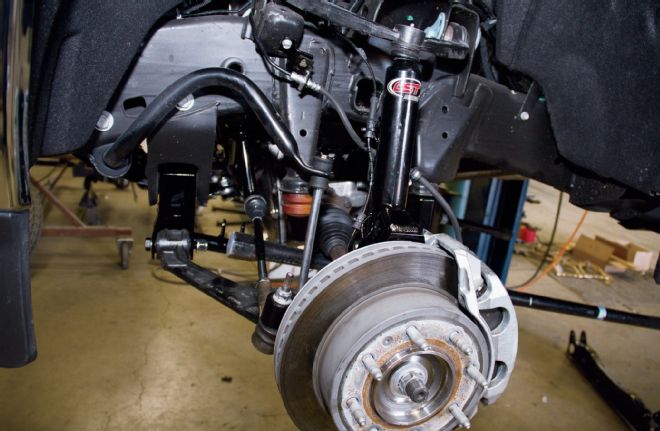
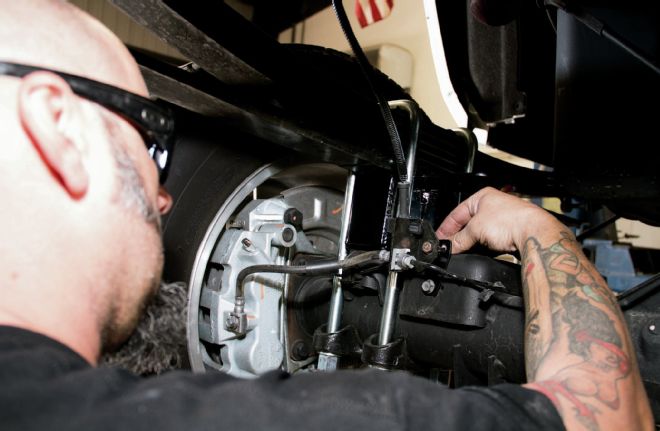
| 2015 Gmc Sierra Front Suspension Inspected And Torqued Down
32. All of the front suspension components were then inspected and torqued down, and the hubs were turned side to side to make sure the brake lines and ABS lines were in safe locations and did not get pinched or strained.
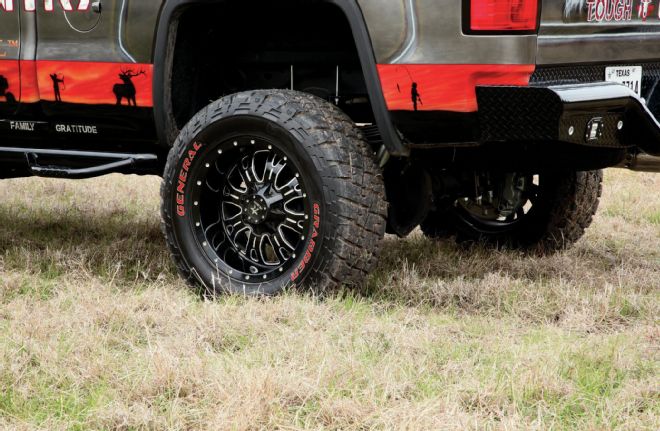
| 2015 Gmc Sierra New Rbp Assassin Eight Spoke Wheel In General Grabber Rubber
33. Our newly lifted GMC received a set of RBP Assassin eight spoke wheels finished in gloss black and machined finish along with a set of aggressive General Grabber 35x12.5R20 tires complete with red letters to mount to them.
| 2015 Gmc Sierra Finished Lifted Suspension
34. This now completed '15 Silverado was decked out with Tough Country bumpers front and rear, side steps, headache rack and a lightbar mount. It was debuted at SEMA 2014 and was a finely crafted machine that drew attention the entire show. Check out the CST website to see what's available for your truck.