With our new Slam Specialties 'bags finally installed and doing their thing, we now had to tie up a bunch of loose ends, so forgive us if we jump around a bit as we make our way through this installment.
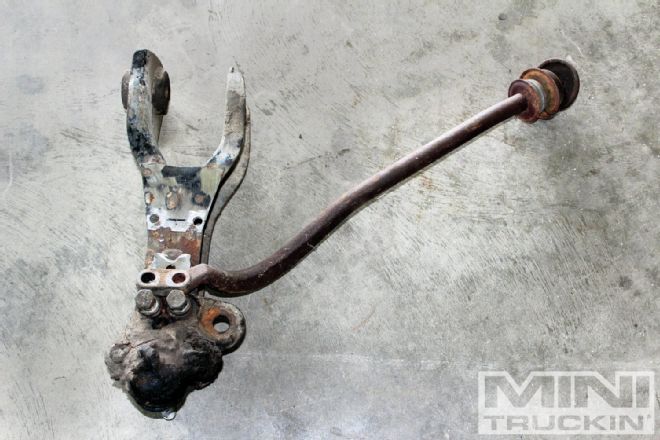
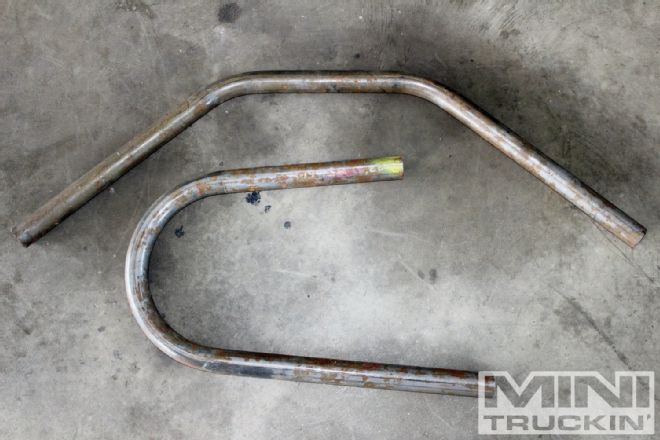
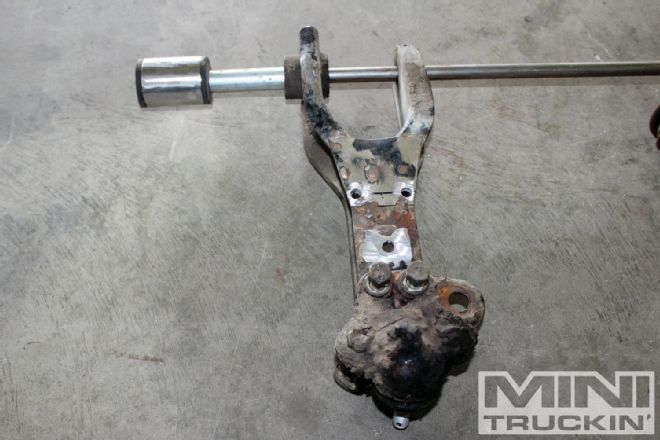
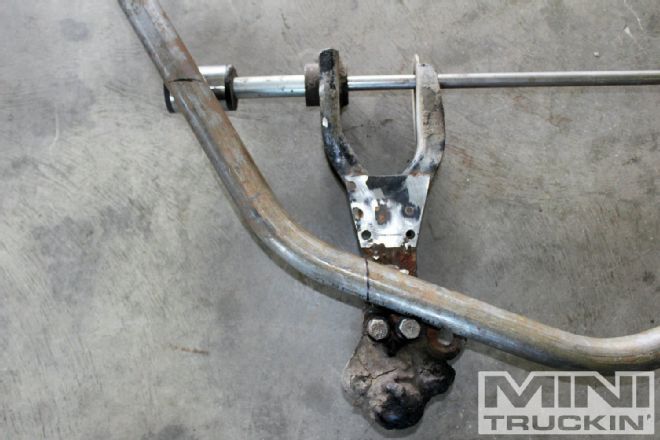
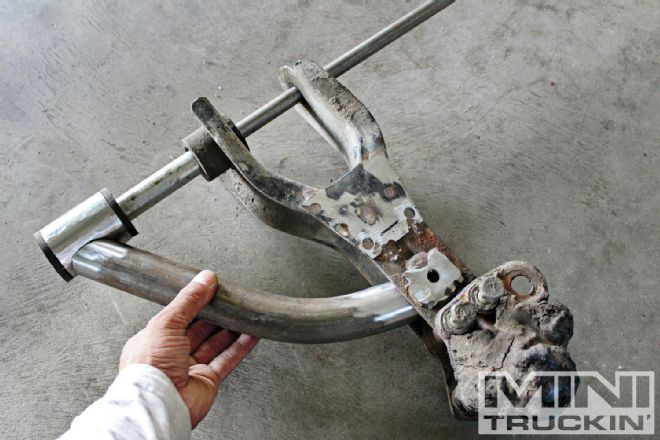
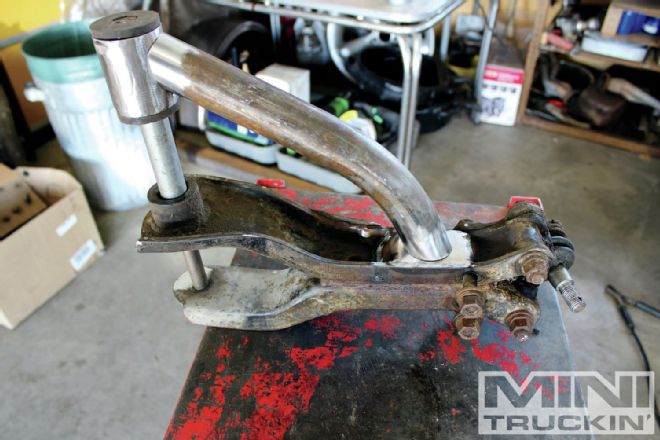
Up front, the first thing we needed to address was the fact that we removed the strut rods. On a lot of older import trucks, the lower control arm is built as a basic swing arm, the pivot point is often only one bushing offering little to no forward or rearward stability. To keep the lower control arm from ending up bent back into the firewall on the first bump or pothole you hit (or even if you slammed the brakes hard enough), you rely on what is commonly called a strut rod. This is a bar that is mounted to the lower arm near the ball joint and anchored to a cross member either in front of or behind the arm itself—it essentially acts as a brace. A-arm suspensions are able to operate without these by triangulating the arms for stability, which is what we decided to duplicate.
Now we know what you're thinking "why do all that extra work, why not just leave the strut rods?" The biggest reason is that they tend to limit up-and-down movement and sometimes bind. A stock suspension is typically set up to operate in a neutral position, and moves up and down from there. With our now 'bagged suspension, we're going the full range of movement, which will tend to shorten the life span of the strut rod bushings quite drastically.
Two other structure points were addressed up front when boxing in the framerail. We had to open the area up to fit our Slam 'bags in there. When we were finally installing our fishplates over the area where we did the frame Z, we kept strength in mind when doing any modifications. Sure, you don't want anything to break, but more importantly, you don't want anyone to get hurt or potentially killed.
Moving out back, the first thing we needed to tackle was to build a notch bridge, which of course helps to give strength to the frame, and also keeps the two frame rails from twisting. "How would the rails twist", you ask? Well my good man (or woman), since the rear ‘bags are mounted on the side of the rails, when we air up the 'bag, it pushes on the both the lower link bar and the upper bar bracket/frame with an end result of the truck going up. However, the anchor point that holds the truck up is that upper 'bag plate on the side of the rail, and since it's on the side, what it wants to do is to twist the framerail. Tying the two notches together simply prevents this from happening, and it also makes for a handy place to put the shock mounts.
If you recall from the first installment, we had a pair of rear fullsize shocks lying around. As much as we wanted to stick to our budget, if the parts aren't gonna work, the parts ain't gonna work. The answer to this shocking situation came to us while we came across an ad for rockauto.com. Within minutes, we were shopping for parts. Now we know what you're thinking, just another parts supplier right? Well to our surprise what we found was not only huge savings on the parts we needed, but also the ability to see all the available brands as well as their availability. Another really cool feature on the rockauto.com web page is that you can look up parts by vehicle application as well as by the part number itself. We chose to use front shocks off a Chevy C-10, and we were able to simply look up the various vehicles that we needed the parts from and order up the bits and pieces. Just imagine trying to explain our situation to the trainee at the local parts place; Hi, we're working on a '79 Luv, with a 2.6L Mitsu engine from an '87 Mazda B2600 and want shocks off an '87 C-10 1/2ton … oii! On top of all that, the parts were on our doorstep a few days later!
With the fab work wrapped up on the frame, we tore the whole thing apart again for final clean up and paint. A good portion of our weekend was spent removing unused brackets, left over welds from pieces cut off and excess rust.
Next up, time to pretty up that ol' 2.6L. We're going to do a reseal and detail before bolting it into the frame for the last time. Yay!
