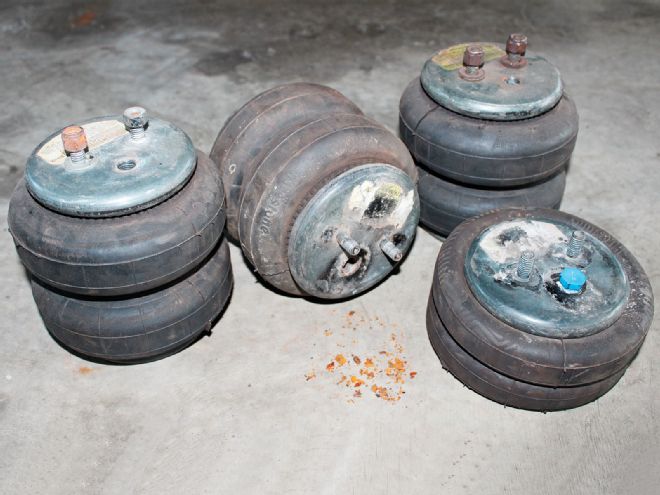
The time to install the 'bags on our project LUV is finally upon us! We had some old Firestone ¼-inch port 'bags we had planned on using simply because we already had 'em. Funny though, you remember that thing we said earlier about your intended path sometimes taking a detour? Well, when we brought the 'bags out for a close inspection of their condition we found cracks, evidence of rubbing, and distortion. We also noticed something funny about one of the 'bags (not "haha" funny, but "peculiar" funny).
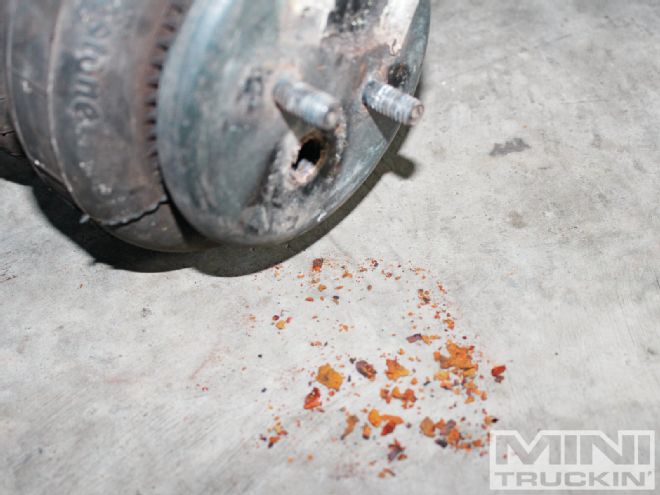
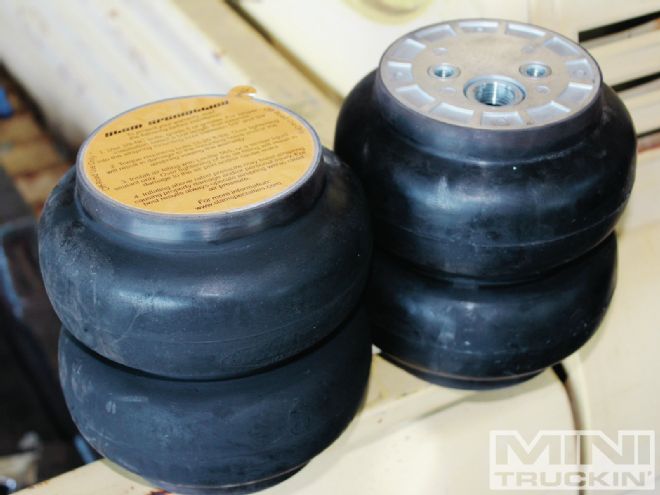
This one 'bag sounded somewhat like a saltshaker; so we flipped it around and emptied the contents to see what it was … rust! How, you ask? Well, anytime you compress air, you end up with moisture. Most shop compressors have a drain valve at the bottom of the tank that needs to be drained periodically, and lots of peeps run water traps both in their shops and on their trucks to protect their air tools and air valves from the moisture. If the moisture is able to migrate into the air tanks, then into the 'bags, corrosion is the result, which can then potentially cause some safety issues. Anything from air leaks, to a 'bag plate blowing out is possible. Point being: you don't want 'bags like that on your truck. Now even on a budget build such as ours, money will eventually have to be spent, and a set of fresh 'bags is money well invested. We chose a set of Slam Specialties RE-6s given their proven track record, their non-ballooning properties, and their reputation for improved ride characteristics.
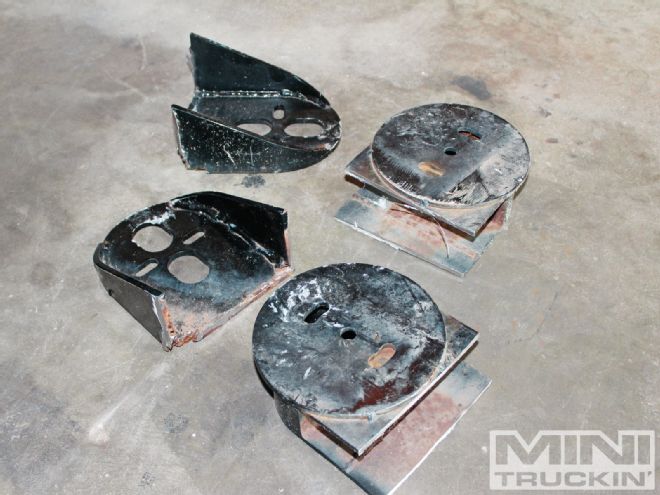
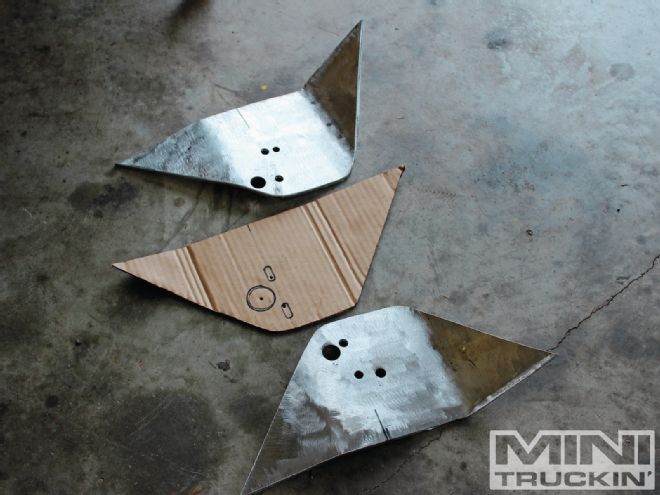
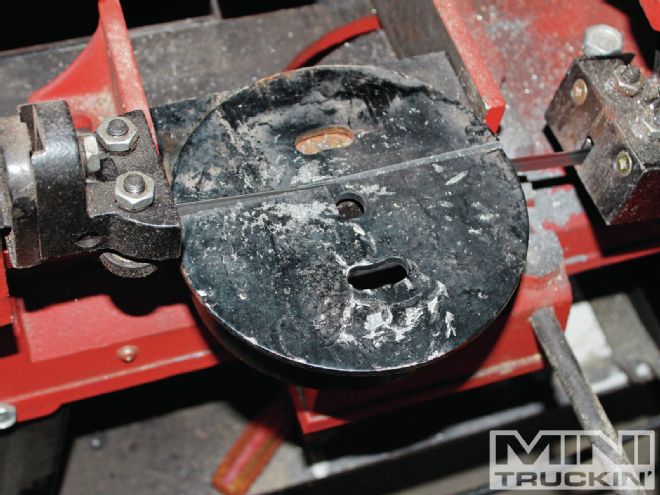
With the 'bag situation handled, our attention turned to what we were going to do for brackets. We turned once again to what we had lying around the shop. We were able to scavenge some upper 'bag brackets that were once on a big black dually named Shakira, and off the Ol' Slammin' Salmon parts Mazda, we salvaged some old suicide doors 'bag plate brackets, all of which we tweaked to suit our current LUV application. Now if you remember way back to when we first clearanced the front suspension to lay the truck out, there really wasn't much room for 'bags, so now that it was time to stuff some in there, we had to open the frame up all the way to the inner wall. Translation: before it's all said and done, we will be reinforcing the control arm area on the frame. For now, our concern was getting the 'bags and brackets set up to work properly. Our mission was accomplished, as we got 8 inches of lift up front, and 9½ out back—all at 100psi!
Now we experience a bit of an "oops" that had to be redone here. When we mounted our 'bag brackets on the lower bars, we compressed a 'bag, lined up our upper and lower mounts with the truck laid out so that the 'bag was in-line at full compression. So, we burned in the lower mounts on the bars. All good, right? Well, not so much. As we were standing back, we noticed the threaded adjustable portion of our lower bars was to the front. "So what," you say? If the 'bags hadn't been mounted to the bars we might agree, however, since our lower bars are also our lower 'bag mount, if the adjuster is on the wrong side of the 'bag when the length of the bar is adjusted, the lower mounting point of the 'bag is also moved, which causes misalignment and a shortened life span of the air bag. So tail tucked between our legs, we cut the mounts off the bars, flipped the bars around, and tacked 'em back in place (keyword there being "tacked" not "burned"). We verified proper operation and alignment, and finally in our best Homer Simpson voice "Truck goes up, truck goes down …"
Still on the "to do" list is boxing and reinforcing the front control arm area, building our strut rod eliminators, building a bridge for our notch, installing our fish plates on the frame Z, shock mounts, and finish welding it all in! Slowly but surely—this ship is getting closer to sailing.
