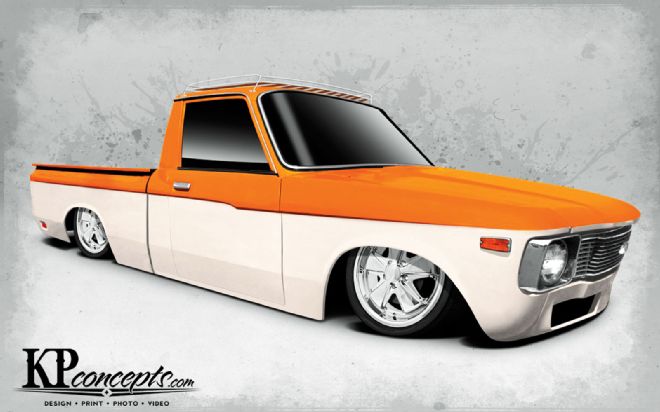
| chevy Luv kp Concepts Rendering
In the last installment, our LUV's new frame was cut down, and the notch was completed, but a li'l somethin' had happened that we didn't have time to mention in that article. When we welded the top of the framerails to the 2x3 we had inserted, some not-so-cool results popped up. Now keep in mind, we did that on day four of a long weekend push at about 8 p.m. of the last day. We were tired and knew better, yet we pushed on anyway.

| 1. With the notch set level...
First off, when we started to weld up the rails, we did so in 10-12-inch chunks, which is way too long, rotating around each corner of the 'rails progressing towards the middle, which was likely our second boo-boo. By closing off the ends of the rails when welding them up, the heat from all the welding had nowhere to go, and once it was all said and done, the framerails resembled something like an old rocking chair that granny used on the front porch.
Now this is the point where we had to gobble down a big piece of humble pie, and realize that many of us will reach this stage during the process of building a truck. It's a very discouraging destination to be stranded at, and the few options of what to do next quickly came to mind. We could bury the mistake in the build (not the right answer), strategically slice down the 'rails to straighten it and weld it up again (messy and would probably go against keeping the frame strong), or scrap the frame altogether and have a good cry (also, not the right answer).
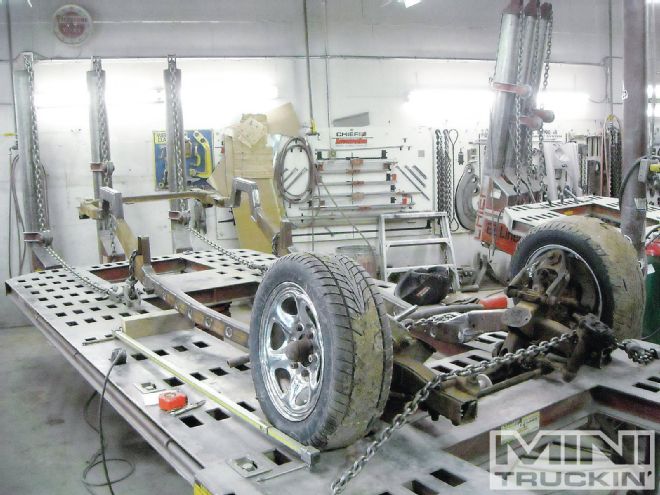
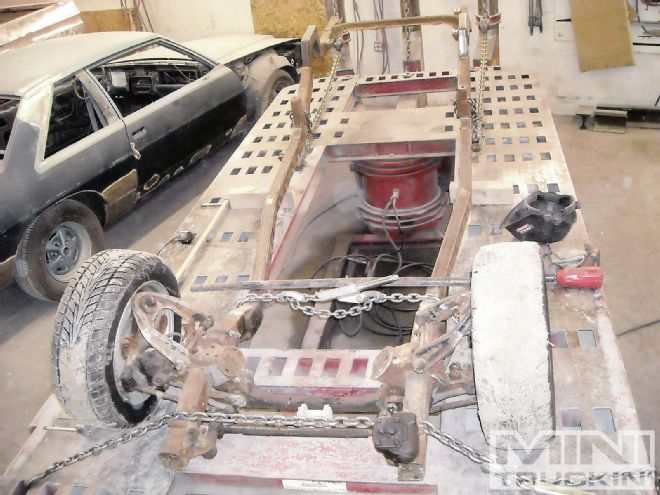
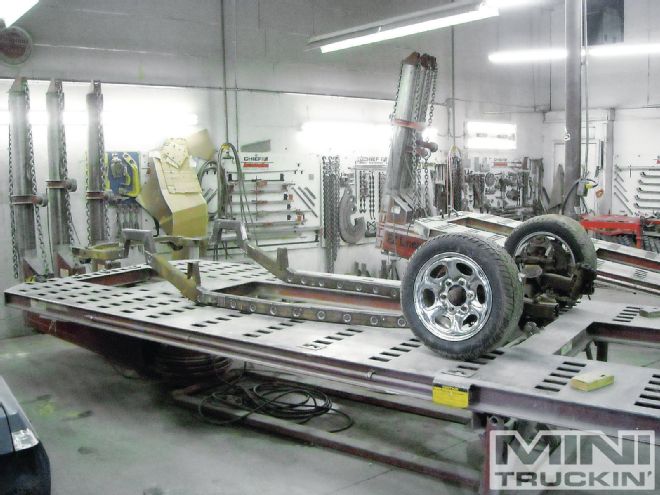
After regaining our senses, we opted to call up our friend Dion at Powerchief Auto Body for advice. The situation was explained, and to our relief, the problem could easily be fixed on one of his frame racks. Once up on the rack, a ton of measurements were taken with the notches level, the 'rails had curved up nearly an inch. The Powerchief crew carefully chained down the front and rear of the 'rails and added a support at the high point of the bend. Think back to when you were a kid and put a Popsicle stick between three fingers and snapped it on your knee. Apply that same idea here, just slow it down and add tons of pressure! In a couple hours, our 'rails were back the way we had intended them to be.

| 2. ...it was apparent that the frame-rails had curved up nearly a whole inch.
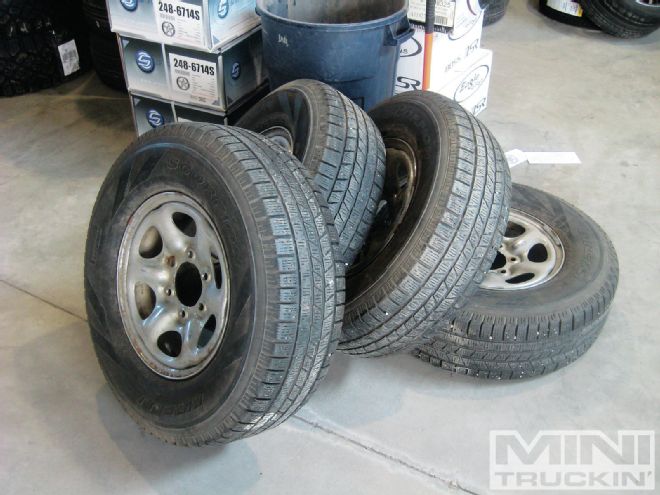
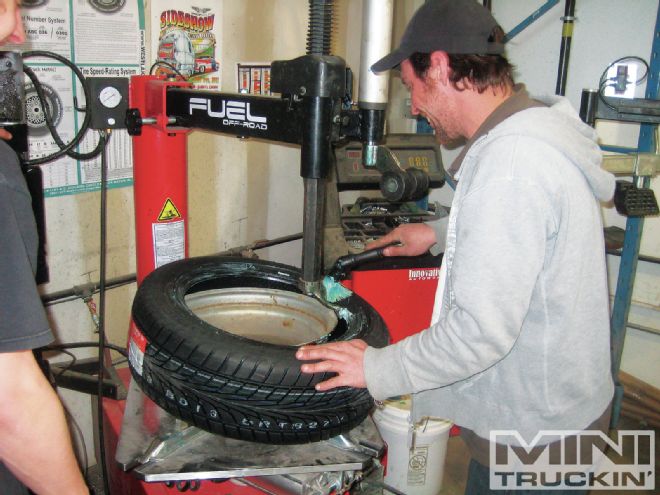
With that fiasco out of the way, we addressed another nagging issue—the fact that we had four different size tires on each corner of the truck. This isn't the best situation when you're trying to set up the suspension, but it's also one that's easily remedied. Our pals at Innovative Autoworx matched up the height and size of new15-inch tires to the size of the 17-inch skins that will eventually grace the truck. When we do finally get our dream rollers, the suspension and truck will be set up perfectly, and all we'll have to do is bolt them on.
So for now, let's make the best of this situation, and recognize the lesson for the day. Learning from the mistakes we make only help us grow as builders, and allow us to build better trucks. 'Til next time, call it quits for the night when it's time, and always stay humble!
 | chevy Luv kp Concepts Rendering
In the last installment, our LUV's new frame was cut down, and the notch was completed, but a li'l somethin' had happened that we didn't have time to mention in that article. When we welded the top of the framerails to the 2x3 we had inserted, some not-so-cool results popped up. Now keep in mind, we did that on day four of a long weekend push at about 8 p.m. of the last day. We were tired and knew better, yet we pushed on anyway.
