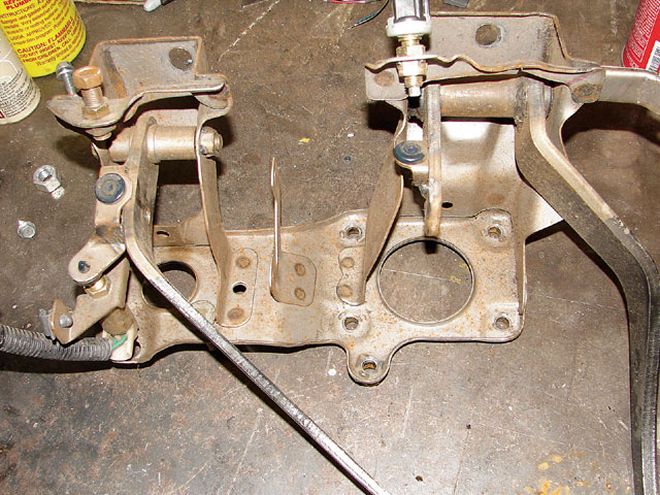
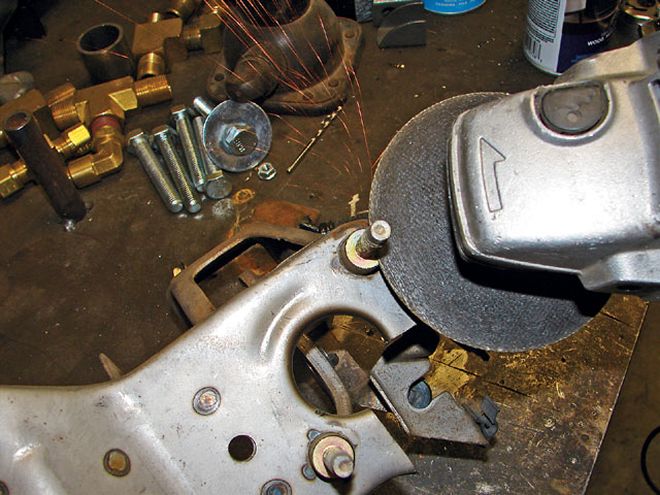
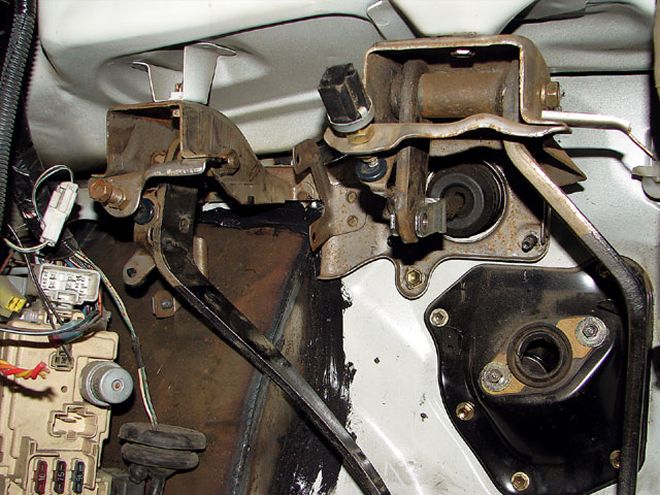
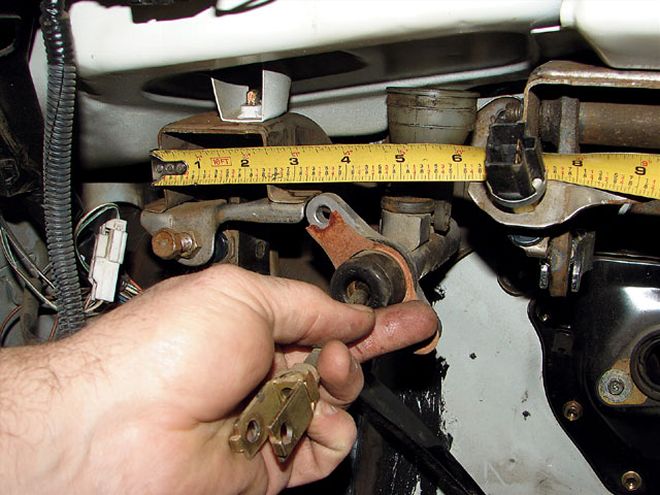
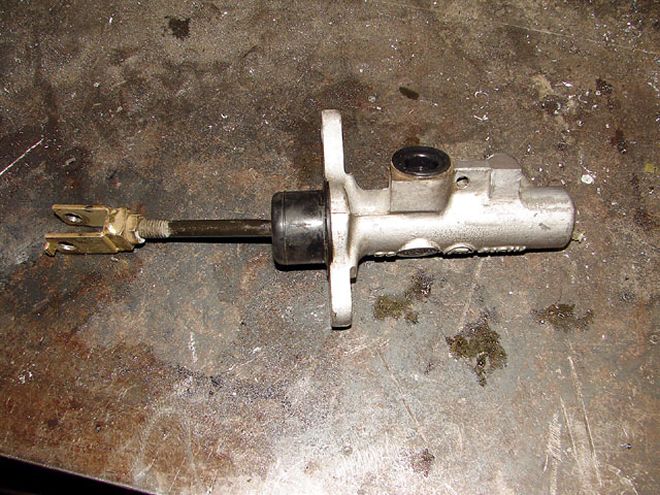
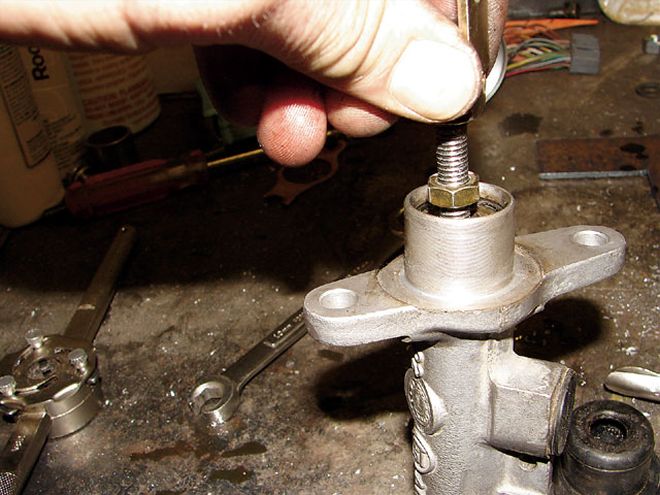
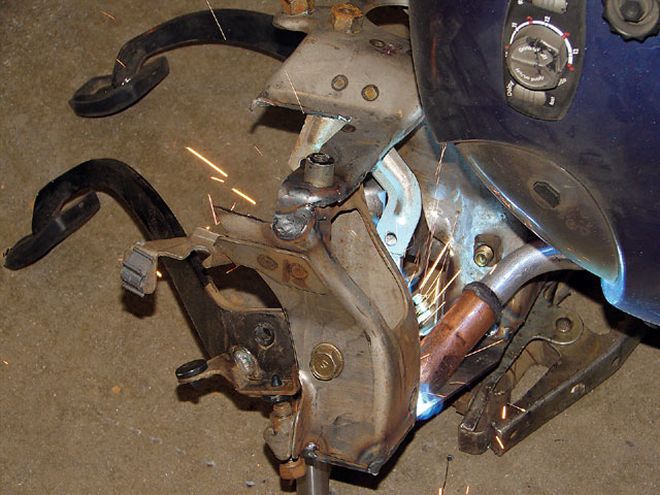
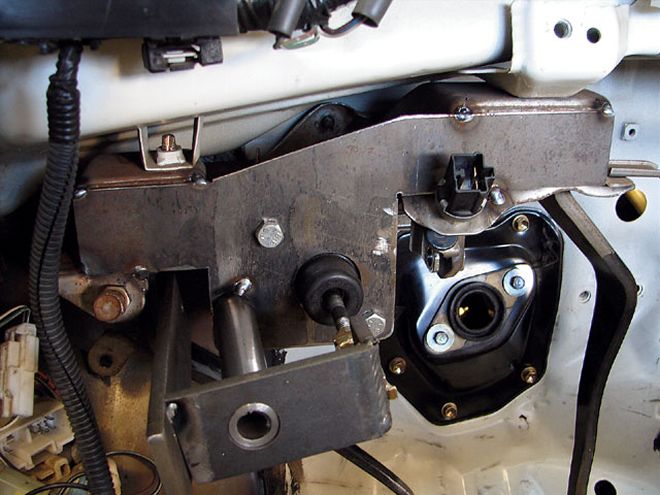
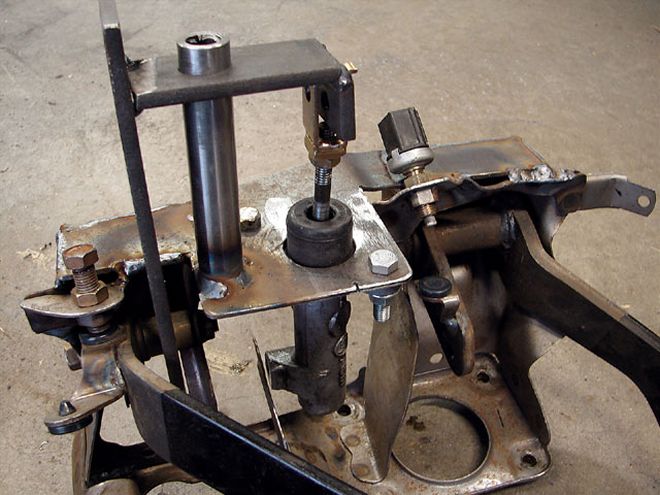
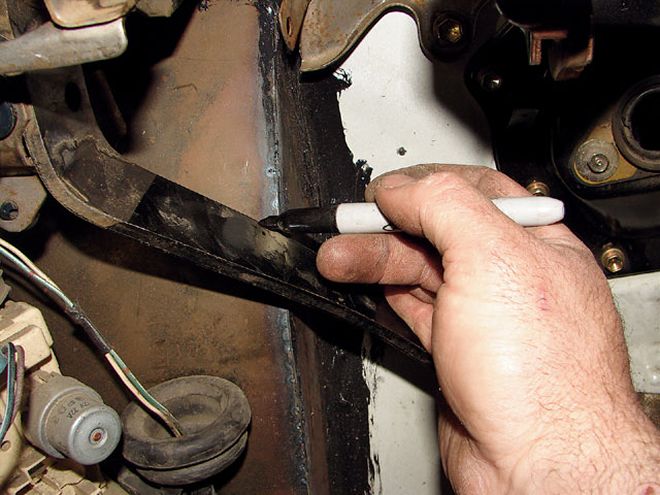
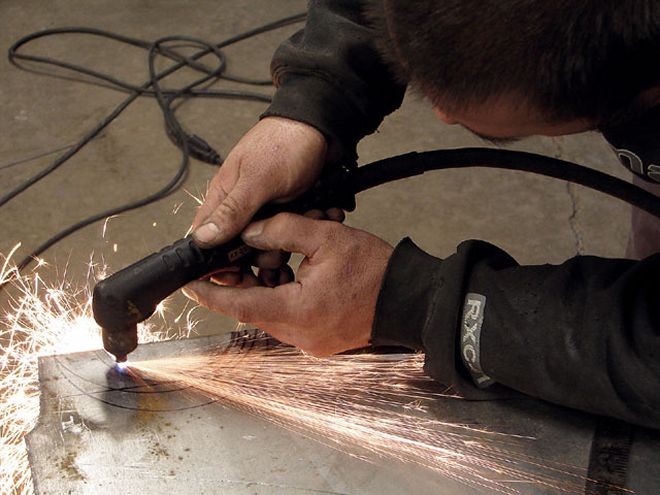
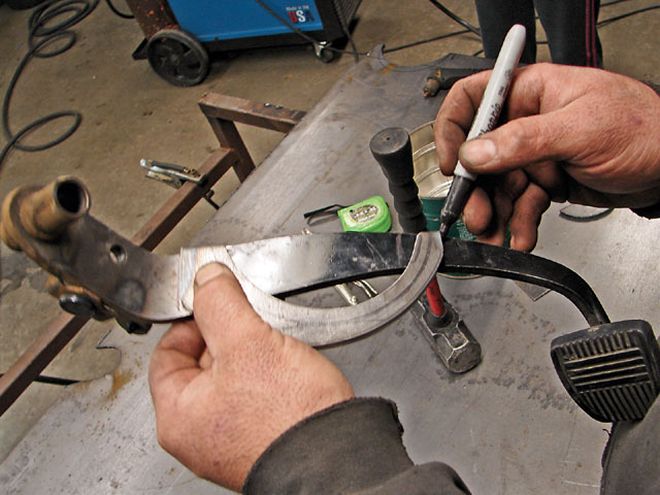
For the final installment of the Weekend Warrior Toyota body-drop, we wanted to focus on dealing with the pesky clutch problem. Rather than just do the normal magazine-style overview, we knew it would be more beneficial to show you the in-depth process of relocating the clutch master cylinder to clear the bigger wheels. And, on top of all that, we've thrown in some tips as a body-drop survival guide, which will help you get through the arduous process and see the light at the end of the tunnel. Now, go body-drop your truck. (Yes, Steve, this one's for you!)
Body-drop Survival Guide
1. First and foremost, when planning to bodydrop your truck, the very first step is to make sure it lays flat frame. All crossmembers must be addressed and the entire frame needs to lie flat on the ground-before you even think about that body-drop.
2. Once the truck is completely laid out, the next thing is to make a plan and size everything up. This includes knowing what wheel size you will run and exactly how low you want to go: to the pinch, to the rocker, to the door, and so on.
3. For the smoothest body-drop possible, do everything else first. Meaning: drop your motor, relocate the suspension, get all of the other issues worked out, and then you can cut your floor and lay her flat out.
4. Planning ahead and making a body-drop checklist is the safest way to ensure you don't run into any unforeseen problems. Decide right away if you want to keep your A/C, heat, and other amenities. You need to know right away what route you want to take, such as stock-floor, traditional, channel, and so on.
Body-drop Checklist-Lays full frame all the way around
-Suspension, four-link, everything else is done and ready to go. If not, finish all the suspension work before messing with the body-drop.
-Wheel size (Total O.D. with tire) =
A/C: Yes or No
-Total Body-drop (in inches) =
-To make things easier, disassemble-pull the dash, drop the motor, and so on-do everything possible before setting the truck up for the body-drop.
-When getting started, set the truck up on level surface, not the floor!
-Measure, measure, measure! Measure out the body-drop before you start cutting.
-Many things will have to be relocated and it's different for every truck. When relocating and rewiring, it's best to save the stock grommets by cutting them out on the firewall so they can be relocated and rewelded.
-With the wires cut out and ready to relocate, the firewall can be tubbed for wheel clearance.
-Before cutting the cab, lay 2x4s across the level surface so the cab has something to rest on when dropping it.
-With the cab dropped, you can now plate the floor. Depending on the truck, you might need to build a bigger tranny tunnel. When plating the floor, it's best to channel it or angle the plate so it's not such a steep stepup. Make sure everything is welded up water-tight, so water can't get into the cab at any angle.
-With the cab set, you can move to the front and drop the front frame horns. Generally, this is the same amount as the body-drop.
-If you've already dropped the motor and relocated everything under the hood, then you can move on to the bed. If not, relocate, rewire, and set up the motor.
-The bed is the last piece of the puzzle, and the easiest. Depending on your air setup, you can over body-drop the bed to make some room.
-Time to wrap up all of the loose ends, wire everything, and get the truck back together!
-Last, but not least, take it for a cruise and see how much closer you come to being able to touch the ground out the driver's window!
