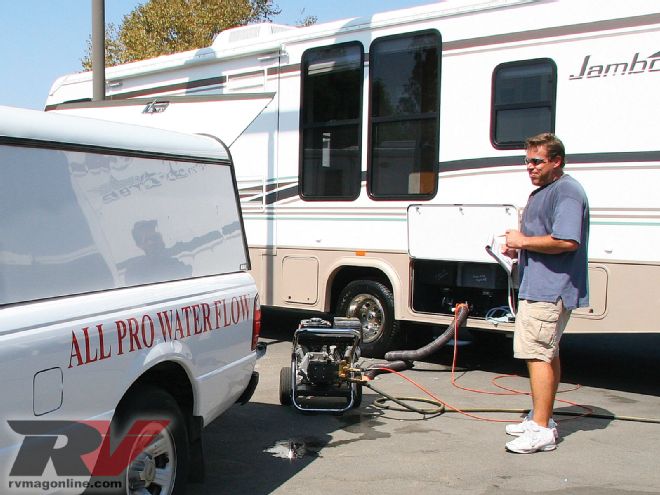
It's always sad to come to the realization that another camping season is winding down. Part of this realization is preparing the RV for long winter storage, so it will be ready to go camping again next spring.

| rv Winterizing winter Time
My guess is that most RV owners, especially those in cold climates, refer to winter storage as "winterizing" the RV. When the average RVer hears this term, the first thought that comes to mind is to protect the RV water system from the damage that freezing temperatures can cause. Frozen and damaged water lines are in fact the most common problem related to not winterizing your RV, but there is more to winterizing your RV than just protecting the water system from freezing.
The definition of "winterize" is to prepare something, especially a house or an automobile, to withstand cold conditions. What I find interesting about this definition is that your RV is essentially a house and an automobile combined. Therefore, winterizing your RV entails more than just preparing the water system for cold weather. We need to be concerned with preparing the RV's interior, exterior, chassis, and plumbing for the harsh winter months too. Let's take a closer look at each of those areas.
Interiors
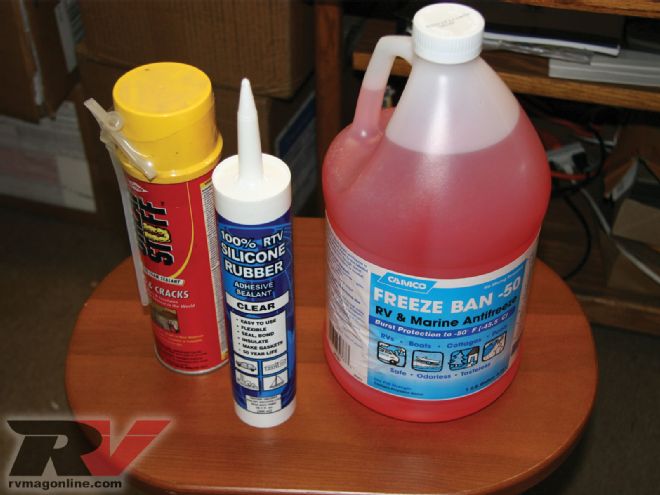
When RVs are stored for the winter, it's not uncommon for mice and squirrels to make their winter home in them. These animals are notorious for chewing through a vehicle's wiring, plastic, and rubber, causing extensive damage to the RV. Possibly the most important step is to keep rodents out in the first place. This can be difficult because they can enter the RV through some very small openings. Start by inspecting the underside of your RV for any gaps or holes. Fill these gaps using silicone or expanding foam.
A word of caution, if you never used expanding foam before you should experiment with it on something other than your RV first. When it dries it can expand a great deal more than you expect.
Next, open drawers and cabinet doors inside your RV. Look in all of the corners and crevices, especially where plumbing and wiring enter the RV. If you can see any daylight, mice can get in there. Fill these gaps with silicone or foam.
Remove all food from the RV when it's being stored and thoroughly clean the RV to remove any remnants of food that might attract mice and other rodents. If you don't mind the smell of mothballs, scatter them throughout areas of the RV. Other people say an alternative to mothballs are dryer sheets such as Bounce. I have talked to people who swear they work, and the smell is much more pleasant. If you live conveniently close to where your RV will be stored, you may want to use conventional mousetraps and check for mice every week or so.
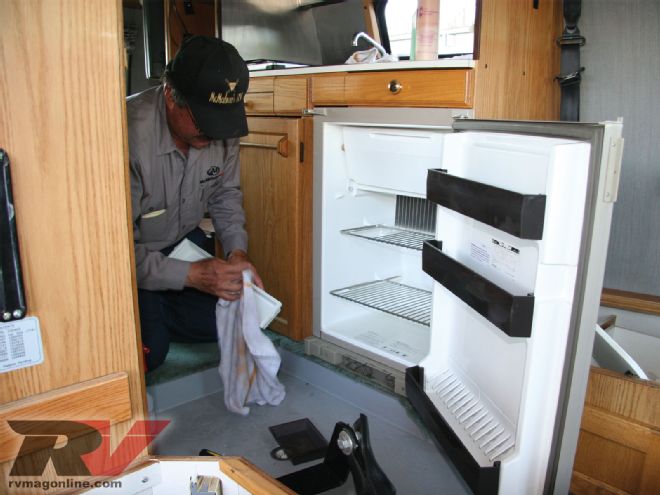
You should defrost the freezer compartment and clean the refrigerator. Leave the doors open, and place baking soda in the compartments to absorb any odors. If the RV is in long-term storage and won't be plugged into electricity, it's a good idea to turn off the main breaker and unplug the appliances.
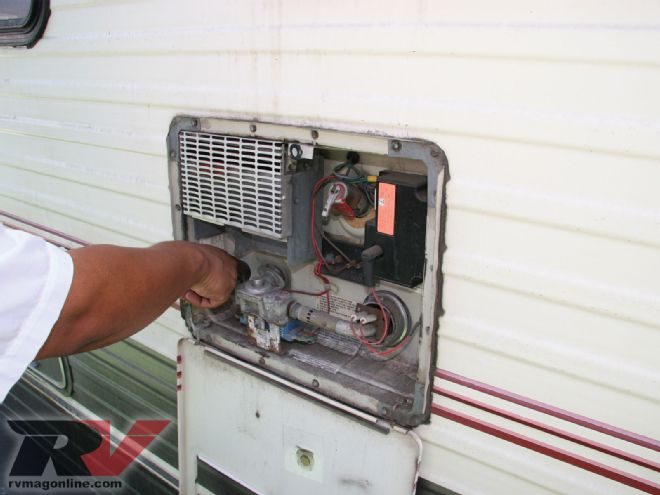
Turn all LP gas appliances off, and turn the LP gas supply valve off. Close the window blinds to avoid sun exposure to the carpet, drapes, and upholstery. If you have vent covers installed on the overhead vents to keep rain out, leave them cracked open for ventilation.
Exteriors
When you store your RV outside for a long time, the exterior begins to show signs of constant exposure to the elements. Ozone in the air and ultraviolet (UV) rays from the sun start to take their toll. Ozone causes the paint to fade and makes products like rubber and vinyl dry out, crack, and deteriorate. The UV rays from the sun accelerate the aging. Before you store your RV, you need to give the exterior a thorough cleaning.
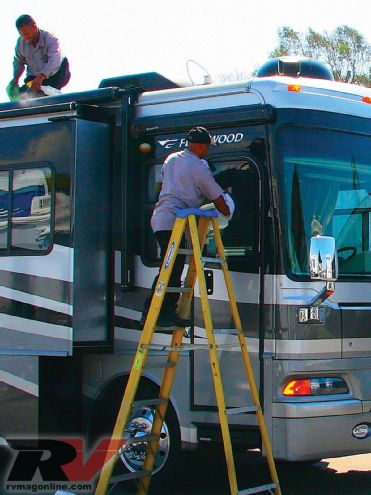
Whenever I'm washing an automobile or RV, I start from the top and work my way down. It's a good idea to clean the RV roof before putting the RV in storage. The type of roof your RV has determines the cleaner you need to use.
Wash the exterior and, if you're really motivated, wax it. Use a quality wax formulated for the type of surface your RV has. A good coat of wax protects your RV's finish the same as it does an automobile's. When you are cleaning the RV exterior, inspect all roof seams, body seams, and window seals for cracks and openings that would allow water to get in. Consult your RV dealer for sealants compatible with these materials.
Don't forget to clean the awning fabric, and let it dry completely before storing it. If you have a popup or hybrid trailer, make sure all the tenting material is clean and dry before storage.
Ideally you should try to store your RV in a covered area and on a solid surface like pavement or concrete. Avoid parking under trees and in tall grass, fields, or wooded areas. If the RV won't be parked under some type of shelter, you may want to invest in a cover. Covering your RV is a logical and cost-effective way to protect your investment.
The Chassis
Just like the exterior of the RV, tires can be damaged by UV rays from the sun. Inflate the tires to the manufacturer's recommended maximum cold pressure, and cover the tires with covers that will block out the sunlight.
Place something like a piece of wood between the ground and the tires. Frozen ground and petroleum-based surfaces, like asphalt, can damage tires. Make sure that whatever you use to block the tires is larger than the footprint of the tire.
No portion of the tire should hang over the edge of the tire block; this can cause internal damage. Chock the wheels front and rear, and if it's a motorized RV leave the parking brake off. If you are storing a popup outdoors, angle the tongue downward to assist in snow and water run-off.
Battery maintenance is an important part of winterizing. If you plan to start the unit while in storage and to periodically plug the unit into shore power, leave the batteries in the unit. Plugging it into shore power once a month for about eight hours helps keep the coach batteries topped off. (
 Must-Have Items
1.
 Nontoxic RV/marine antifreeze. The amount depends on the layout and length of your plumbing lines; 2-3 gallons normally do.
2. A water heater bypass kit, if not already installed.
3. A wand to clean out the holding tanks.
4. A water pump converter kit, or tubing to connect to the inlet side of the water pump.
5. Basic handtools to remove drain plugs.
Some Winter Tips
Be sure to read your owner's manuals for unit-specific winterizing guidelines. Follow the steps below that apply to your RV.
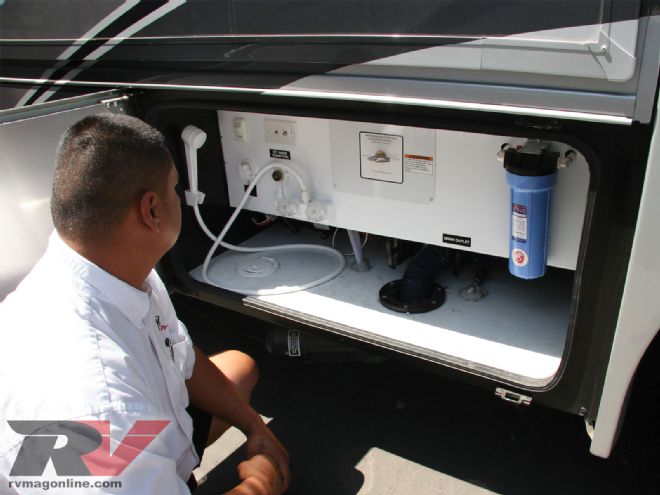
• If you have any inline water filters, remove and bypass before starting.
• Drain the fresh water holding tank.
• Drain and flush the gray and black water tanks. If the RV doesn't have a built-in flushing system, clean out the black tank with a wand.
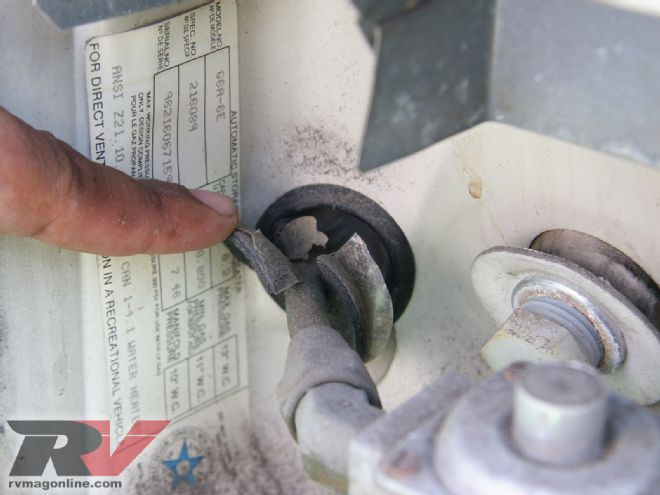
• Drain the water heater, but never when the water heater is hot or under pressure. With no water hooked up to the RV and the water pump off, open a hot water faucet to remove any pressure on the system. Open the pressure-relief valve and remove the drain plug. Allow the tank to cool before draining.
• Open all hot and cold faucets. Don't forget the toilet valve and outside shower.
• Locate and open the low point water drain lines. Using the water pump will help force water out, but turn it off as soon as the system is drained.
• Recap all drains and close all faucets.
• Bypass the water heater. If you do not have a bypass kit installed, the water heater will fill up with antifreeze before it goes through the water lines, wasting 6-10 gallons of antifreeze.
• Install a water pump converter kit, or disconnect the inlet side of the water pump (the line coming from the freshwater holding tank) and connect tubing from the pump into a 1-gallon jug of RV antifreeze.
• Turn the water pump on and pressurize the system. Starting with the closest faucet to the pump, slowly open the hot and then cold valves until antifreeze appears. Replace the antifreeze container as required. Repeat on all faucets from the closest to the farthest away. Don't forget the outside shower.
• Flush the toilet until antifreeze appears.
• Pour a cupful of antifreeze down each drain. Pour several cups in the toilet and flush into the holding tank.
• If your water heater has an electric heating element, turn it off. This will protect the element if the unit is plugged in while in storage.
• Make sure all faucets are closed.
• Consult your owner's manuals for winterizing icemakers and washing machines.
