With much of the heavy fab on the Chevy LUV done, we had no choice but to finally get to work on some of the areas that we quite honestly just didn’t really want to do. For some reason, the floor of the cab was one of those areas. After some time spent sitting on the creeper seat contemplating the problems of the world and we finally decided on a starting point. The larger pieces of the transmission and drive shaft tunnel were used as a place to start, and sometimes using some of the old bits and pieces are more of a pain in the butt than anything else. In this case, however, we were quite happy with how it all worked out. The two large pieces were mocked into position based on clearance for the transmission, driveshaft, and exhaust to run through then temporarily held in place with some sheetmetal screws. Cardboard templates were transferred onto some 16-gauge sheet and rear portion of the tunnel was once again rejoined permanently to the cab. Although larger filler pieces take bigger bites out of the work to be done, we found the same approach didn’t quite work for the front part of the tunnel, mostly due to the compound bends and curves, so we tried a different plan of attack. The front portion of the floor was finished up by taking smaller bites and simply puzzled together with smaller, more manageable pieces.
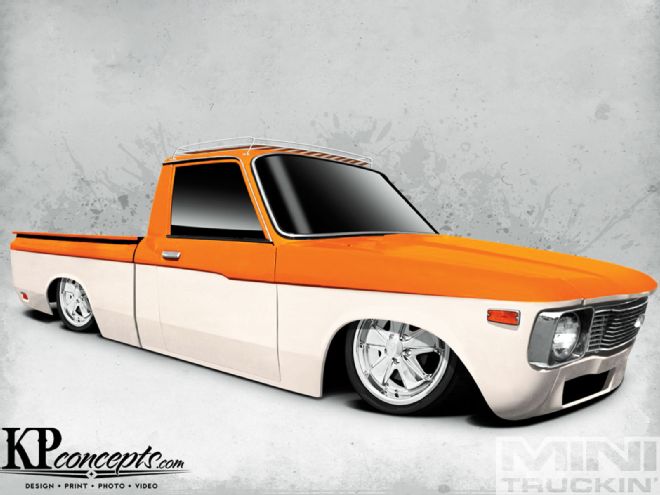
| Chevy Luv Junkyard Jewel Rendering
Eventually, we were left with two major pieces of the floor -- the front portion of the transmission tunnel and the channels for the frame rails. We had our buddy Mike bend up some C-channels that were real time savers when it came to capping the frame. The Chevy LUV floor was simply trimmed to match the width of the new pieces and we fit them into place. We were able to complete each rail with two large pieces of the channel.
Finishing up the front portion of the trans tunnel required a bit more creative thinking, the rough shape and size was transferred to some cardboard then cut out of our sheetmetal. Some 2x3-inch square tube was used along with a workbench to build a makeshift brake to give a nice bend in the sheetmetal. To match the curve of the bell housing, the new filler piece was clamped down in a makeshift buck (a buck is essentially some type of structure to give support to the areas that you don’t want to move), allowing you to bend and shape the areas that you do want to move. For this, we used some 2x3-inch tubing, a bunch of clamps to our workbench, and an old brake drum as a swing press to give the shape that was required. MacGyver would be proud!
The floor is once again a solid piece. The bare metal was sealed up with some etch primer, and all the seams and welds were seam sealed before getting a couple coats of black paint. The firewall and radiator supports were cleaned up by removing any and all unused brackets and tabs. Holes were welded up, and everything was sanded down, primed and painted. Slowly but surely things are getting checked off that big ol’ “to-do” list!
-

-

1-2: We used two large chunks of the original trans/driveshaft tunnel as our starting point and puzzled the rest with smaller pieces.
3-5: Mike bent some lengths of channel for us out of some 16-gauge sheetmetal, which we used to quickly and cleanly cap where the frame rails run through the cab. (Be sure to only weld small areas at a time, move on to different areas to weld on, and give adequate time for it all to cool -- this is the tough part. If you weld too much and get it all too hot there’s a good chance your doors won’t close!)
6-7: Workbench + 2x3-inch square tube + C-clamps = A poor man’s sheetmetal brake.
8-9: With a the makeshift brake we made out of the bench and some 2x3-inch metal, we used one of the old brake drums to shape the sheetmetal to clear our bell housing. MacGyver’s got nothing on us! Want to see what we can do with an egg and some duct tape?
10-11: A swing press and socket were used to dolly the edges of our filler piece.
12-13: The last piece of the trans tunnel was welded in and cleaned up, along with any bare metal before being sealed up for corrosion protection with etch primer.
14-15: The pinch weld was duplicated on our modified floor panels and also sealed up with the etch primer. All seams were sealed up with a tube of seam sealer before the underside of the floor was given a couple coats of black paint.
16-17: Any unused brackets were removed and cleaned up along with any leftover spot welds. Some body filler was mixed up and we did our best impersonation of a bodyman and smoothed over our firewall.
18-19: The firewall was primed, painted and cleared using nothing more than off-the-shelf rattle can paints. We were more than happy with the results.
20-21: A similar treatment to the firewall was also used to clean up the rad support as well as the inside of the bed. What’s that old saying? Do the best you can with what ya got? Yeah, that’s the one.


