For those of us holding onto our older diesels, investing in components and accessories that make driving them more enjoyable is a good idea. And it’s icing on the cake if a new part adds functionality, integrates seamlessly, and looks like original equipment. Enter the TapShifter from Fleece Performance Engineering. This little marvel of an invention makes it possible to shift ’01-to-’05½ Allison 1000–equipped Chevys and GMCs with the touch of a button, just like in the ’06-and-newer trucks.
By being able to limit transmission upshifts and better control downshifts, the TapShifter comes in handy no matter the situation. Whether you’re towing, commuting, sled pulling, or drag racing, the TapShifter puts you in control—not the transmission control module (TCM). The ’03 GMC Sierra 2500HD tow mule we’re working with is a great candidate for a TapShifter, as its owner tells us the five-speed Allison spends most workdays hunting for the right gear.
Read on to see how simple this 30-minute, plug-and-play transmission upgrade is to perform.
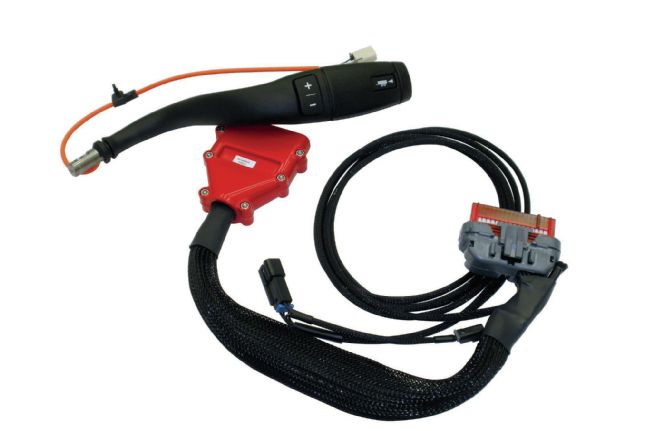
| Released more than five years ago, the TapShifter has been a hot item for LB7 and LLY Duramax owners who want to control their Allison 1000 automatic transmissions’ shift points. In late 2013, Fleece was able to simplify the TapShifter wiring harness, thereby cutting its production cost. This resulted in a new, lower price tag of just $324.99, a far cry from the original $495.
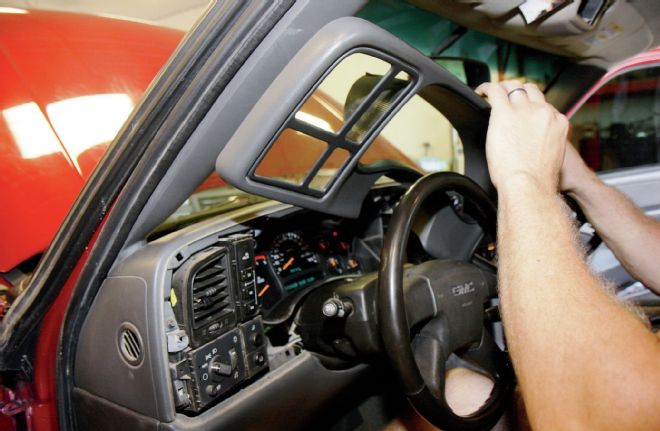
| When installing a TapShifter, you have the choice of getting started in the cab or under the hood. We’re kicking things off by tearing into the interior (once both batteries are disconnected, of course), removing the panel that covers the gauge cluster by gently pulling until it is released from the rest of the dash.
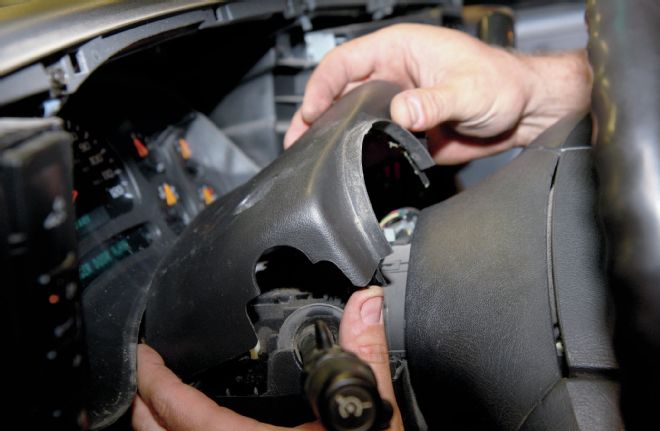
| Next, the top steering column panel is removed. Delicacy is the key with these components, as they’re plastic and will break if too much force is applied. Using a flathead screwdriver to gently pry both the top and bottom steering column panels apart works best.

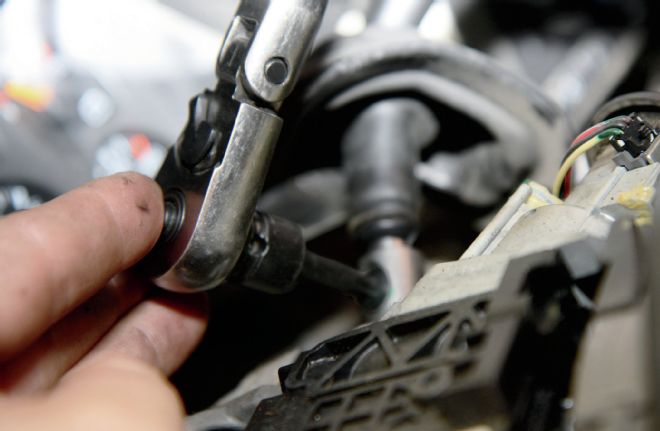
| A 7mm socket and a ¼-inch drive ratchet are necessary for pulling the bottom dash panel. Four 10mm bolts are loosened after that, freeing the steel support below the steering column (shown).
| Exposing this orange wire is the goal, as it is part of the factory shifter’s wiring harness. Basically, the TapShifter ties into the truck’s OEM Tow/Haul and Overdrive lockout circuit.
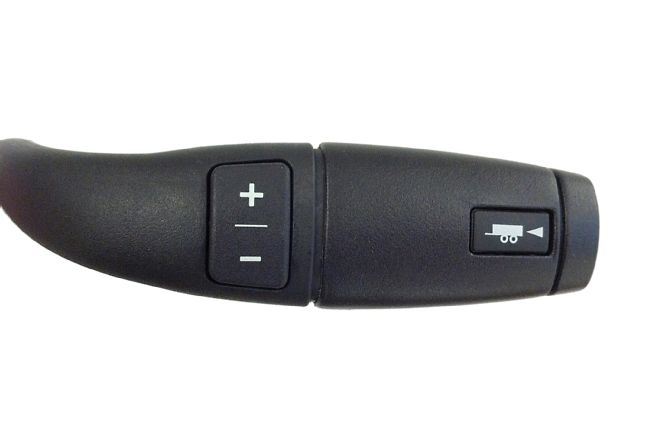
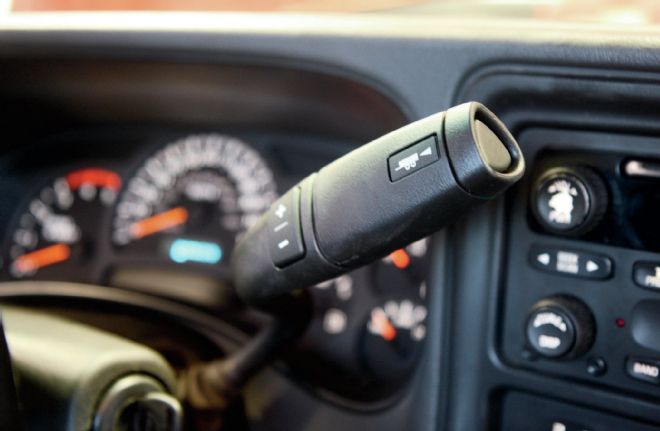
| Obviously, in order to have tap-shift functionality at your fingertips, a new shift lever is required. This stock, ’06-and-newer-style handle comes with each kit.
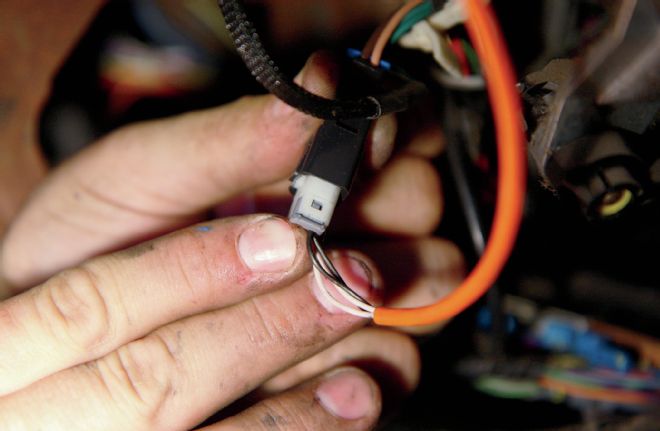
| The TapShifter wiring harness is connected by simply unplugging the factory piece and plugging in the supplied 2-pin connector.
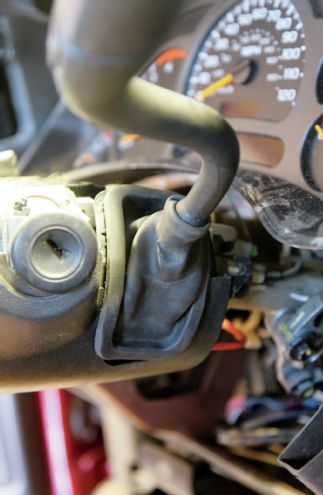
| Removing the factory shift lever calls for a T-30 Torx bit, which Fleece Performance provides as part of the installation kit. The bolt is easy to spot, as it’s close to the steering column and out of sight with the plastic steering column panel installed.
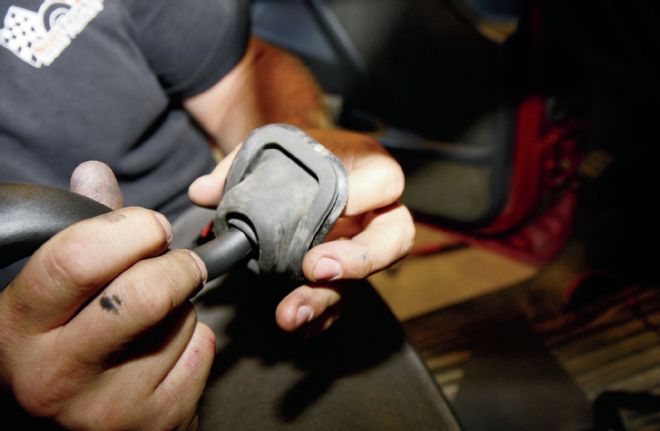
| Once the stock shift lever is removed, the factory rubber boot is pulled and then swapped over to the new lever (a new boot is not included).
| While the boot is off, we’re giving it a detailed cleaning, checking it for damage and wear, and then installing it on the new shift lever. The same T-30 Torx bit is used to tighten the new lever down.
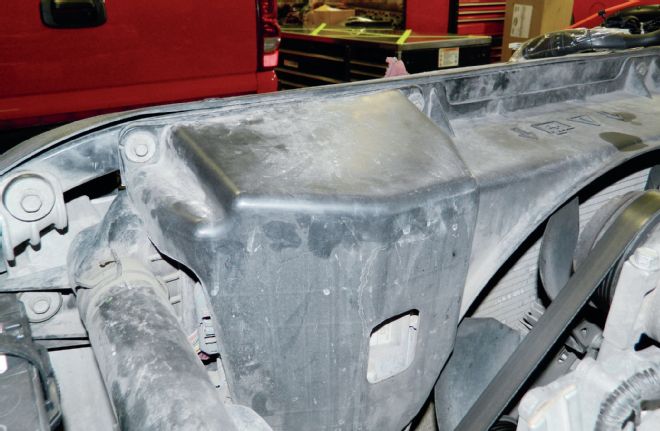
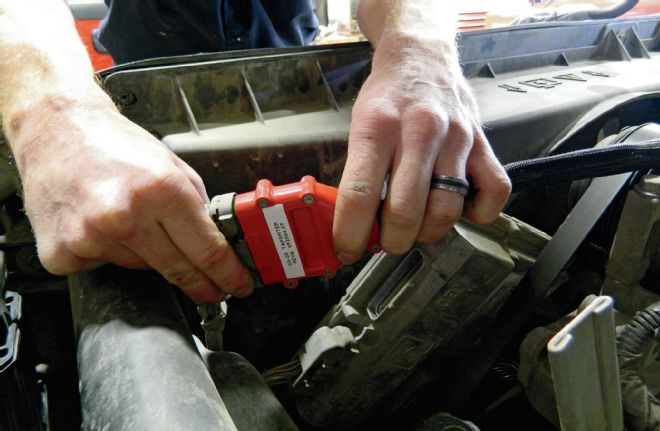
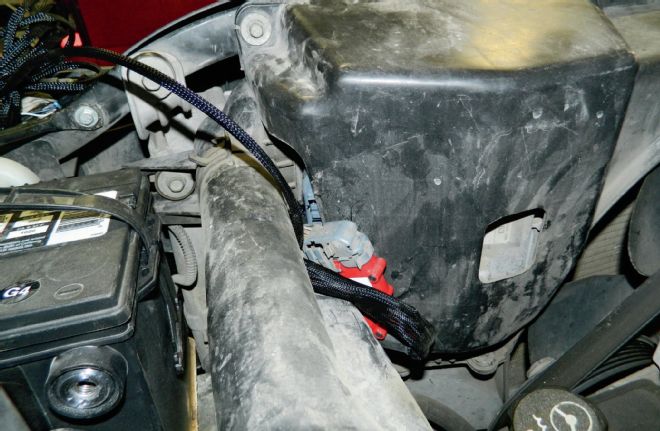
| To connect the TapShifter’s wiring harness to the TCM under the hood, wiring must be fed through the factory bulkhead (under the brake booster), which requires cutting a small hole in the rubber boot. The two 10mm bolts on the radiator core support that hold the TCM shroud in place (arrows) are also removed.
| Red J2 Connector
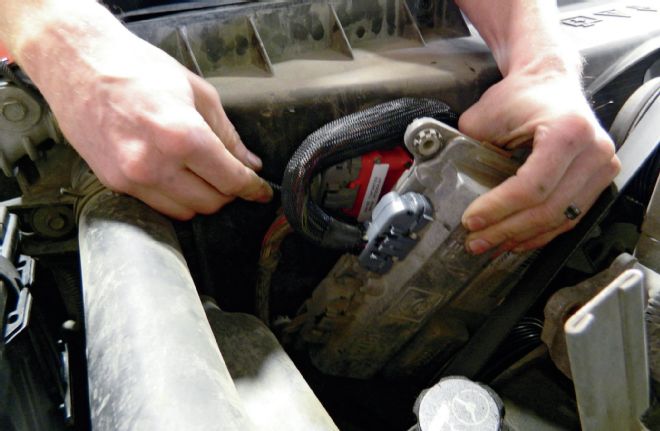
| With the wiring routed, the red (J2) connector on the TCM is unplugged and inserted into the TapShifter connector. It’s important to note that the TapShifter’s wiring harness connection points will only install one way. The terminal insulators are keyed to only fit correctly. Never force the issue if two connection points won’t connect.
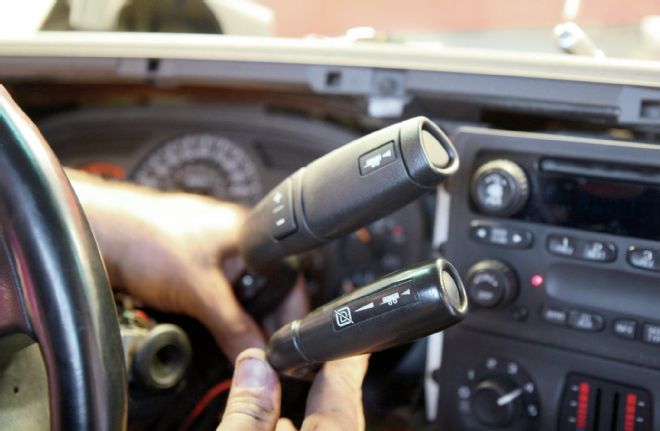
| In this comparison shot, you can see the difference between the two shift levers. The + and – buttons (arrow) on the new piece allow drivers to manually upshift and downshift the Allison automatic transmission.
| With everything hooked up, the TapShifter’s wiring harness is secured outside the TCM shroud, all underhood wiring is zip-tied out of the way, and the interior pieces are reinstalled inside the cab.
| In less than 60 minutes, the TapShifter is installed and the truck’s owner is ready to put both it and the truck to work. Another great aspect of the TapShifter worth mentioning is that it allows you to control the Allison’s Overdrive lockout, which wasn’t possible in factory form on ’01 and ’02 trucks. In order to have this functionality in those earlier rigs, the TCM must be reflashed with an updated calibration. This can be performed at your local dealership (most should do it for free), or by downloading the EFILive tune that enables Overdrive lockout directly from Fleece Performance.

| With the ability to limit transmission upshifts, the TapShifter really shines in the sled pulling world. By placing the shift lever in the Manual 3, 2, or 1 position and tapping the upshift (+) button, you can manually shift while not having to worry about going beyond the gear you’ve physically selected with the shift lever. This is a great option for holding out a gear longer in order to carry more rpm (and wheel speed) down the track.