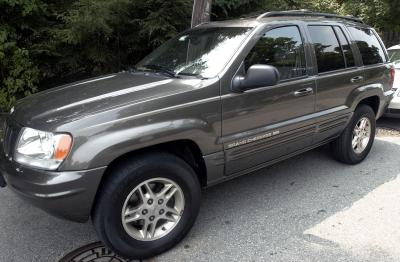
The anti-rattle clips in the brake system of your Jeep Grand Cherokee keep the brake pads from vibrating. Your Grand Cherokee uses a simple wire clip design; however, if they're not properly installed, the clips can lead to brake damage or failure. As you install or replace the clips, you must secure the brake caliper properly to avoid damage to the brake hose.
Park your Jeep on a level surface and set the transmission to Neutral (N).
Drain half the fluid from the brake master-cylinder reservoir using a clean turkey baster.
Loosen the wheel lugs on the wheel assembly or assemblies you will be working on, using a lug wrench.
Lift the wheel assembly or assemblies you need to service using a floor jack and place jack stands under the frame for support.
Chock the opposite wheels to prevent the vehicle from rolling.
Remove the wheel/tire assembly or assemblies.
Working on one assembly at a time, unscrew the two brake-caliper mounting bolts with a hex wrench.
Install a large C-clamp over the brake caliper and press the outer brake pad by tightening the clamp screw until the caliper piston seats fully in its bore. (This will allow you to easily remove and reinstall the brake caliper and pads.) Remove the C-clamp.
Lift the brake caliper off the rotor and tie it to the coil spring using a wire. If you leave the caliper hanging free, the brake hose that connects to the caliper may become damaged.
Locate the anti-rattle clip on the lower end of the brake pads.
Hold the anti-rattle clip in place with your thumb and remove the outer brake pad from the caliper-mounting bracket.
Remove the inner brake pad by hand and make sure the pad has the support spring attached to the pad mounting board. If not, remove it from the caliper piston and install it on the back of the inner brake pad.
Make a note of the anti-rattle clip mounting position at the lower end of the caliper-mounting bracket. Remove the clip.
Clean the brake assembly of brake dust using brake parts cleaner and a clean, lint-free rag.
Install the new anti-rattle clip on the lower end of the caliper bracket with the split end of the clip facing away from the rotor.
Install the inner brake pad by hand on the caliper piston. The pad should seat flat against the piston.
Install the outer brake pad on the caliper-mounting bracket while holding the anti-rattle clip in position with your thumb.
Untie the brake caliper and set it in position over the caliper-mounting bracket and rotor while holding the anti-rattle clip in position with your thumb.
Wash your hands with soap and water. Apply a coat of silicone grease to the caliper mounting bolts and bolts bushings.
Line up the mounting holes on the brake caliper and caliper bracket, then start the mounting bolts by hand.
Tighten the two caliper mounting bolts with the hex wrench.
Service the other wheel assembly, if necessary, following Step 7, from the "Removing the Anti-Rattle Clip(s)" section, through Step 8 of this section.
Fill the brake master cylinder with new brake fluid up to the Full mark.
Pump the brake pedal until the caliper pistons and brake pads are properly seated against the brake rotors. (Note: if your Grand Cherokee is equipped with anti-lock brakes, turn the ignition switch to the On position before pumping the brake pedal, but do not start the engine. This will allow the booster pump to build pressure.) Turn off the ignition switch (in the case of anti-lock brakes).
Replace the wheel assembly or assemblies, and lower the vehicle.
Check the fluid level in the master cylinder and add if necessary.