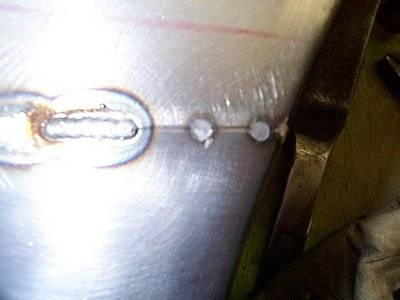
If you are a car restoration enthusiast or an auto body repair expert, removing spot welds is all part of the job. But what if you have another metal-working project to complete and you are unworried about punching a few extra holes in the metal? Simply drilling through the spot weld is the most time-efficient and cost-effective way to do the job. But if the back layer of sheet metal has to stay intact, using a Blair Spotweld Cutter, or any other brand of spotweld cutter, is the way to go. A spotweld cutter cuts around the spotweld instrad of through it, so the metal will retain its usefullness and will likely not need to be replaced.
Measure the diameter of the spot welds to be drilled out with a tape measure. Locate and purchase a metal drill bit 1/8 to 1/4 inch larger than the diameter of the spot welds.
If you would like to use a more specialized tool that will keep the back piece of metal intact, use a Blair Spotweld Cutter. Multiple sizes are available, so choose the size closest to the size of the spot weld (instead of choosing one that is 1/8 to 1/4 inch larger).
Make a small divot in the weld with a pointed metal punch. This will help the drill bit stay in place over the weld while the drill bit spins.
A Blair Spotweld Cutter will need to spin in a punched hole as well. But a spot weld cutter cuts around the weld instead of through the weld like a regular metal drill bit will.
Place the tip of the drill bit or the spot weld cutter into the punched divot and begin drilling. When the drill bit or the spot weld cutter has cut through the metal, keep the drill bit or the spot weld cutter spinning while you remove it from the metal.
Repeat Steps 1-3 for each subsequent spot weld that must be removed.
Remove the metal debris and shavings with a vacuum (either a regular household vacuum or shop vacuum).