Learning how to install the starter on your '94 Nissan Altima will save you time, as well as hundreds of dollars in labor costs. Pay careful attention when removing parts from the car. Once you have learned how to remove the starter, installing it on your '94 Nissan Altima is the exact reverse process.
Unbolt and disconnect the negative battery cable from the car battery. Wrap black electrical tape around the end of the exposed metal connector on the cable to prevent possible shock.
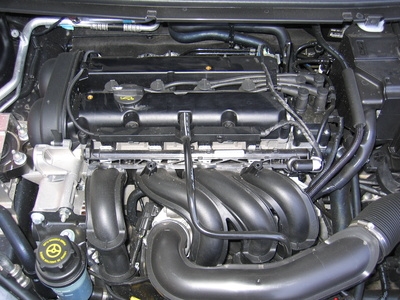
Raise your car with the jack so that it's high enough to access the starter motor.
Disconnect the wiring harness from the start motor. Make sure to label the harness with the painters tape so that you remember where the harness goes.
Remove the bolts holding the starter motor in place one at a time. Before removing the final bolt make sure you have a firm grip on the starter motor to prevent it from falling.
Turn the starter motor vertically and slowly lower it out of the engine area.
Dust off the attachment area where the starter motor mounts to the engine. Make sure this area is free of any kind of debris.
Turn the starter motor vertically and carefully raise it into position.
Grab one of the starter motor bolts and screw it in by hand to help support the weight of the starter motor. Install the second starter motor bolt and tighten both to secure the starter motor in place.
Remove the labeling tape from the harness wire and reconnect it to the starter motor.
Lower the car and place the jack back into its proper storage place. Remove the tape from the negative battery terminal and hook it back up to the car battery. Proceed now and test out your new starter motor by starting your car.