DTC stands for diagnostic trouble code. The Ford Windstar’s onboard computer checks various systems during each drive cycle and if anything registers improperly, the computer generates a DTC. These codes correspond to diagnostic troubleshooting tests which, when properly performed, lead the technician to the source of the malfunction. Checking the codes, however, is the first step in the troubleshooting process. While the codes do not tell you what’s wrong with the Windstar, you can’t find out without checking them first.
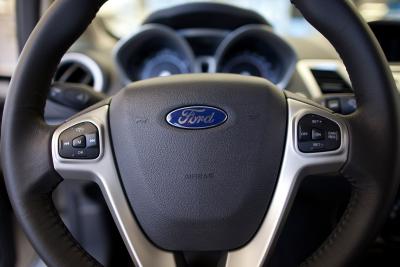
Connect the datalink cable on your scan tool to the diagnostic port underneath the dashboard on the driver’s side. The port has a black dust cover that you must remove by hand first.
Turn on your scan tool and run a self-test on the Windstar per the scan tool’s instructions. You can buy a scan tool at most auto parts retailers or through your local tool vendor. Make sure to purchase a scan tool that works with Ford software.
When the self-test returns the codes, they will display on the scan tool’s screen. Write these codes down for later reference.
Finish the self-test per the instructions in your scan tool’s owner’s manual. Do not erase the codes at this time. Erasing the codes will not correct the problem and may make it harder to troubleshoot, depending on the nature of the malfunction.
Unplug the datalink cable from the Windstar’s diagnostic port when the self-test is completed. Place the dust cover over the port to protect it from contamination.