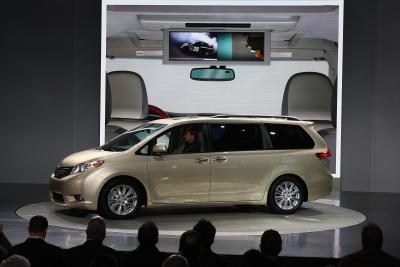
Toyota introduced the Sienna in 1997, replacing the Previa minivan. The 2004 Toyota Sienna was equipped with a 3.3-liter, 235-horsepower V-6 engine. The 2004 Sienna was redesigned to make it comparable to the competitor's minivans, as it was smaller than most minivans of that time. The headlight on the 2004 Toyota Sienna contains a dual-bulb system, which uses one bulb for low-beam lighting and one bulb for high-beam lighting. Both bulbs are mounted into one assembly.
Raise the hood of the Sienna and set the hood prop.
Remove the headlight assembly mounting bolts from the mounting tabs, using a ratchet and socket. Both headlight bolts for one assembly are mounted through the radiator core support, between the back corner of the radiator and the fender of the car.
Pull the headlight assembly out over the front bumper. Remove the rubber boots from the backs of both headlights, if equipped. Remove the metal locking clips from the back of the bulbs, by hand -- these are tiny metal clips, about the thickness of a small paper clip; simply push the clips inward toward the rear of the bulb, then unlock the clips from the bulbs.
Turn the bulb sockets counterclockwise to remove the high- and low-beam bulbs from the headlight assembly. Keep your knee pressed against the face of the headlight so that it does not fall or hang from the turn signal wiring.
Pull the bulb out of the outermost light socket (closest to the fender) by hand. Wrap a 9006SU low beam bulb in a paper towel and insert it into this light socket. Pull the bulb out of the innermost socket (nearest the radiator) by hand. Wrap a 9006SU bulb in paper towel and insert it into the bulb socket. Insert both bulb sockets into their mounting holes in the assembly, then turn the bulbs clockwise to lock them in place. Lock the metal retaining clips onto the backs of each bulb. Slide the boots back over the bulbs, if equipped.
Place the headlight assembly back into the area between the grille and the fender. Tighten the mounting bolts snug with a ratchet and socket. No torque is needed, as torque will break the plastic mounting tabs.
Repeat Steps 2 through 6 to complete the bulb replacement on the other side of the Sienna.