If you haven't heard of the TeraFlex suspension system for Jeep TJs by now, you'd better seek professional help. Since the new Wrangler debuted, hard-core Jeep buffs have been crowing their praises for Tera Manufacturing's premier offering. A definite improvement over the stock TJ suspension system (which says a lot since the out-of-the-box TJ is already an off-road champ), the TeraFlex outfit provides optimum ground-hugging performance without the bone-jarring, white-knuckling ride quality so typically associated with heavy-hitting, ultra-performing lift kits.
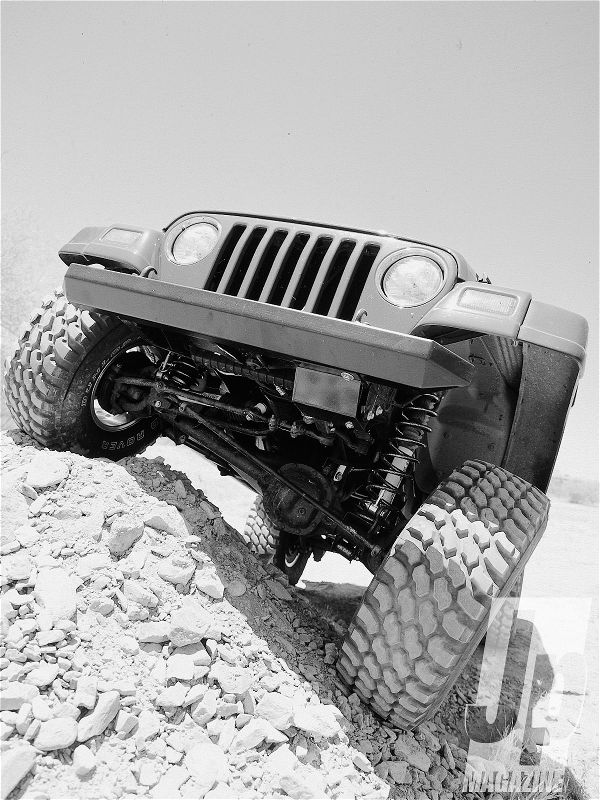
"The System," as the company refers to its TJ suspension kit, includes front and rear springs rated at 175 lb-in (compared to the stock 165-lb-in units) capable of serious off-highway workouts while keeping the wheels on the ground where they're supposed to be. The system is available in 2- to 3-inch and 3- to 4-inch lift configurations. Two-inch lifts allow for 32-inch tires, while 3-inch lifts allow for up to 35-inch tires.
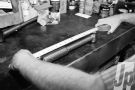
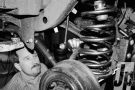
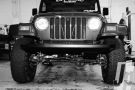
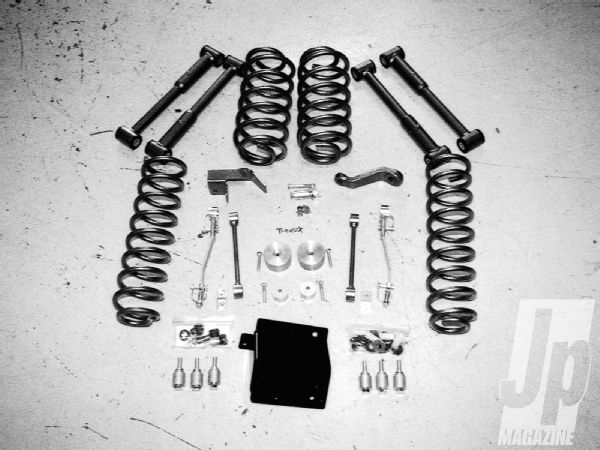 Here is the TER3 suspension kit's primary components.
Three different kits are available. The TER2 provides 2 to 3 inches of lift (depending on engine size), and includes front and rear springs, a bumpstop extension kit, a drop pitman arm, and a rear sway-bar extension kit (shocks are not included). The TER3 offers 3 to 4 inches of lift and comes with front and rear springs, a bumpstop extension kit, a drop pitman arm, a rear sway-bar extension kit, a rear-track-arm bracket, and a transfer case lowering kit (again, shocks are not included). For the all-out TeraFlex TJ suspension, you'll want the TER3S. This kit is the same as the TER3, but includes TeraFlex's own front and rear lower Flexarms, front quick disconnect sway-bar links, a steering box skidplate, and four Explorer Pro Comp ES3000 shocks and shock boots.
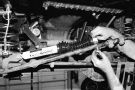
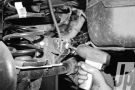
To give TJ owners a better look at this awesome system, and to show you how simple it is to install, we set up our TJ with the TER3S lift kit, featuring the new optional upper control arms. The tools required for this procedure include T50 and T55 Torx bits, a pitman arm puller, drill motor and 5/16 and 13/32 drill bits, jackstands and a floor jack, and standard hand tools. Understand that this how-to is presented in a somewhat abbreviated form. The instructions supplied with the kits are more detailed and are easy to follow-even the beginner weekend wrencher can perform this swap given the proper tools.
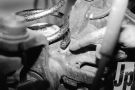
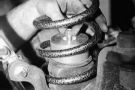
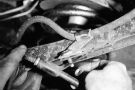
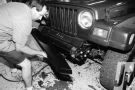
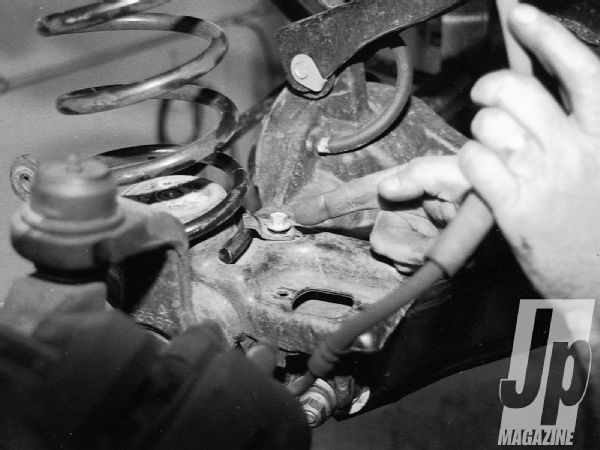 Place the Jeep safely on jackstands, and remove the wheels, the shocks, and the front sway-bar end links. Remove and save the front coil lower retaining clips. Note: We have found that the factory does not install this clip on the passenger side. If you don't have a clip on that side, go to your local dealer and purchase one (PN 52005917).
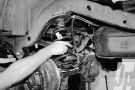
Note: If you are installing the TER3 or TER3S, you may want to wait to install the transfer case lowering kit if you are working on a 2.5L four-cylinder. Tera Manufacturing reports that most 2.5L applications do not experience driveshaft vibration. If there is driveshaft vibration, the spacer kit can be installed later.
Although the TeraFlex suspension is a definite improvement, a little insurance never hurts. That's where the Rock Crawler II front and rear bumpers come in. Manufactured by Currie Enterprises for the TJ Wrangler, the Rock Crawler bumpers are hard-core, Moab-tested units that should take an extra slice of worry off of your plate.
The rear bumper is designed for a high-departure angle. It's made of 1/4-inch plate steel, and features a 2-inch receiver hitch, although it is not rated for towing. The bumper is offered in black powdercoat or chrome, and all of the installation hardware is included. The Rock Crawler II front bumper is similarly designed, except that it is made of a 3/16-inch steel plate. Again, the options are black powdercoat or chrome, and the front bumper uses the TJ's original mounting hardware.
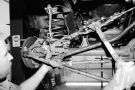
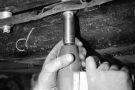
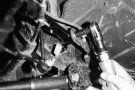
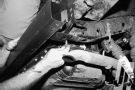
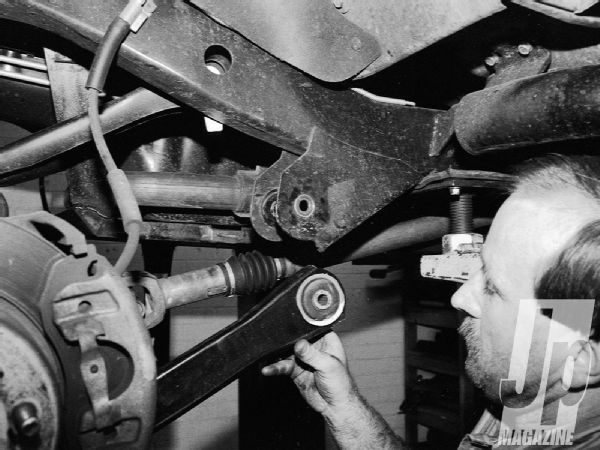 Loosen the lower control arms and track bar to allow the stock coils to be removed, then remove the stock front lower control arms.
PhotosView Slideshow
Loosen the lower control arms and track bar to allow the stock coils to be removed, then remove the stock front lower control arms.
PhotosView Slideshow