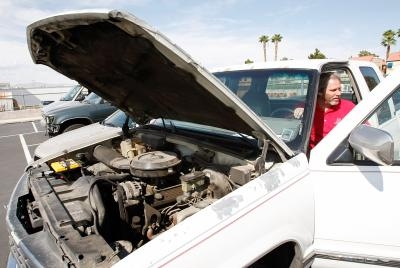
First introduced in 1982, the 1998 Chevrolet S-10 standard truck came equipped with a 2.2-liter in-line four-cylinder engine capable of producing 118-horsepower and 130 foot-pounds of torque. The ignition control module controls the ignition coils on the 1998 S-10. Find the coils mounted directly on the control module, with ignition wires connecting the two coils and four spark plugs. The difficulty with replacing the coils is the coils' location in the engine compartment.
Raise the hood on the S-10. Remove the negative battery cable from the battery, using a ratchet and socket to loosen the cable tie-down nut. Tuck the negative battery cable to the side, so that there is no possibility of accidental contact between the cable and battery during this project.
Loosen the front wheel lug nuts on the passenger side of the truck with a tire iron. Lift the front of the truck up using a jack. Place a jack stand under the front frame rail on the passenger side of the truck. Remove the lug nuts completely, and then remove the passenger front tire.
Place a tab of masking tape on all four ignition wires. Mark the ignition wires "1" through "4," matching the numbers found on the ignition coils. Remove the ignition wires from the coils by hand.
Raise the rubber flap on the inner passenger front wheel well by hand. Visually inspect and locate the ignition coils on the lower passenger side of the engine. Remove the mounting screws from the ignition coils with a Phillips screwdriver. There are two mounting screws per coil, with two coils on the ignition control module.
Install a new coil onto the ignition control module and tighten the screws with the screwdriver until they are snug, approximately 3 foot-pounds maximum torque. Repeat this step to install the second coil onto the control module.
Install the ignition wires onto the new coils in the positions corresponding with the numbers on the wires. The top coil wires should be marked "2" and "3" from top to bottom. The bottom coil wires should be marked "1" and "4" from top to bottom.
Install the front wheel back onto the truck, and tighten the lugs until they are snug with the tire iron. Raise the truck off the jack stand with your jack. Remove the jack stand from beneath the truck. Set the truck onto the ground. Immediately tighten the passenger front lug nuts to 100 foot-pounds of torque, using a 1/2-inch drive torque wrench and socket.
Install the negative battery cable back onto the battery, and tighten the tie down nut with a ratchet and socket. Do not apply torque to the tie down nut, as this can destroy the cable end, or the battery lead.