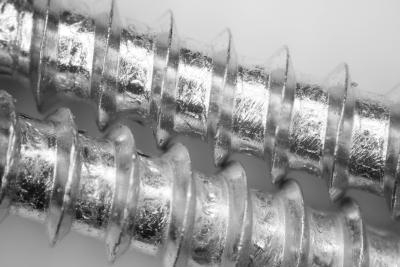
Many applications require fasteners to hold items together. Metal shops, engine repair and construction use bolts to attach pieces and hold them securely. When bolts are cross-threaded in a hole, the damage is not easily repairable. Many times bolts become frozen in the threaded hole, and to remove the bolt a drill is required. Both of these circumstances run the risk of making the threads unusable. In these cases, the installation of threaded inserts is required. Drilling the hole out to a larger diameter allows an insert with the correct original internal threads to screw into the oversized hole. The hole will then accept the original bolt with a newly threaded hole. The threaded inserts are available in many materials, including plastic, brass and steel.
Drill out the threaded hole with damaged threads. Refer to the HeliCoil catalog to determine the size of drill to use on the hole. Make sure that you drill deep enough for the HeliCoil length and for the bolt.
Tap the newly drilled hole with the HeliCoil tap for the particular HeliCoil that you are using. Tap the hole sufficiently deep enough for the insert to screw in and for the bolt or screw to pass through.
Insert the HeliCoil into the installation tool and center it over the drilled and tapped hole. Begin the threading of the insert into the tapped hole carefully and ensure that the insert is exactly perpendicular to the surface. Do not begin to insert the HeliCoil off center or at an angle. Continue to wind the insert down into the threads until the insert is 1/4 to 1/2 a turn below the surface of the work piece.
Remove the tang on the HeliCoil using the tang removal tool. Center the tang removal tool over the tang and strike the tool firmly to break off the tang. If the insert installed is larger than 1/2 inch in diameter, then use needle-nose pliers to twist the tang off by bending it back and forth until it is free.