Vehicles with cylinders fired by distributor ignitions operate through sequenced and timed delivery of electrical sparks through a distributor cap. The distributor delivers electricity through a spinning rotor that touches each spark plug wire terminal on the inside of a distributor cap. By aligning the spark plug wires on the distributor cap in the correct firing sequence, control of spark ignition and timing is achieved. Distributor malfunctions may result in inadequate electrical spark being generated during combustion, or non-delivery of electricity through the plug wires.
Following the spark plug wires from the plugs to the connection point on the distributor cap. The distributor cap will have all the plug wires connected directly to the cap.
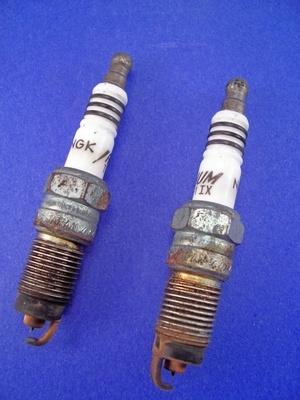
Locate the number one spark plug wire connected to the cap. Some caps will have the number one position marked. If no markings are present, note the position. Mark a line from the distributor cap number one spark plug wire position across the distributor cap and down to the distributor.
Remove any retaining screws on the distributor cap. If required for removal, disconnect the electrical connection on the distributor cap. Leave the spark plug wires connected to the distributor cap, to avoid errors in the wire replacement process.
Pull the distributor cap directly away from the distributor housing. Place the distributor cap away from the original location to allow access to the distributor.
Locate the line drawn in Section 1 for the number one spark plug wire. The line should be on the distributor.
Note the location of any wires on the distributor and the points to which they connect. Mark the wires or make notations, if necessary. Do not alter the position of the rotor, during the process. Remove the wires.
Align the rotor with the spark plug one terminal by very briefly cranking the engine to allow the engine to turn slightly. The rotor will spin accordingly. Repeat this brief engine cranking process until the rotor is facing position one.
Make a straight line across the rotor, over the distributor and across the engine. This line will be utilized to ensure the rotor is in the same position during the installation of the new distributor. If the rotor is not restored to the same position, the engine may not start.
Align the new distributor with the old distributor and copy the line made on the old distributor onto the new. If a rotor is installed on the new distributor, orient it accordingly.
Loosen and remove the set screw from the rotor, if you intend to use it on the new rotor. Slide the rotor from the old distributor and slide it into place on the post of the new distributor. Secure the set screw. If necessary, align the rotor to ensure the line made across the rotor and distributor match.
Unbolt or unscrew the distributor from the engine. Pull the distributor housing away from the engine. The rotor may be tightly connected to the engine. Work the rotor in a twisting motion while pulling upward until it works free. Periodically inspect the distributor during the removal process and return the rotor -- if still installed -- to the line marking. Be as exact as possible. Some distributors will have gearing. Geared distributors should be worked as carefully as possible, when being removed, to avoid mis-alignments in the re-installation. Distributors with keyed guides are less sensitive, due to alignment being possible only one way.
Align the old distributor with the new distributor and double-check the line markings. Correct the line markings, if necessary.
Press the new distributor housing onto the distributor mount. Be sure to align any keyed markings or gears during the installation process. Secure the distributor with the retaining bolts. Do not tighten the bolts all the way. You should still be able to barely turn the distributor by hand. This will be necessary to make final corrections.
Connect the electrical wires to the distributor. Use the tape markings or notations to ensure the wires are connected properly.
Install the distributor cap. Secure the distributor cap with the retaining bolts or screws. Replace the electrical connection, if removed.
Start the engine and allow it to idle until it is running smoothly. If the timing is off, the engine may not idle perfectly smooth, this is normal. Turn off the engine.
Point your timing gun to spark plug number one. Start your vehicle. Check the timing, according to the manufacturer instructions for your specific timing gun.
Grasp the distributor by hand, and rotate it until the timing guns shows the spark ignition is correctly timed. Rotate the distributor and check if the timing is improved. If it has not improved, rotate the distributor the opposite direction. Once the timing is correct, turn off the engine.
Tighten the distributor bolts to fully secure the distributor to the engine.
Restart the vehicle.