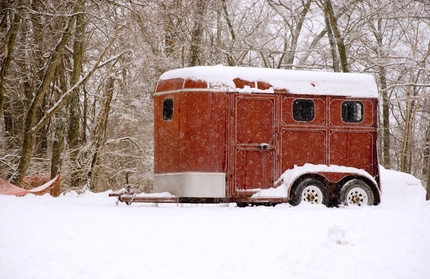
A faulty trailer light can lead to a dangerous accident, putting you, other drivers and your horses at risk. At the very least, it could earn you a hefty fine. It's worth making sure before every nighttime journey that the taillights are in working order and postponing the journey if they need to be repaired. The good news is that most taillight failures are nothing more than a blown light bulb.
Determine which light is damaged, and then switch off the truck ignition. Wait for a minute or two to be sure that the bulb has cooled down.
Lever the plastic protective lens that covers the light free using a slotted screwdriver. If you are replacing the bulb under the red brakelight cover, you may have to use a Philips screwdriver to remove a screw that holds it in place.
Check the base of the replacement bulb, if it has a screw-in fixture, then twist the broken light bulb counter-clockwise until it comes free. It it does not have a screw-in fixture, then push it inwards slightly and then turn it counter-clockwise to free it.
Replace the bulb, screwing or popping the bulb into place in the reverse of how you removed the damaged bulb. Replace the cover, being sure to snap it firmly into place.
Turn the ignition back on, and test the lights. If you are replacing the brakelight bulb, have somebody else check for you as you press the brake pedal or apply a heavy object to the brake pedal and check yourself.