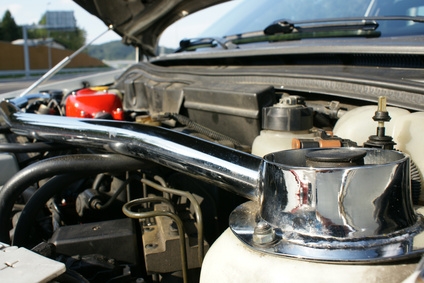
The SC2 is the coupe version in Saturn's S-series of cars built between 1991 and 2002. The SC2 was built between 1997 and 2002 and featured a 1.9-liter, four-cylinder engine with either a single overhead cam or dual overhead cam. The SC2 drive train includes the transaxle, clutch, output drive shafts, CV or constant velocity joints and front wheels. The clutch is actuated hydraulically when the clutch pedal is depressed and released and the hydraulics are powered by the master cylinder.
Place a wooden block or other item behind the clutch pedal inside the passenger compartment to keep the clutch pedal from being depressed.
Remove the air filter and air duct by unclipping the filter assembly and using a screwdriver or wrench to remove the clamp on the air duct.
Loosen and remove the negative battery cable using either a box or socket wrench. After the negative cable is removed, loosen and remove the positive cable as well. Loosen the nuts on the battery hold-down clamp with a wrench and remove the clamp. Remove the battery and loosen the bolts on the battery tray with a wrench and remove it too. One of the battery tray bolts can only be accessed through the wheel well.
Locate the slave cylinder on the transaxle housing and rotate it about a quarter-turn counterclockwise while pushing it in towards the housing. The slave cylinder connector will disengage itself from the clutch housing. Loosen and remove the bolts on the slave cylinder bracket with a wrench and pull the assembly off the studs on the clutch housing.
Determine if your SC2 has ABS -- anti-lock braking. If it does, loosen and remove the master brake cylinder-to-power booster nuts with a wrench. The cylinder must be moved off its studs and moved towards the engine just slightly. Take care not to bend or damage the hydraulic lines while doing this.
Locate the push rod on the back of the master cylinder. It is attached with a retaining clip. Unclip it and disconnect the push rod from the clutch pedal. Rotate the master cylinder about an eighth of a turn clockwise and remove entire master/slave unit from the vehicle.
Push the new master cylinder into its opening so that the reservoir is leaning slightly towards the driver's fender. Rotate the cylinder an eighth of a turn counterclockwise until it locks into place.
Install the brake master cylinder if your SC-2 has ABS and you had removed it from its studs earlier. Put it on its studs and install and tighten the mounting bolts to 20 foot-pounds with a torque wrench.
Move the slave cylinder onto its studs and install and tighten its bolts to 18 foot-pounds with a torque wrench.
Install the slave cylinder in the clutch housing with the hydraulic lines facing down and rotate the cylinder a quarter-turn clockwise as you push it into the clutch housing. Apply silicone grease to the clutch pedal retaining pin and connect the push rod to the pedal. Install the retaining clip on the pedal.
Install the battery tray and tighten its bolts with a wrench. Put the battery on the tray, install the battery retaining bracket and tighten its nuts with a wrench. Attach the positive battery cable with a wrench and then the negative battery cable. Install the air duct and filter, tightening the clamps with a wrench or screwdriver and clipping the air filter into its housing.