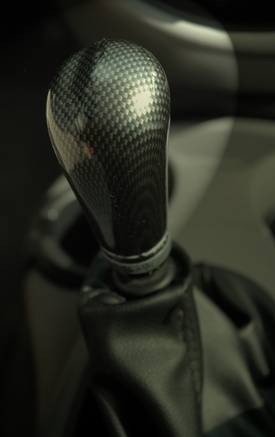
The clutch assembly in your 1991 Honda Civic consists of two plates situated in between the engine and the transaxle. The drive plate, clutch disc works as a unit to suspend the engine's power driving into the transaxle long enough for you to manually change gears. When these plates wear down it makes shifting difficult and unreliable. Replace the clutch disc assembly in your 1991 Honda Civic when you feel that manual shifting has become difficult.
Use an open faced wrench to loosen the negative battery terminal and disconnect it. Raise the entire vehicle off of a flat, hard surface. It is preferable to use a garage lift when raising the entire vehicle.
Raise the transaxle with a car jack so the weight of the transaxle rests on the jack. Remove the mounting bolts of the transaxle with a socket wrench. Disconnect wire grounds and leads feeding into the transaxle. Slide the jack stand away from the engine block slowly making sure the transaxle clears its 14 millimeter dowel pins. Note any wires or hoses connecting the transaxle to the vehicle and remove them. Remove the transaxle entirely.
Use a ring gear holder to secure the flywheel in place. The flywheel is the large toothed gear closest to the engine block. The drive plate and clutch disc sit on top of the flywheel. Remove the six 1.25 millimeter mounting bolts holding the assembly together using a socket wrench. Loosen the bolts two turns at a time in a criss cross manner to avoid warping the flywheel. Remove the drive plate and the clutch disc underneath it by sliding the discs off the flywheel's dowel pins.
Slide the new clutch disc and drive plate over the dowel pins of the flywheel. Insert a clutch alignment shaft tool into the center of the discs. Tighten the six 1.25 millimeter mounting bolts two turns at a time in a criss cross manner using a torque wrench. Install 20 foot-pounds of torque into each mounting bolt.
Remove the alignment shaft and the flywheel ring gear holder. Slide the transaxle back into place making sure the main shaft lines up properly with the clutch disc splines.
Reinstall the mounting bolts, wires and hoses into the transaxle. Lower and remove the jack underneath the transaxle. Lower the vehicle to the ground and reconnect the negative battery terminal.