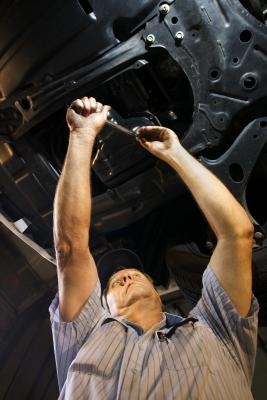
The main drive components on today's front-wheel drive vehicles, including the Infinti G20, are the constant velocity axles, otherwise known as CV axles or drive axles. The CV axles transfer power from the transmission assembly to the front wheels in order for your G20 to move. The axels have joints protected by lubricated rubber boots, and when the CV boots are broken or cracked due to road grime, it may lead to axle damage. Signs of damaged CV axles include clicking sounds during vehicle turning and vibration while accelerating and at certain speeds.
Wear goggles and gloves before you start, then disconnect the negative cable on the battery with a wrench.
Pry off the hub cap with a flat-head screwdriver on the front wheel. Loosen, but do not remove, the lug nuts using a torque wrench with the vehicle on the ground.
Lift the front of your G20 with a floor jack and place it securely on a car stand. Remove the lug nuts and the front wheel.
Push, with your hand, the wheel hub assembly away from the CV axle, with its front facing outward. Use an impact wrench and socket to remove the large axle nut. Pull the cotter pin off from the lower ball joint with pliers.
Locate and remove the castle nut that secures the lower ball joint in place. Uninstall the ball joint from the lower control arm using a ball joint separator.
Loosen the bolt using a ratchet and socket that is holding the wishbone to the lower control arm. Remove the bolt by pulling down the lower control arm.
Push the CV axle toward the transmission at the inner boot. Slide the axle out of the hub at the wheel hub side.
Pry gently the inner CV boot at the transmission from the trans-axle with an L-bar. Slide the CV axle out from the transmission by passing it under the wishbone. Never let the CV axle hang freely at either end or you risk damaging the transmission and wheel assembly.
Pass the transmission side of the new CV axle under the wishbone. Hold the outer end of the CV axle and align it with the seat in the transmission. Push the axle into the axle seat in the transmission. Rotate the axle until it aligns with the splines in the transmission seat.
Slide the inner CV boot into the trans-axle joint. Be careful not to damage the oil seals.
Insert the outer end of the CV axle into the wheel hub and lock the boot at the axle-hub joint into place. Inspect the CV boots at both ends, making sure they are snug at the joints.
Align the lower control arm with the ball joint and tighten the bolt. Reattach the cotter pin to the lower ball joint. Slightly bend the cotter pin to prevent it from falling out.
Add the wheel to the wheel hub and loosely tighten the lug nuts with a torque wrench.
Lower the G20 onto the ground and fully tighten the wheel lug nuts with at torque wrench. Snap the hub cover into place.
Repeat steps for the other side if replacing both CV axles. Reconnect the negative battery cable once the CV axle job is done.