The Dodge Dakota truck uses multiple light bulbs for the front fog lamps, brake lights and tail lights. If any one of these bulbs burns out, you need to replace it for both safety and legal reasons. Removing and installing a light bulb and its socket essentially is the same for each socket on one truck, but the method of accessing them can vary depending on the exact year of the Dakota.
Turn the front wheels to the right or left--whichever direction will give you more clearance on the side you're working on.
Remove the access panel for the headlight housing's electrical connectors from within the wheel house--pry out the panel's lower end by inserting a flathead screwdriver into the slot, slide the panel up, pull out the lower edge and slide the panel back down.
Detach the housing for the center high-mounted brake light to access its bulb by removing its screws; these likely will require a Phillips screwdriver.
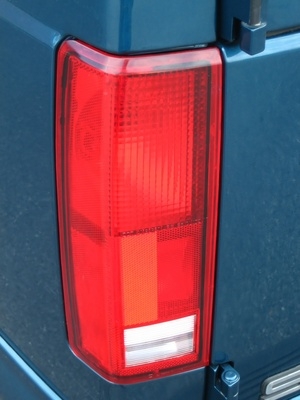
Disconnect the tail light housing by opening the liftgate, removing the pushpin fasteners and pulling out the housing's outer edge. Unscrew and remove the socket plate from the housing.
Disconnect the electrical connector for the light bulb you are removing by pressing in its release tab(s). On some connectors, like with the front and tail lights, slide the locking tab out of the connector before pressing the release tabs.
Remove the bulb socket; in most cases, rotate the socket counterclockwise.
Pull the bulb out of the socket to remove it.
Install the replacement bulb by pushing it into the socket. Wear gloves and avoid touching the glass of the bulb with your bare skin.
Insert the socket in place and turn it clockwise to secure it.
Reinstall the light housing or the access plate in the reverse order of removal.