Regardless of which type of Chrysler vehicle with the 3.0 engine you own, its serpentine belt runs a variety of components. The belt system turns off the crankshaft and runs the power steering pump, the alternator, the idler for the engine and as the air conditioner. The belt is kept taught by an automatic belt tensioner, which must be loosened in order to replace and install a new serpentine belt.
Park the vehicle on a flat space such as in a garage or the driveway and set the parking brake. Chock the wheels for additional safety.
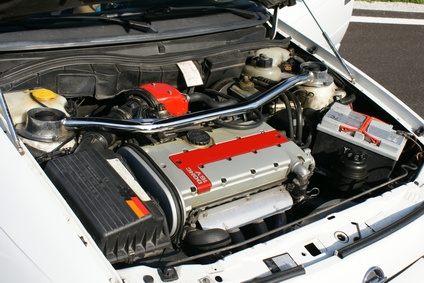
Open the hood. Locate the serpentine belt diagram on either the hood or the radiator fan shroud and refer to the picture for the location of the automatic belt tensioner. The diagram will also show which way to turn it to loosen the belt for removal or installation (depending on the model of Chrysler you will have, the tensioner will need to be turned clockwise or counterclockwise).
Place the appropriate socket head over the bolt that sticks out on the side of the automatic belt tensioner pulley. Attach the breaker bar ratchet to the socket and apply leverage in the proper direction indicated on the belt diagram. Apply pressure for three to four seconds to allow the tensioner to fully release the tension and slide the belt off the pulley with the flat-head screwdriver.
Allow the tensioner pulley to disengage by releasing the pressure on the breaker bar. Remove the belt from the other pulleys on the engine.
Route the new belt into the pulley system with the diagram used as a reference. Start with the crankshaft pulley and move clockwise through the array. Save the tensioner pulley for last. Most Chrysler 3.0 engines route the belt through the crankshaft pulley, then the power steering pulley, the alternator, the idler and the air conditioner before moving to the tensioner pulley. Use small strips of masking tape over each pulley to keep the belt in place while you route it through the engine.
Apply leverage to the tensioner pulley to loosen it. Slide the new belt into place over the pulley with the flat-head screwdriver and slowly release the tension on the pulley until it returns to its automatic position. Remove the masking tape strips from the other pulleys and check to ensure the belt is centered on each pulley.
Start the engine and let it run for several minutes while the tensioner automatically adjusts to the new belt.