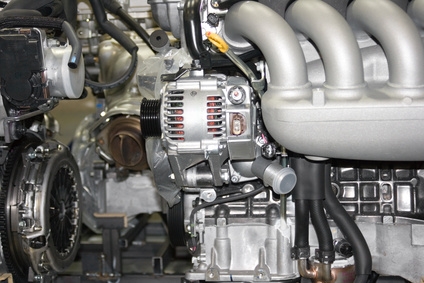
The alternator has the task of supplying a steady electrical current to the engine system. Without it the plugs can not fire and ignite combustion. The alternator generates voltage from a pulley system, keeping the battery charged while supplying extra needed electricity to all of the components and accessories. Sometimes alternators can fail or produce reduced rates of current, but that does not mean they have to be replaced. Alternators can be rebuilt with the right tools and knowledge.
Place the car in park and set the emergency brake. Open the hood and remove the negative battery cable. Using the appropriate socket, loosen the alternator adjustment nut and slide the alternator on its bracket far enough to remove the alternator belt. Disconnect the wire terminal leads from the back of the alternator, making sure you mark their location for reassembly. Loosen the bottom alternator bracket bolts and pull the alternator from the vehicle.
Use chalk to mark the alternator case where it splits at the seam, so it may be reconnected the same way. Remove the four mounting screws that hold the case halves in place. Use a slot screwdriver to gently pry the case apart. Check the stator winding section--it will have copper windings on the inside of the stator half. If they appear black and smell burned, the alternator will not be salvageable. Unscrew the nuts that secure the stator wire onto the rectifier. It will take a small end wrench.
Remove the screws to the voltage regulator that attach it to the case. Keep the nylon insulator washers and the grounding screw together. Make sure you know exactly where the grounding screw fits for reassembly. Remove the rectifier and the bolt stud from the back of the alternator, keeping the washer and stud nut separate.
Remove the pulley nut. Wedge the fins with a small tool to immobilize it while you take the nut off. Remove the fan and spacer with a socket, then pull the rotor straight out. Apply some grease to the shaft threads of the stator and wipe the rear of the shaft clean with a rag.
Take the bearing retainer off the case to remove the front bearing. You can gently tap the rear bearing out with a hammer. Wipe the inside races clean and place the new (kit) bearings inside the case races--the rear bearing must be driven in with a small hammer until flush and the front bearing will just drop into the race. Screw the front bearing retainer back on.
Use a small socket to install the new rectifier, but do it gently without over-tightening. Insert and secure the new voltage regulator to the bottom of the case, along with the new brush holder. Screw in the new diode, making sure you use the insulator you took off.
Place the stator ring (copper windings) back into position. Bending the tabs might help it to fit more easily. Match up the two halves of the alternator case (chalk mark) and reinsert the four long bolts into their holes, tightening them with a small socket. Install the pulley and tighten the nut.
Reinstall the alternator back onto its lower mount and tighten the bolt only snugly. Loop the alternator belt around the pulley and pry the pulley tight against the belt, while tightening the adjusting nut. You'll need about 1/4-inch of free play (slack) in the belt. Tighten the alternator mounting bolts the rest of the way. Reattach the wire terminals to their proper posts. Connect the negative battery and start the engine.