Tail light damage often unknowingly occurs while you are cleaning and detailing your Explorer. Many vehicle owners use chemicals--such as glass cleaner--to shine up the taillight lens, merely in an effort to make the truck look good. The problem with using chemical solutions is that many contain ingredients that will strip away the glossy coating on the plastic lens. This can cause the tail light to appear discolored over time. The good news is that you can fix your Ford Explorer’s tail light right at home. With a few tools, you can remove and replace it within 30 minutes.
Raise the hood on your Explorer and locate the battery. Identify which of the cables connected to it is the negative (it is usually the black one). Remove the bolt securing the negative cable to the battery with a socket wrench. Position the cable away from the battery to avoid accidental reconnection during the repair.
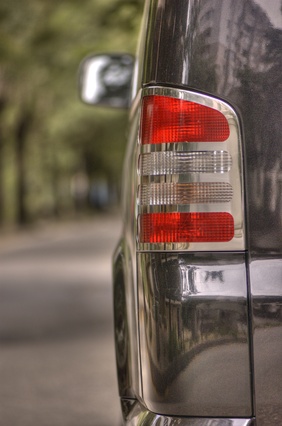
Open the lift gate door at the rear of the truck. On the inner side of the tail light assembly, you should see two Phillips screws. Remove both of the screws with the screwdriver and place them in your pocket.
Grasp the tail light assembly on its left and right, then pull it toward you, slowly. The assembly has three bulbs within it. Label the top bulb’s socket “TAIL-1” with white painter’s tape. Label the center bulb’s socket “TURN BRAKE-2” with the painter’s tape. Label the lower bulb’s socket “BACKUP-3” with the painter’s tape, as well.
Use a permanent marker to write on the outside of three sealable sandwich bags what each of the three labeled sockets say. For example: bag one, “TAIL-1”. Put on a clean pair of latex gloves and begin removing the light sockets from the tail light assembly.
Remove the top (TAIL-1) socket first. Rotate the socket 1/4-turn counterclockwise and withdraw it from the tail light assembly. Remove the bulb from the socket by gently grasping it, then pull it straight out of the socket. Place the bulb in sandwich bag number one. Seal the bag and repeat this step to remove the other two light sockets and their bulbs. Upon removing the final socket and bulb, the tail light assembly will be free.