The 1999 Acura TL has had numerous consumer complaints due to problems with the exhaust gas recirculation (EGR) valve. This is an exhaust component designed to burn fuel more efficiently by recycling a portion of the exhaust gas back through the intake manifold. When the EGR valve goes bad, you'll notice that your Acura will be sluggish and use more fuel than normal.
Lift the hood and locate the EGR valve in front of the engine on the right side of the exhaust manifold. This is a red metal valve with one bolt on the front, one bolt on the back and an electrical plug on top.
Disconnect the electrical plug by sliding a flat head screwdriver into the clasp to release it from its base.
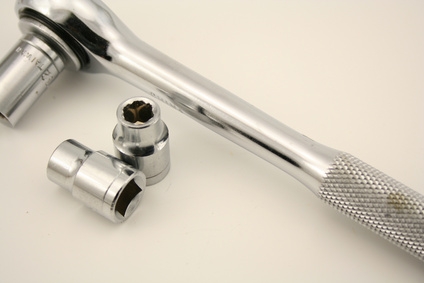
Remove the bolt on the front of the valve with a socket wrench.
Remove the bolt on the back of the valve with the socket wrench.
Pull the EGR valve off of the exhaust manifold.
Wipe the surface of the exhaust manifold thoroughly to clean off any dirt or debris before installing the new EGR valve.
Attach the new gasket to the EGR valve on the side that will make contact with the exhaust manifold.
Place the new EGR valve where the old one was positioned.
Reinsert the front and back bolts onto the valve.
Tighten the front and back bolts with the socket wrench.
Reconnect the electrical plug to the top of the EGR valve.
Close the hood.