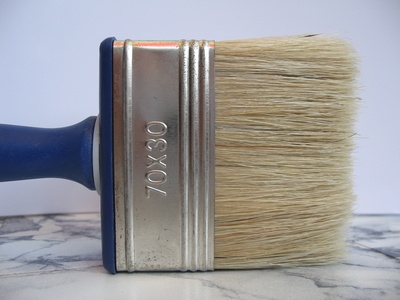
In automotive repair, fiberglass is layered over everything from sub boxes to car panels. It is even used on shelves and for high-performance parts like spoilers. Many custom parts are made with fiberglass with professional results. However, one problem persists with virtually every application. When fiberglass resin is painted onto a surface, bubbles often form inside. These bubbles remain as the resin dries, forming air pockets in the final product. To remove them, use a few simple tricks. Remain patient; working too fast causes more bubbles in your resin.
Apply a generous amount of resin to the fiberglass sheet before applying it to the body panel or form. Paint the resin onto the strips with smooth even strokes of the paintbrush. This technique will eliminate the presence of bubbles and trapped air inside the resin before it is applied.
Brush the area where the bubbles are most concentrated with a soft paintbrush. Place the brush at an angle and carefully feather it through the resin across the bubbles. Pull the brush carefully through the bubbles, extracting them from the resin. This motion also pushes the bubbles out of the resin.
Scrape away the resin from fiberglass sheets if too many bubbles are present at the beginning of the process. Re-apply the resin more carefully. Load the brush with more fiberglass and slowly spread the resin onto the strips of fiberglass. Another option is to dredge the fiberglass sheets through the resin by hand, eliminating the chance for air pockets to form. Hand apply the strips and brush only if air bubbles begin to appear.