The Nissan Xterra's intake manifold is made up of two parts: the upper plenum and the lower plenum. If you are removing the manifold from the truck, you will need to remove the upper plenum before you can remove the lower one. The procedure can vary depending on the year and engine type of the truck, especially with components that you may need to remove to access the manifold. Check with your mechanic.
Take out the fuel-pump fuse from the passenger-side fuse box and then start and run the engine until it stalls. Crank the engine a few times more to ensure the fuel pressure is completely relieved.
Disconnect the truck's negative battery cable.
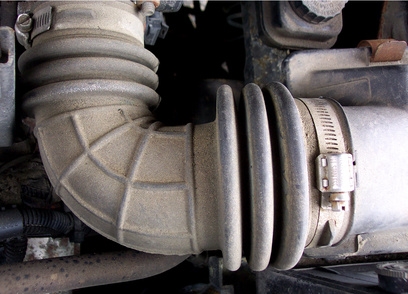
Remove the air-intake duct, loosening its hose clamps with a screwdriver.
Label all the hoses and electrical connectors connected to the upper plenum and then disconnect them all. This includes the vacuum hoses, the power-brake booster hose, the accelerator cables and the EVAP purge-control solenoid.
Loosen and remove the plenum bolts at the plenum's right side using a wrench, starting with the bolts at the corners and alternating back and forth at each end until you reach the bolts in the center.
Remove the mounting bolts on the left side in the same manner and then remove the upper plenum with the throttle body connected to it.
Label and detach the rear PVC hose and other hoses and connectors connected to the lower plenum.
Unbolt and remove the front and rear support brackets for the lower plenum using your wrench.
Loosen the four lower plenum bolts with the wrench, starting with the outer bolts and then the inner ones.
Remove the lower plenum from the car.