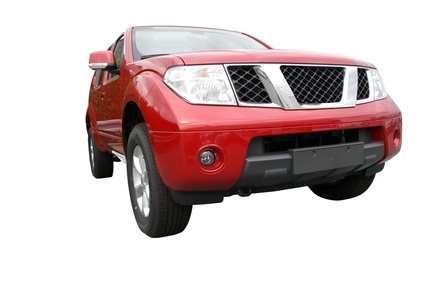
The Nissan Xterra is built with a body-on-frame construction style, meaning the car's components, including the bumper, are attached to the frame of the vehicle. General repairs to the exterior of a bumper, such as a surface scratch, can be made without removing the entire bumper. However, more extensive repairs can require removing the entire bumper from the frame. Most bumper repairs, aside from extensive damage, are within the scope of what a do-it-yourselfer can perform.
Disable the airbag system, known as Supplemental Restraint Systems on the Xterra, prior to working on the bumper. To do this, first disconnect the battery cables. Remove the panel below the steering wheel and unplug the two-pin connector between the airbag and the clock spring. On the passenger side, remove the glove box instrument panel and disconnect the two-pin electrical connector between the air bag and the SRS main wiring harness.
Open the hood of the vehicle and remove the turn signal lights using a screwdriver or Allen key to loosen the screws connecting the lights.
Remove the screws securing the radiator grille to the turn signal openings. Use the screwdriver to rotate the four radiator grille retaining clips 45 degrees, and pull outward to remove the grille.
Remove the outer bolts from the bumper support brackets using a wrench. The bolts are on the front fender walls. Then remove the bolts on both the left and right side support brackets.
Support the bumper to prevent it from falling, and then remove the bolts and nuts that attach the bumper to the frame of the vehicle. These bolts are located on the main bumper bracket on each side of the vehicle's frame rail.
Perform repair, such as dent removal, scratch removal or rust removal, to the bumper as necessary. Once finished, fully clean the bumper and apply a coat of wax to the area.
Reattach the bumper to the vehicle by first securing the bolts on the main brackets attached to the frame. Next, secure the left and right side supporting brackets to the bumper followed by tightening the outer bolts on the bumper support braces.
Position the radiator grille so that it aligns with the clips and gently press until the clips snap into place. Replace the bolts securing the radiator grille to the turn signal openings. Replace the turn signals by tightening the screws used to attach the signals to the housings.
Reconnect the two-pin airbag connector into the two-pin connector on the driver's side and passenger's side of the vehicle. Reinstall the panels near the glove box and on the underside of the steering wheel. Finally, reattach the battery cables.